Everything Must Change
It’s Karin Wanderer Learns’ birthday!
KWL is 1 year old!
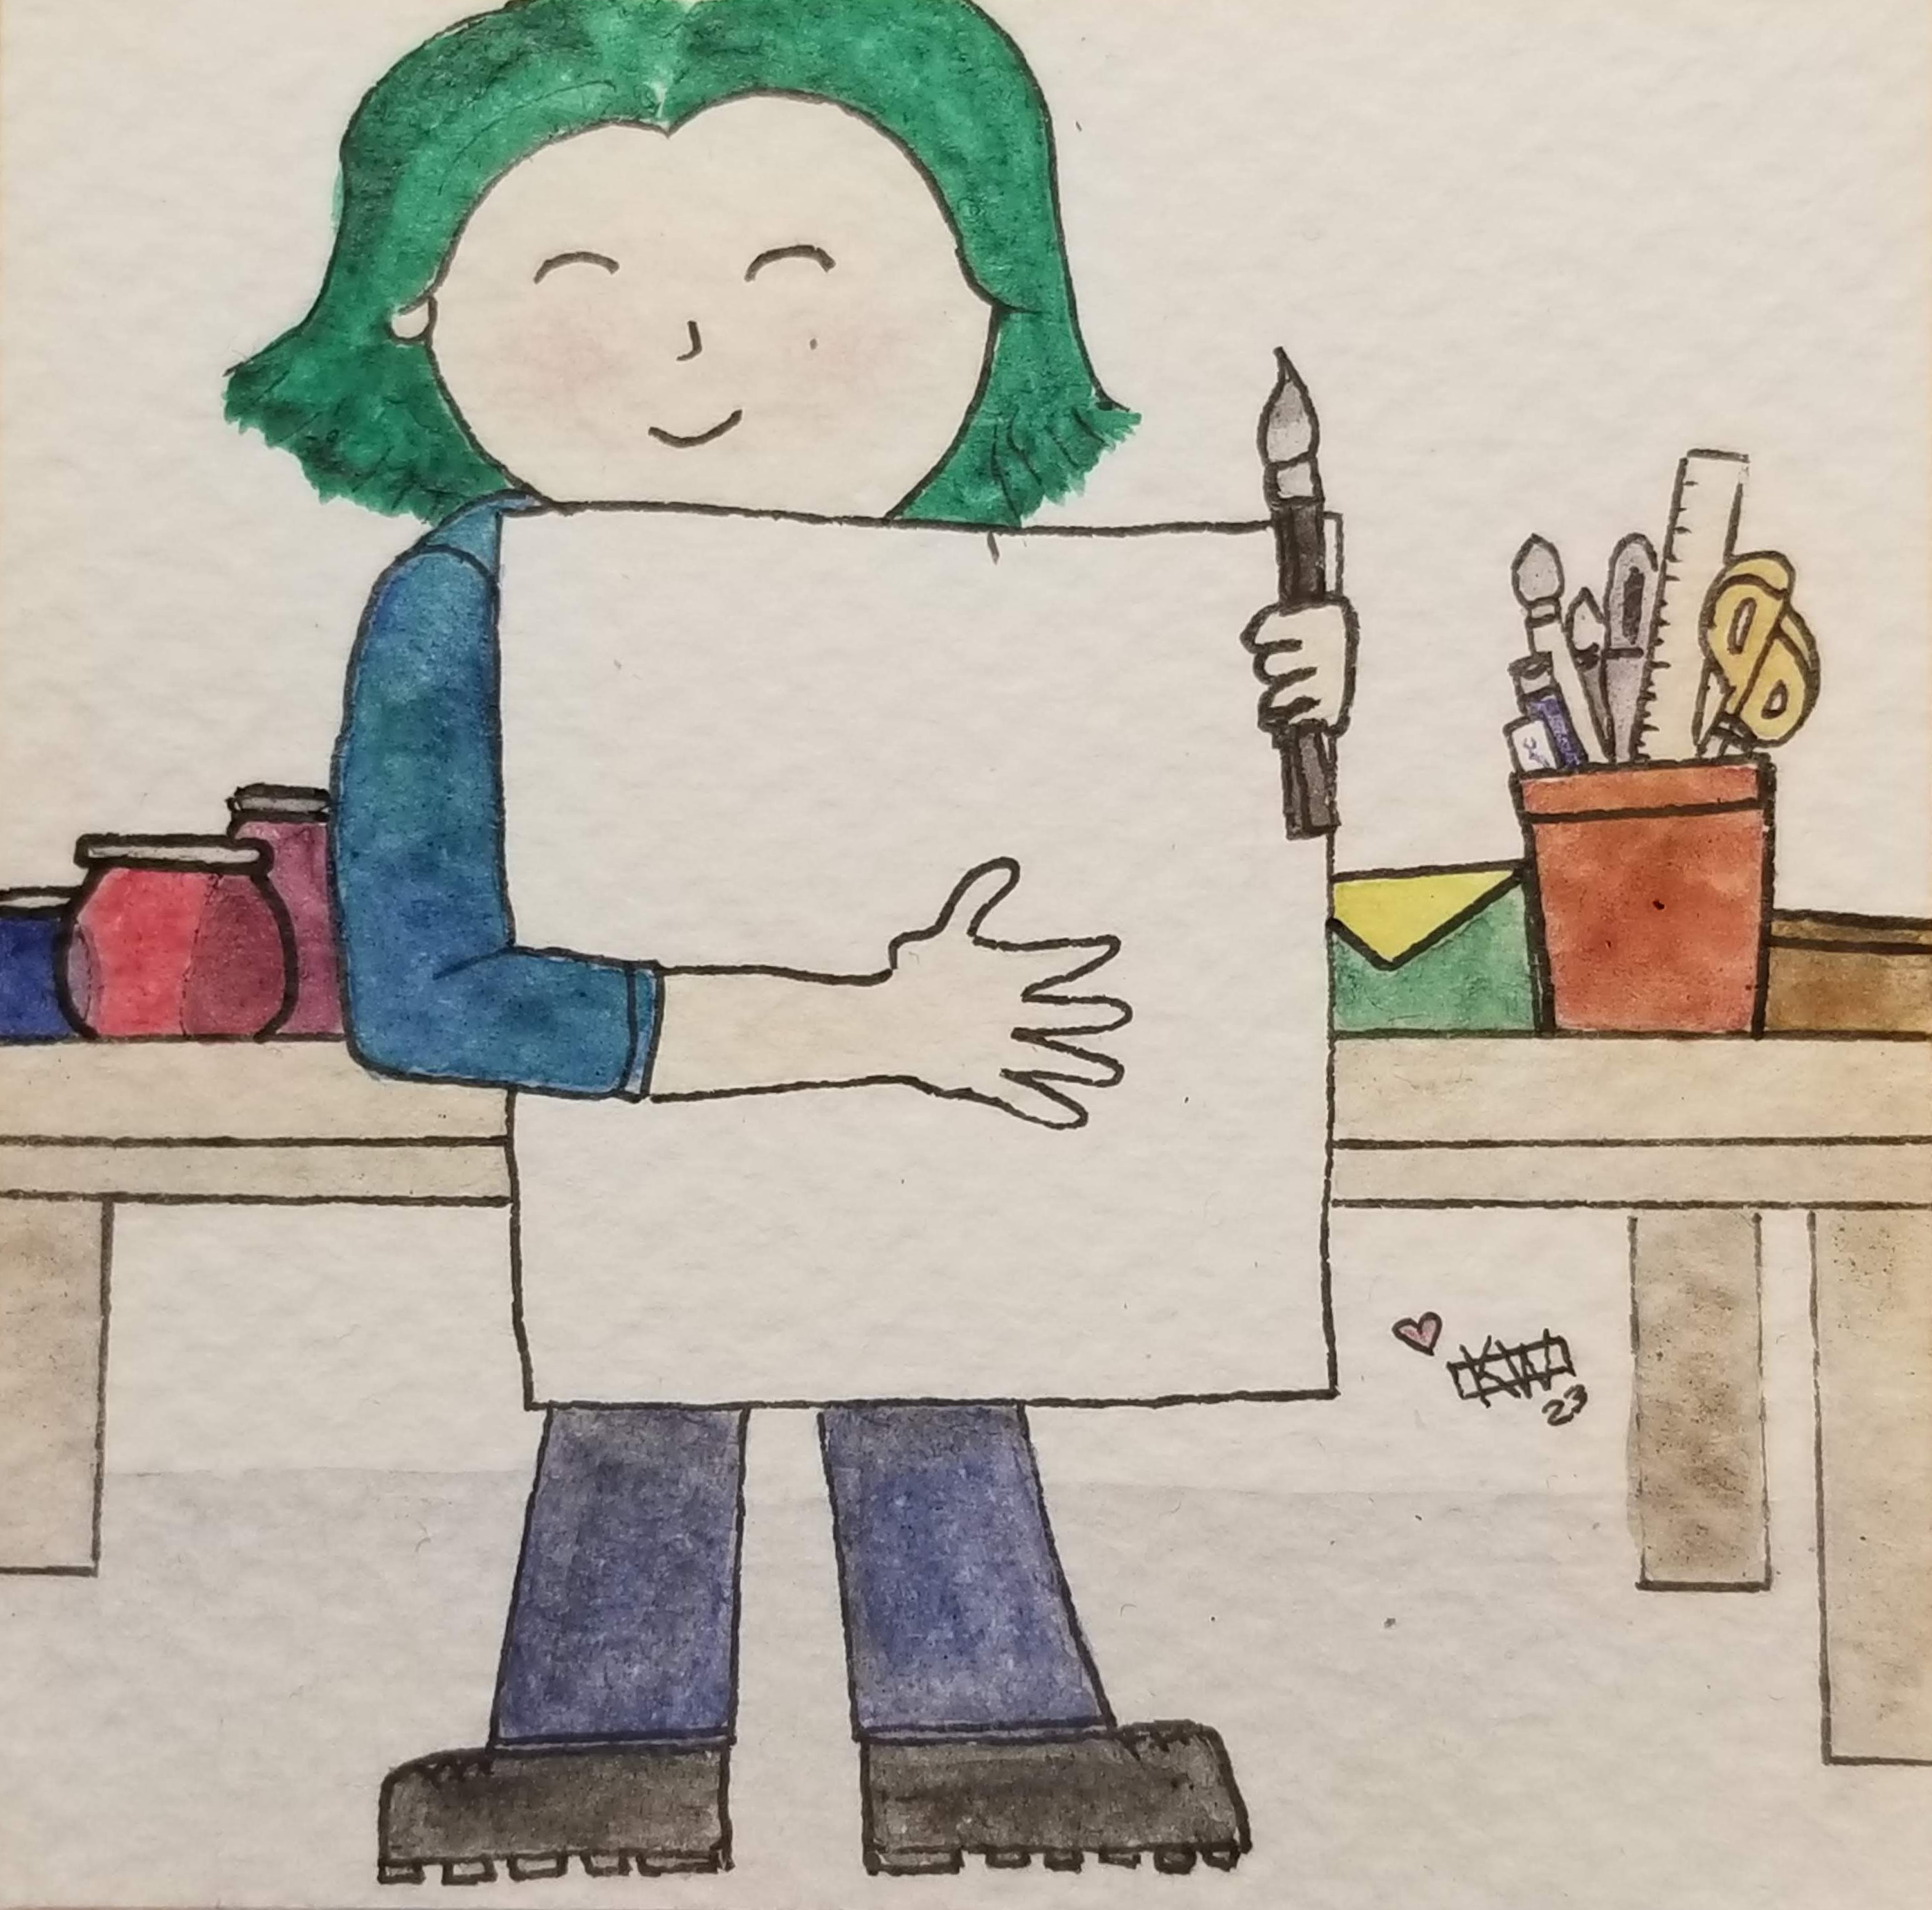
1 year! 52 whole weeks! When I started this blog, I didn’t even have a title card! Now I do – in fact, I just recently designed a new one! It is a self portrait in the style of Tomie dePaola, one of my favorite illustrators.
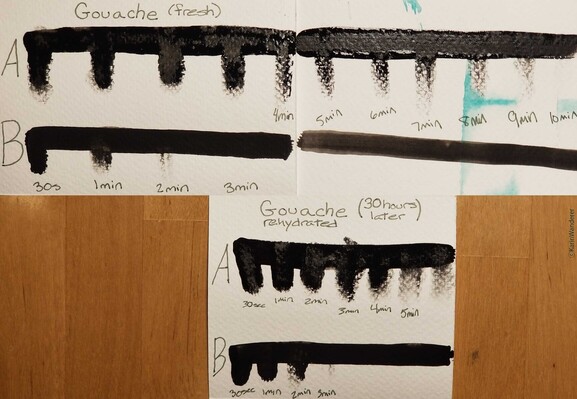
I started this blog because I needed a place to archive all the arty things I learn. Explaining something to someone else is an easy way to reinforce your own knowledge while spotting areas that need to be explored more deeply. I chose to shout my explanations into the WriteFreely void rather than talking my friends’ & families' ears off, & I am so glad I did! (They probably are, too.) Originally I was writing articles about whatever amused me and the articles were pretty short. Things quickly grew until I was doing things like writing a whole series of longer articles about #WatercolorScience & the history of Sumi. I'm not complaining- I love learning & writing about art! I kind of have to love it to keep KWL going- no one is paying me to do this. (Though they could be!) It takes a lot of time to research things, process them, & then write about them. Part of that is definitely on me, though. I type slowly.
If you had told me a year ago that I would still be writing weekly art articles, I probably would have said “yeah, that sounds like me. This is fun & I am nothing if not a creature of habit.” Now if you had told me that I would use the 1 year anniversary to shake things up, I might not have believed you. I should have believed, though. Change is coming!
In fact, it’s already here…
Last week, I started a new art challenge: #KWPrompts, brought to you most places prompts are posted:
The challenge is very laid-back, I’m only putting a new prompt out every other Tuesday, so you have a whole 2 weeks to participate. Or go ahead & draw something for an outdated prompt. If it makes you happy, it can’t be that bad!
“But Karin” you say “KWL comes out on Tuesdays! How will you handle writing a mind-blowingly stunning article AND a soul-rendingly heartfelt art prompt AT THE SAME TIME?!??” And that’s the best part- I don’t!
Going forward, I will be alternating between releasing either a new article or a new art prompt on Tuesdays. I’m going to have so much more time for activities! #KWPrompts was one of my New Year’s resolutions. Actually, it was 1 of 2 resolutions that related to KWL directly…
Calling All Artists!
You may have noticed that I have a nice, small section of articles on Featured Artists. I want that section to grow & grow! Lately I got sidetracked learning about brilliant author Tomie dePaola & trying to read all his books, which is a tall order- there are over 200! (Big thanks to my local library system, I could never have read dozens of dePaola books without their help!) I want to write about more artists, & maybe interview current artists instead of just researching & writing about people on my own? If there is an artist (or you are an artist) who you think should be featured, let me know on Mastodon, Ko-Fi, or BlueSky!
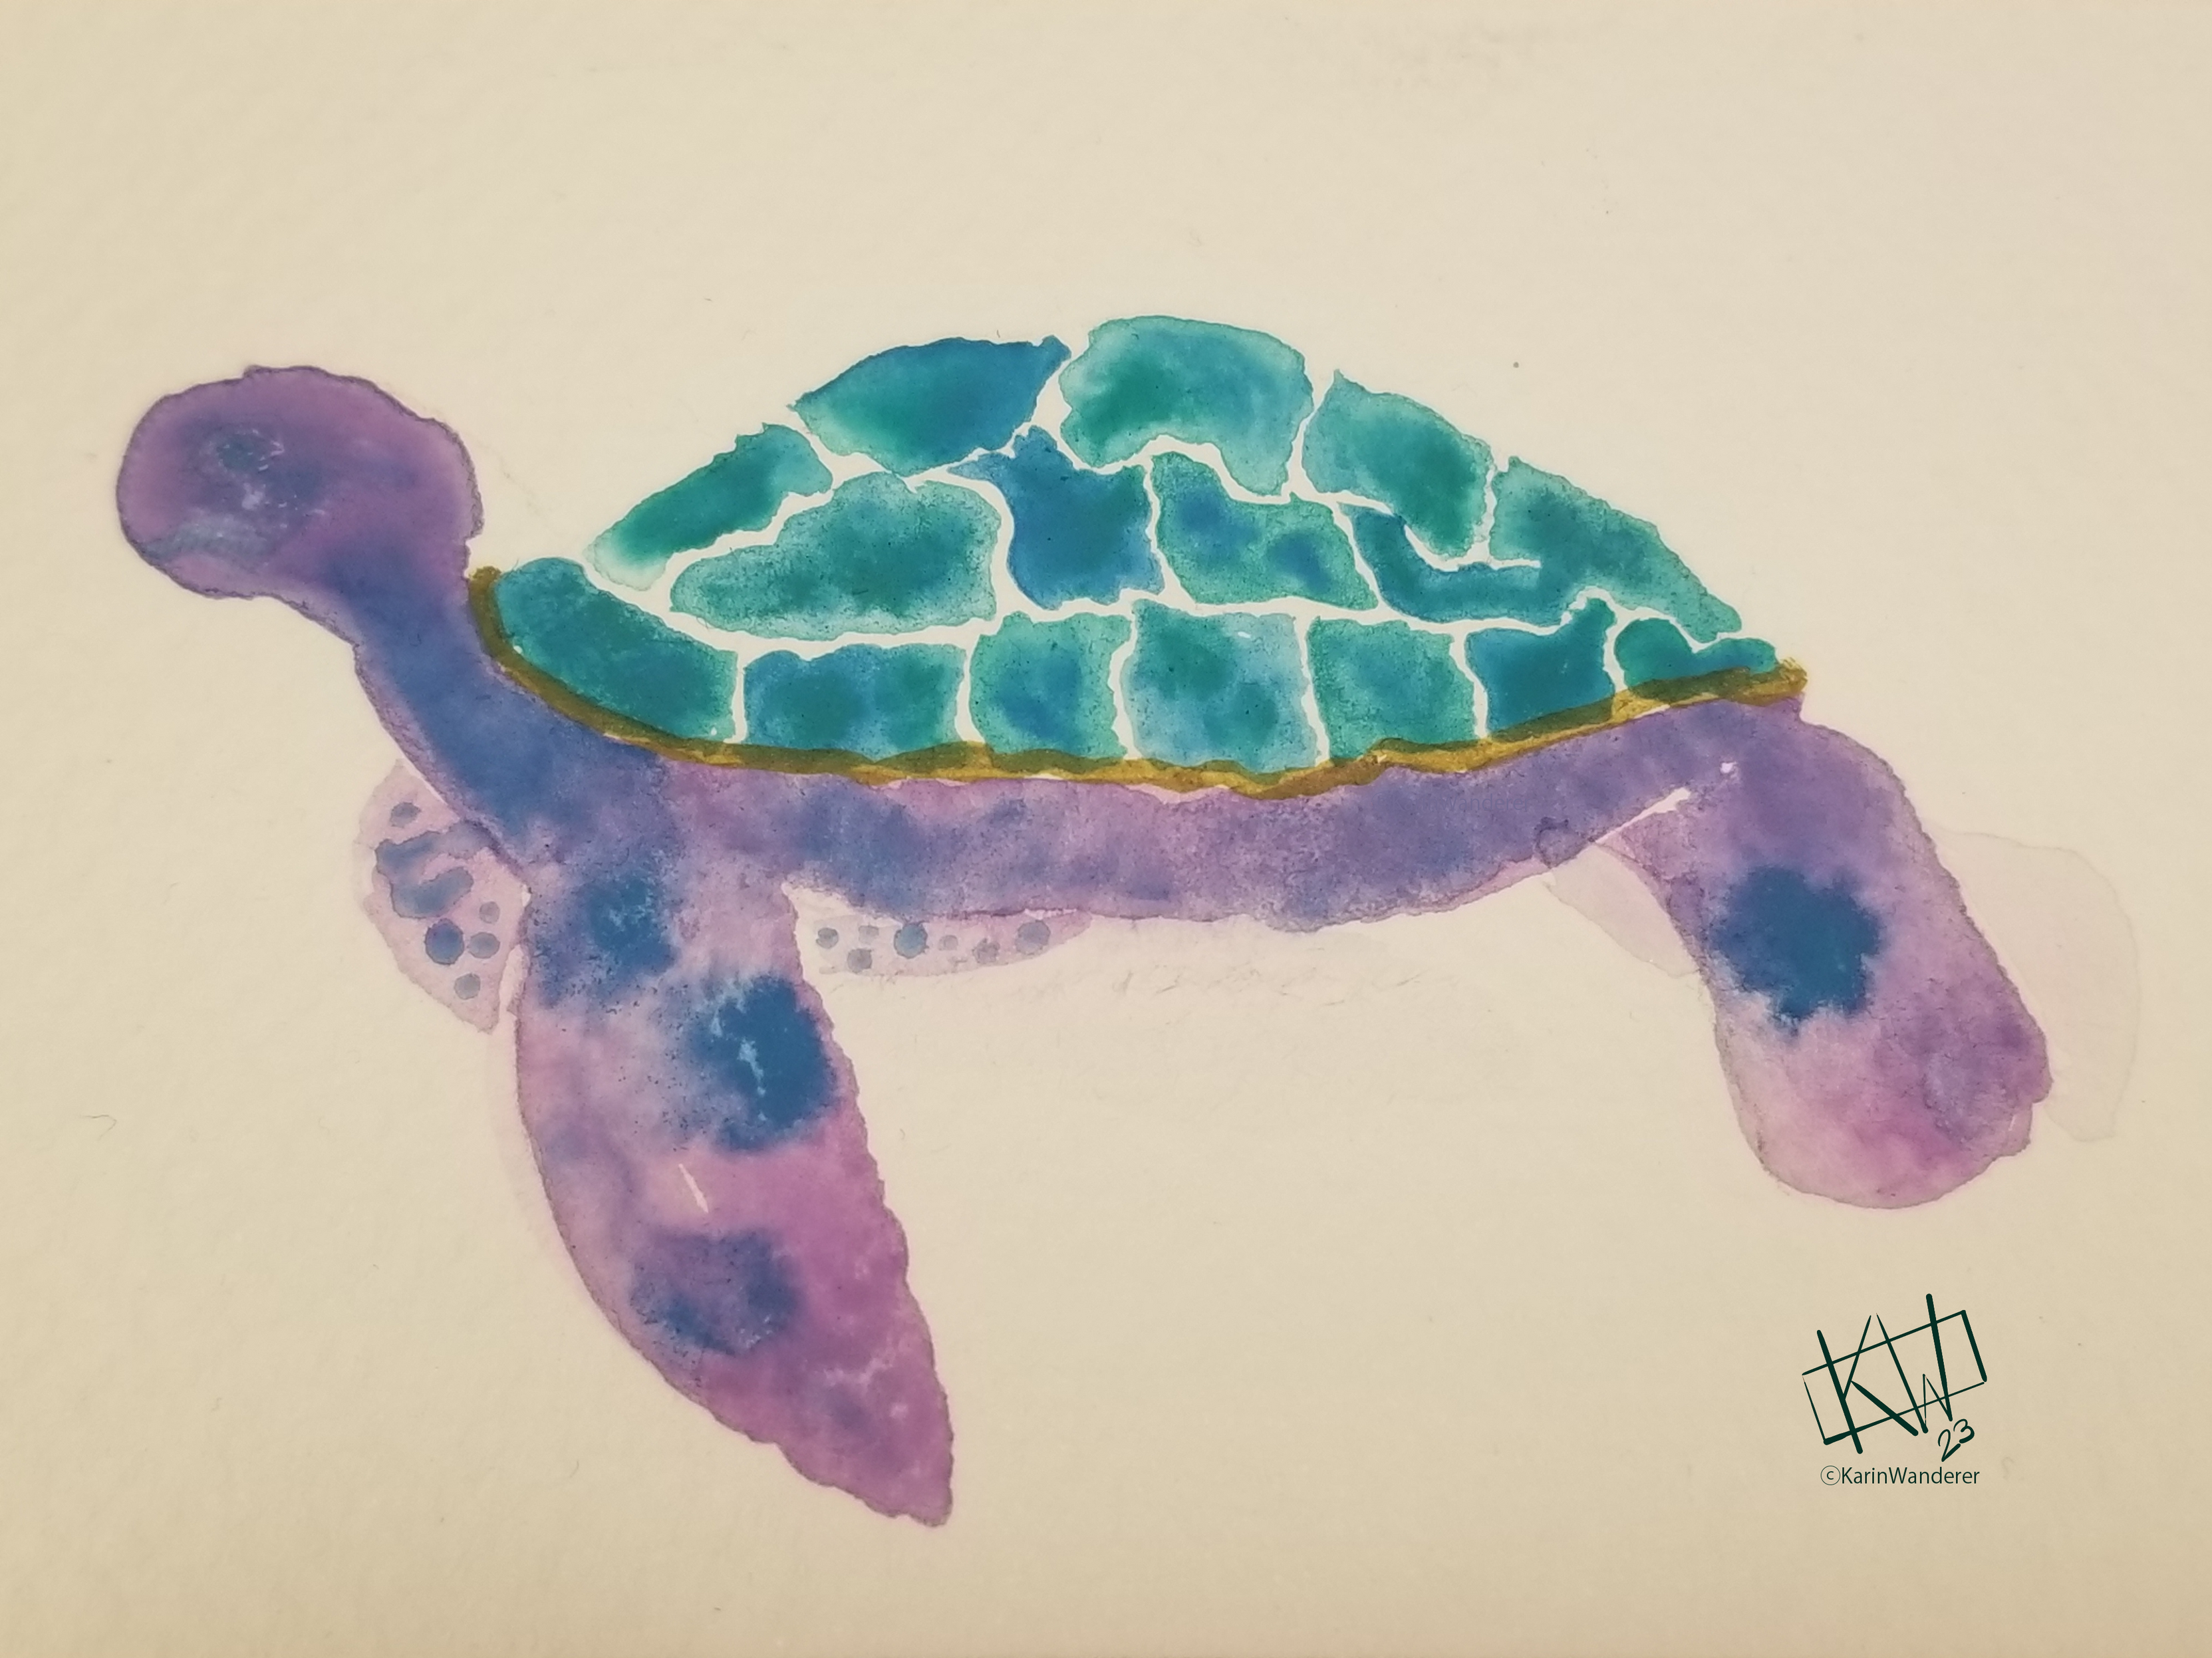 I posted this turtle painting a year ago, the same week I started my blog.
The last year has been fantastic! I am so happy with everything I’ve learned & I’m thrilled how many of you have come along for the ride with me. I think these changes are going to make things even more fun! I’ll be here every Tuesday to talk more about art (& sometimes cooking) or to post links to each #KWPrompts art challenge. I hope you’ll be here, too!
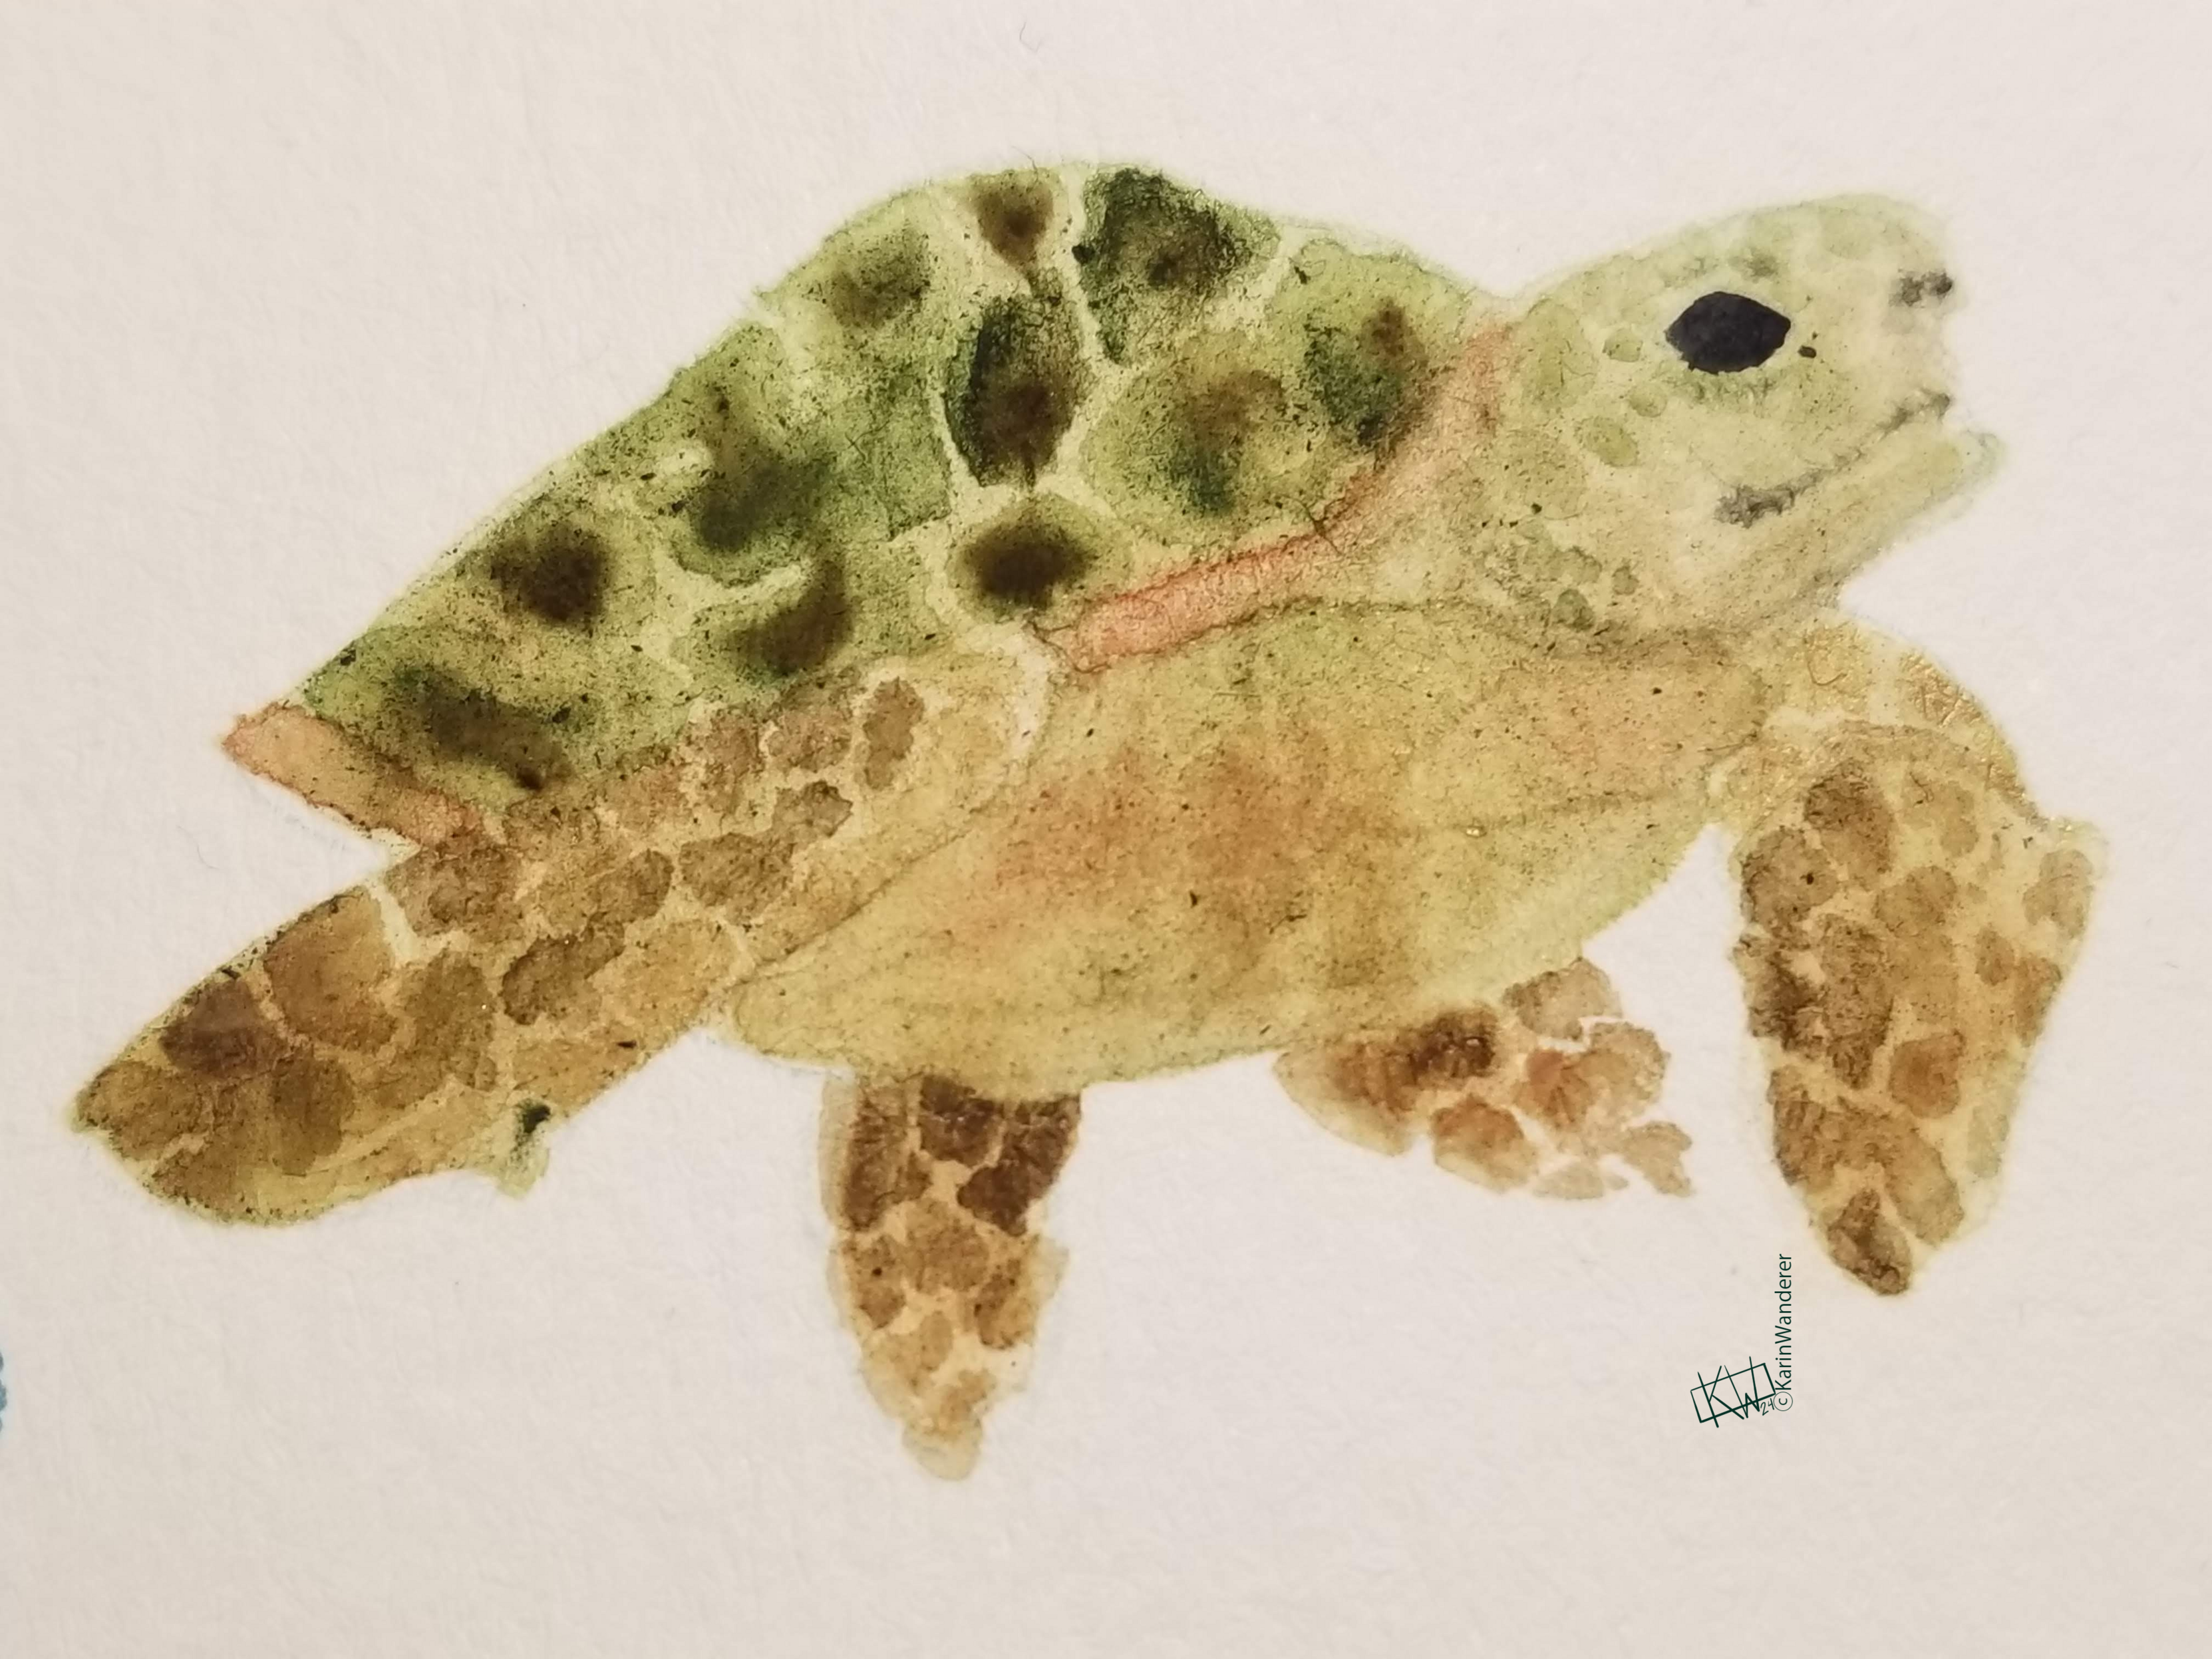 I posted this turtle recently. What a difference a year makes!
Get my art on mugs & vinyl stickers in my Shop!
Donate to support my works & get cool perks on Ko-Fi
Join us for #ArtABCs, the best art challenge on the internet!
- All pictures posted are my own work.
- All reviews are my own unpaid & unsolicited opinions.
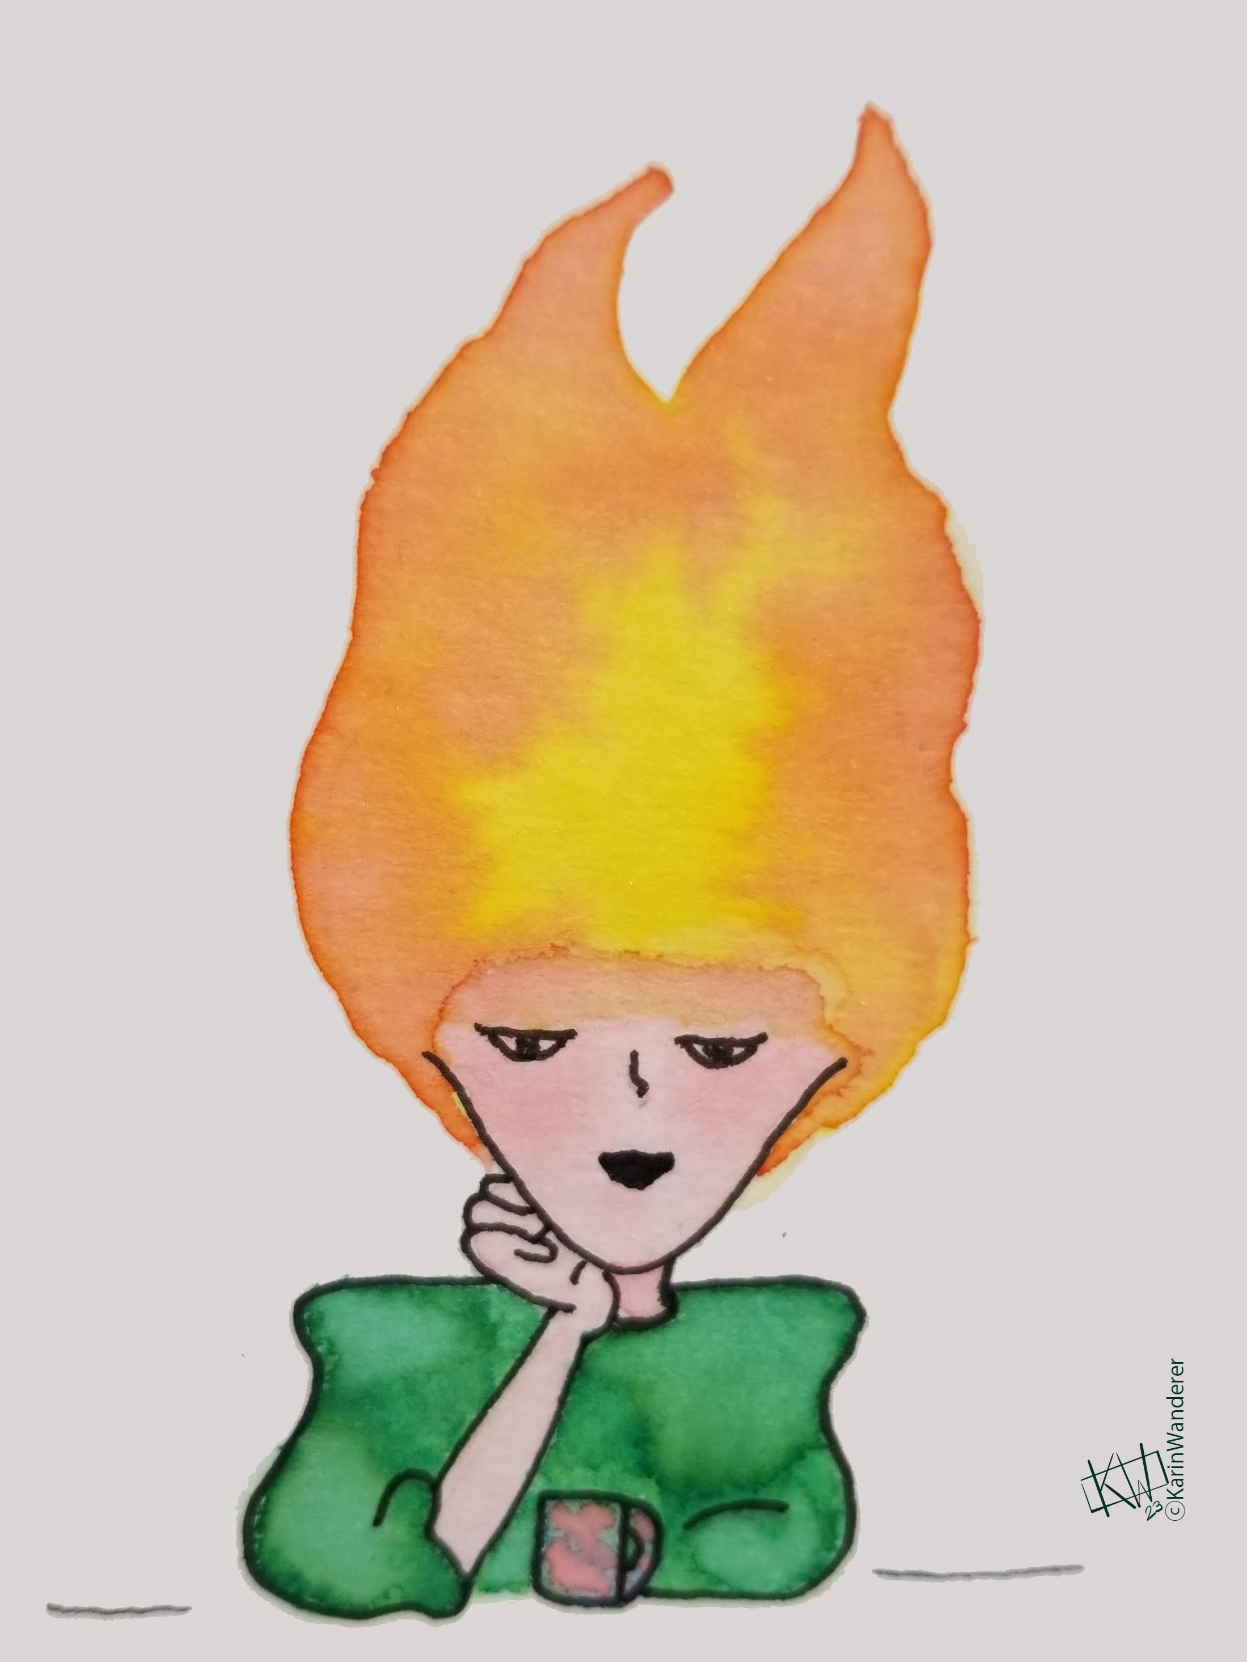 Properly-sized fire
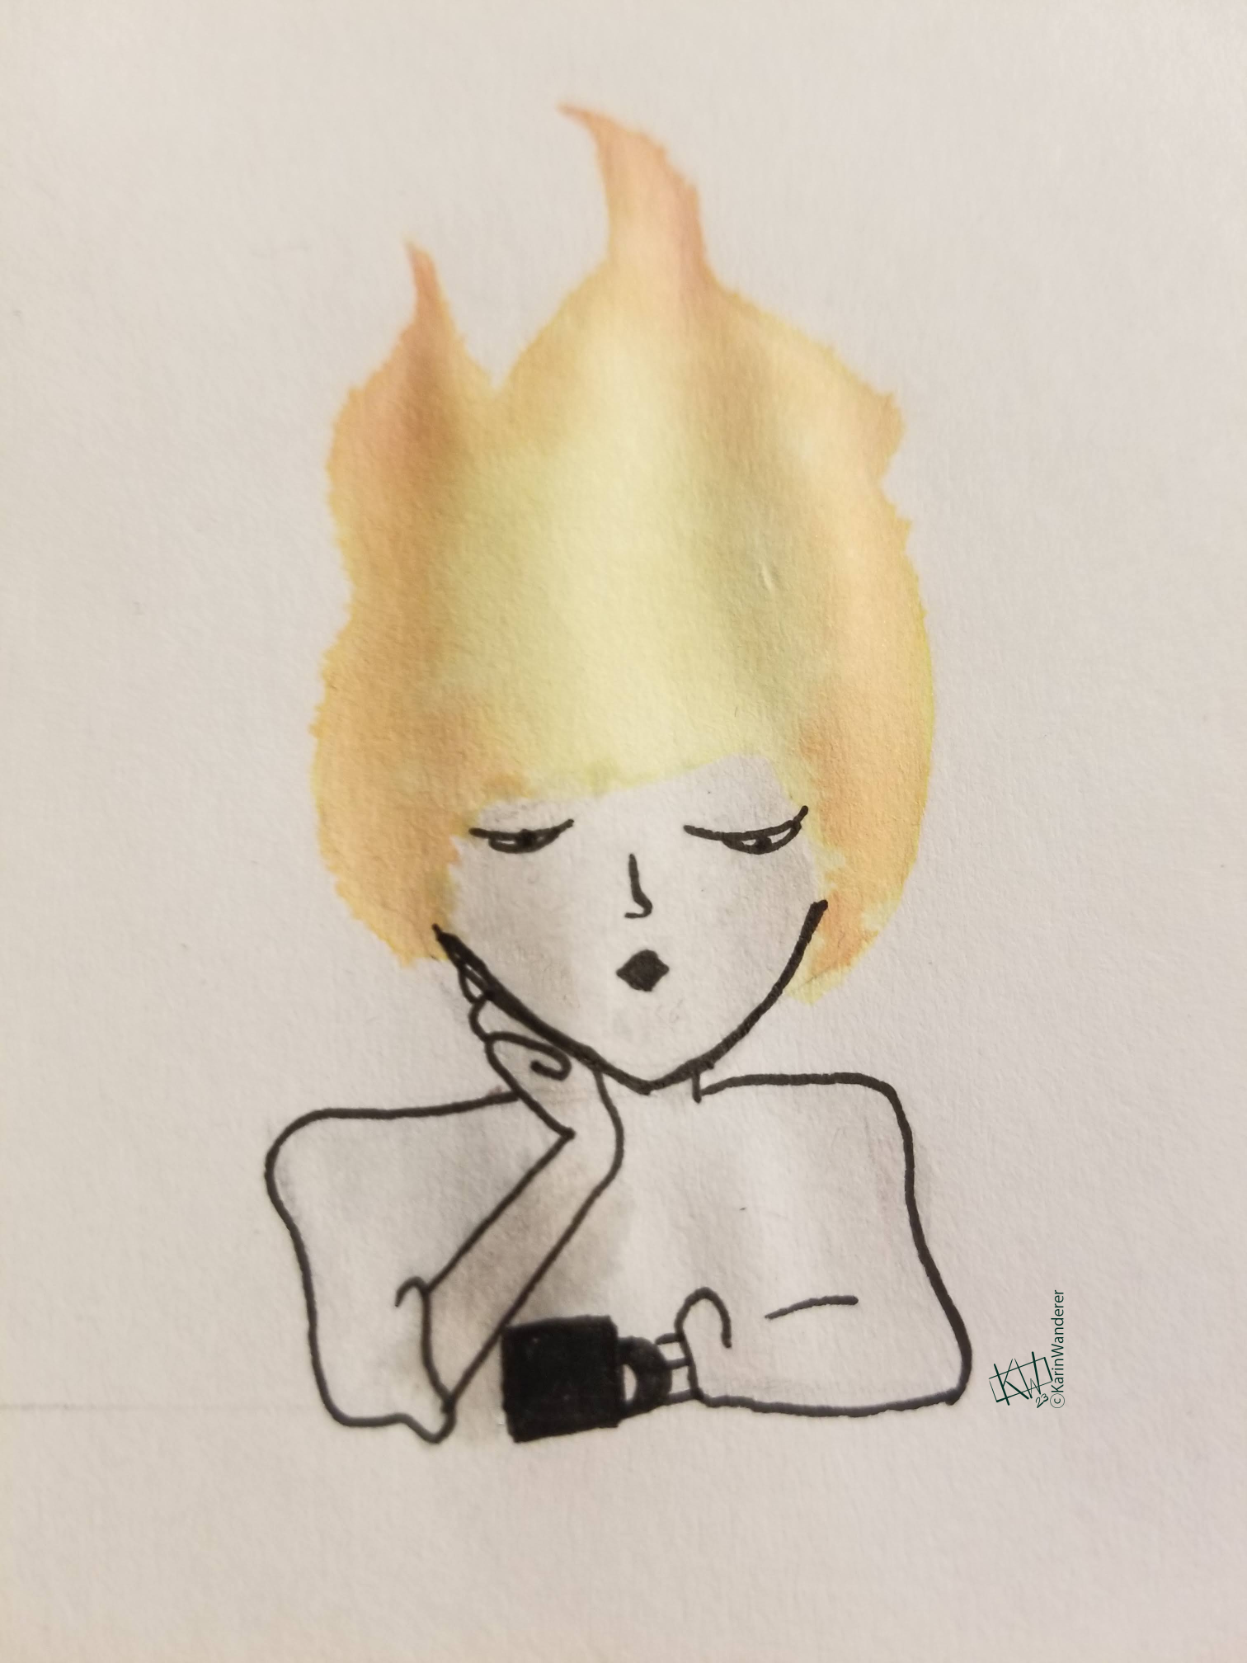 Poorly-sized fire

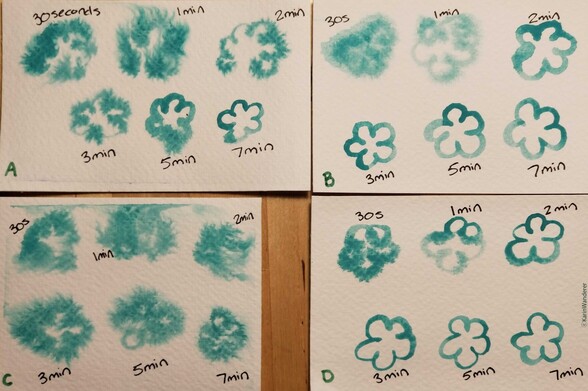
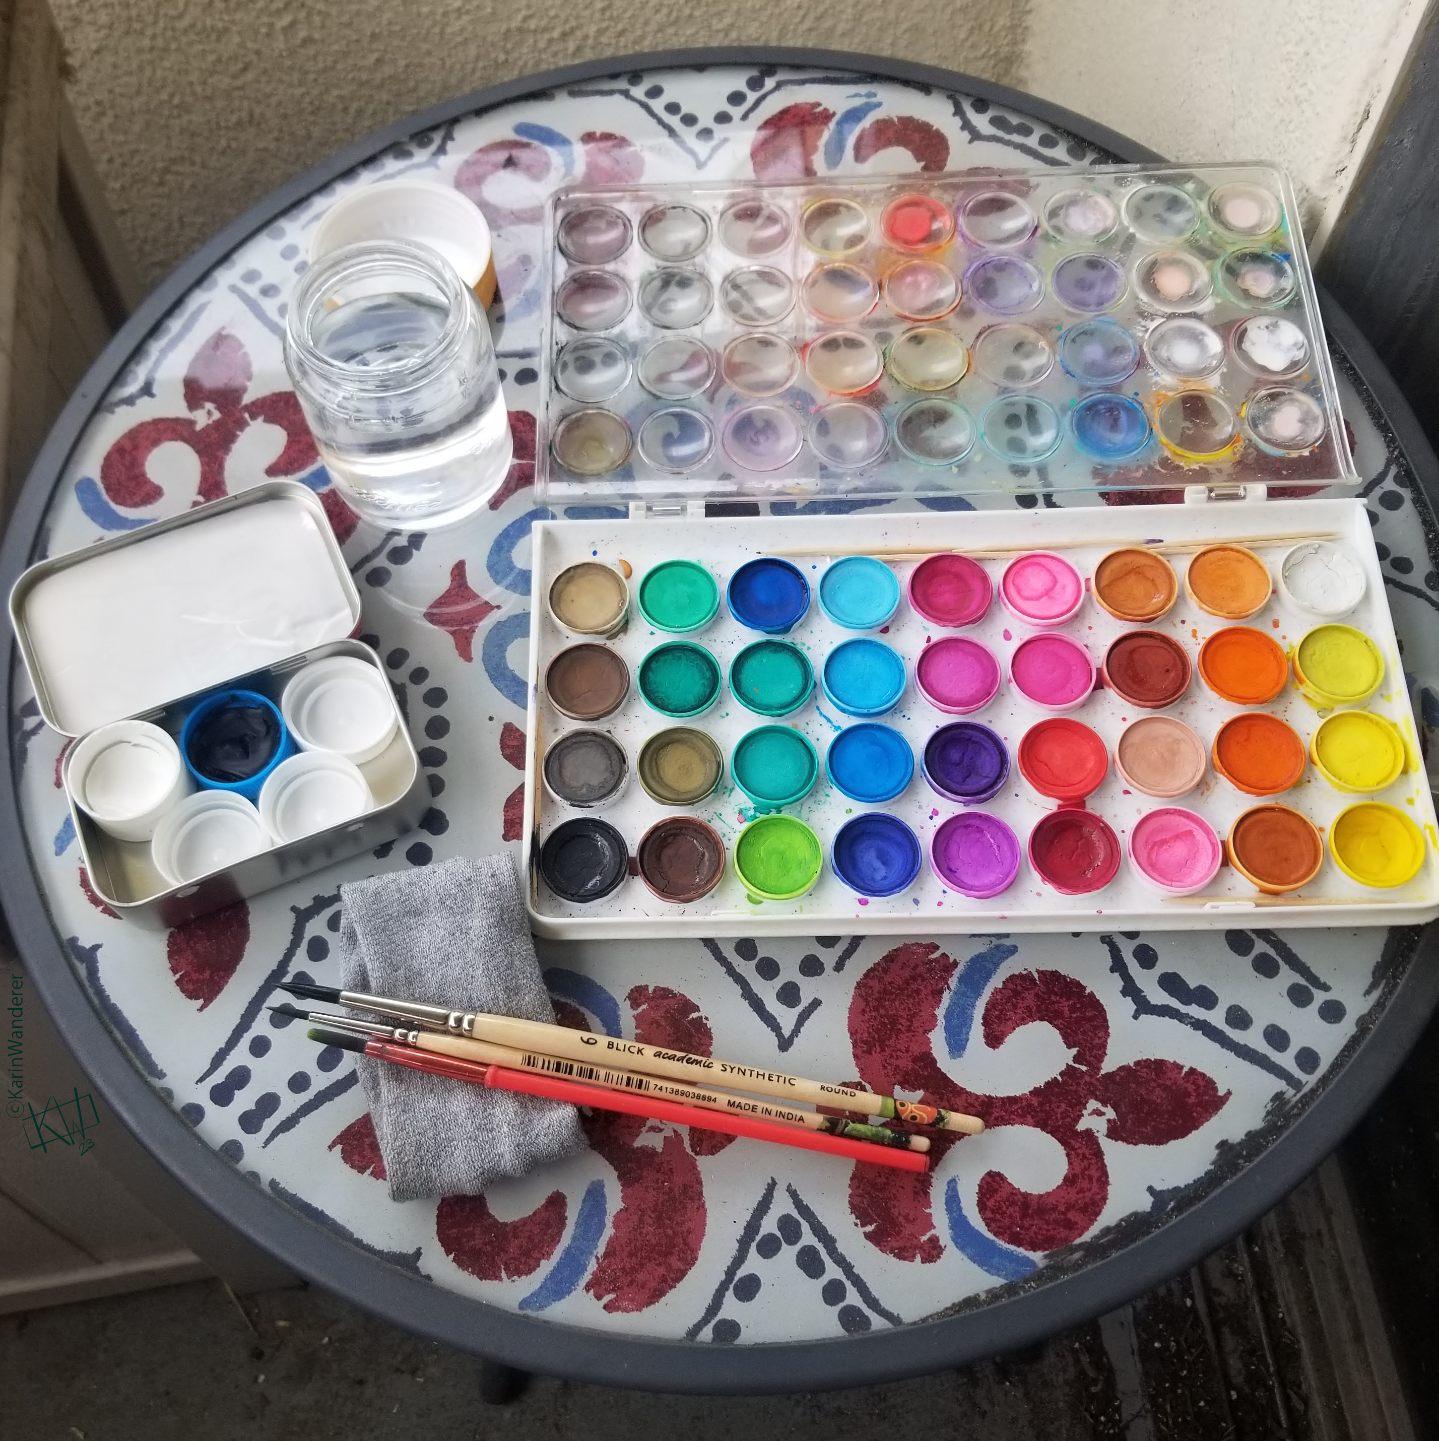
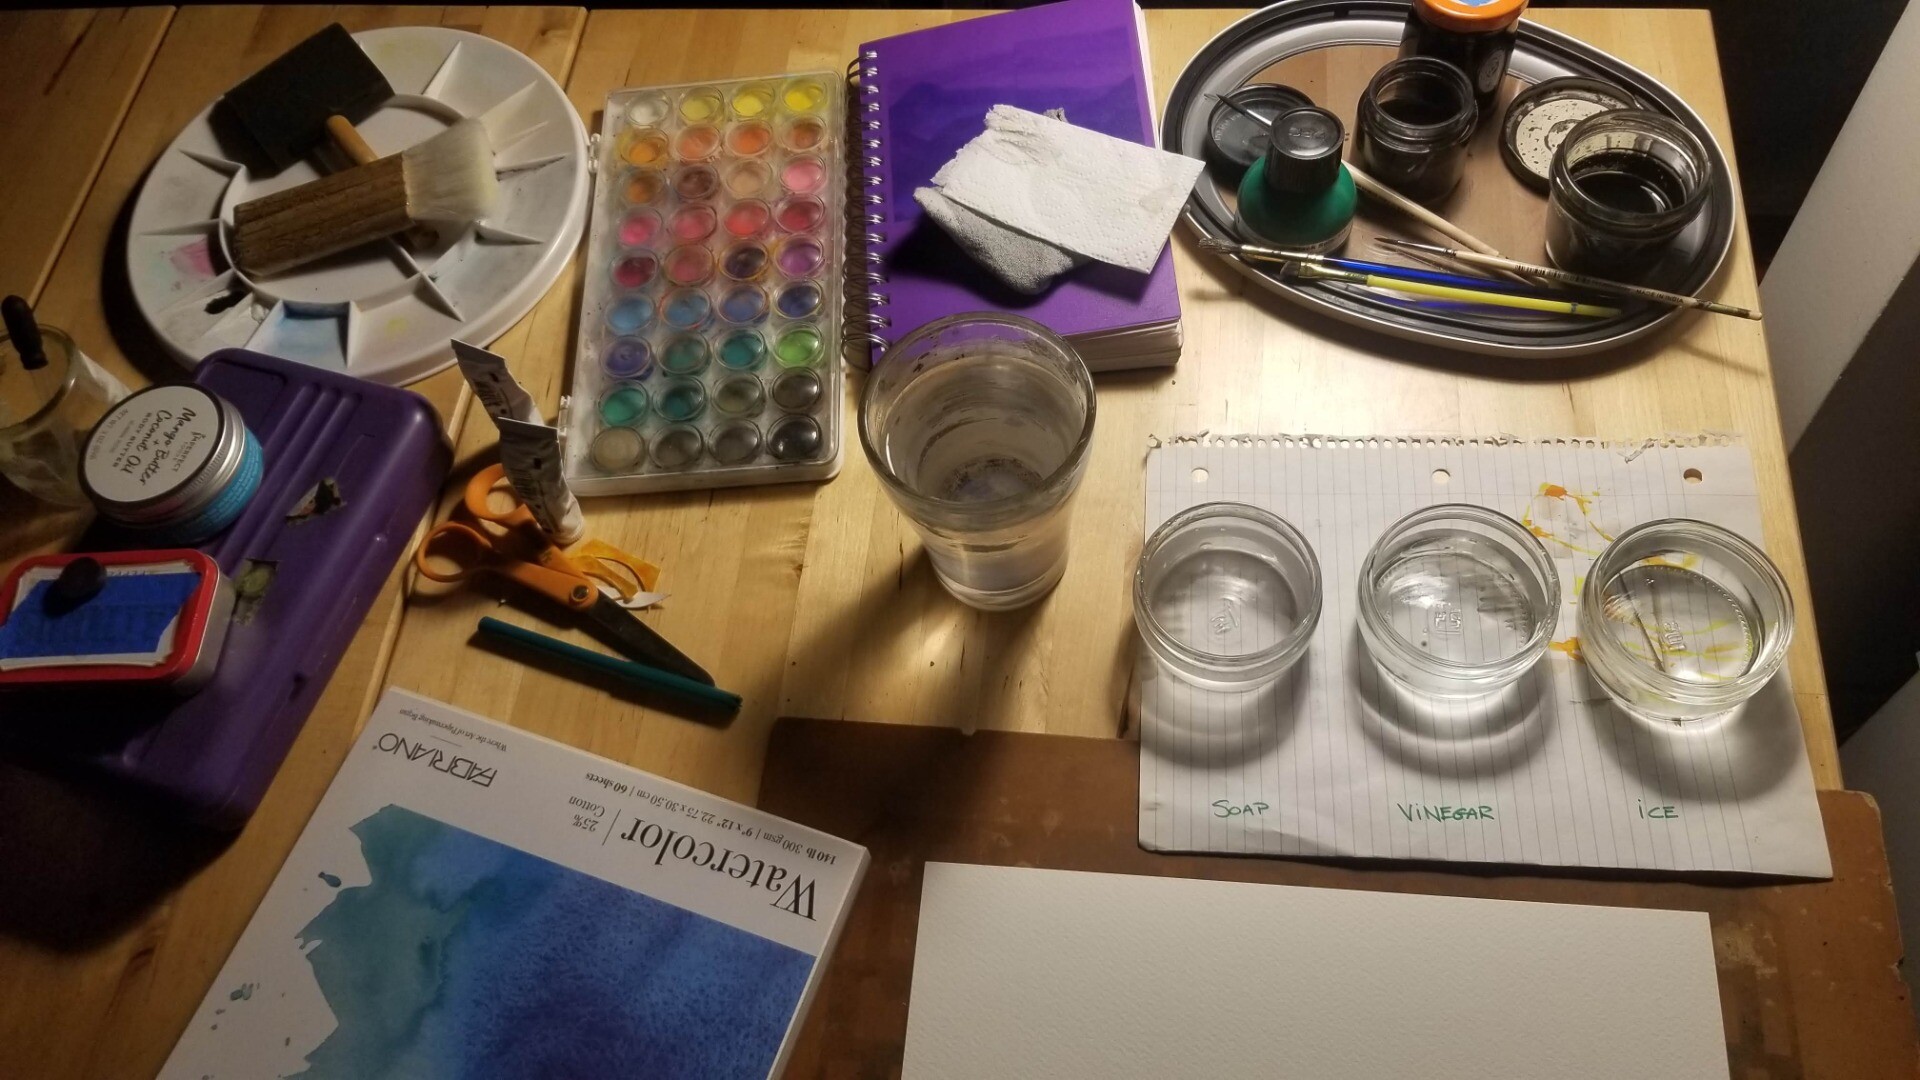 This isn’t a mess, it’s science!