I recently left California for the forests of New England, & started hand-quilting things in order to have warm clothing/blankets for the oncoming winter. The goal was also to try & make myself excited for the cold weather, but that's not happening- I moved to California years ago for many reasons, but a major one was to get away from the cold!
Have you have ever hand-quilted something? If not, know that it is a lot of work. I had just resigned myself to a lifetime of sore fingers from holding a needle for hours, when my research on kantha stitching led to a revelation: the palm thimble! This thimble solves all my current sewing problems! Well, except for one. I don't know if you know this, but buying stuff costs money. I have to economize (see: just moved my entire household 3,000 miles) so in addition to using upcycled materials like I always have, I am also making my own sewing tools. That means I get to show how you can make them, too!
 Introducing the Fingie-Saver 3000
Supplies
- Needles & Pins
- Fabric Scissors
- Something to mark the fabric, if you want things to be nice & neat.
- Thread: I use both regular thread & embroidery thread on this project. Use whatever you have, it'll probably work. Things I hand-stitched with dental floss in high school haven't fallen apart yet!
- Fabric: any woven fabric– which is materials like most sheets, pillowcases, or non-stretchy jeans (which is what I used). Since the fabric will be reinforced, it is OK to use cloth that is worn a bit thin- but avoid cloth with holes in it.
- Disc of plastic or metal. For this project I used a coin slightly larger than a US quarter. This will reinforce the thimble. It doesn't need to be very strong for that- don't pick anything too big or heavy.
If You Have Never Sewn Before, Read This Section!
To Knot Or Not To Knot
How do you start & end each thread? You can't just leave the ends free & hope for the best. Sometimes you can just anchor the ends with knots, for that it is fastest to tie a quilting knot at the beginning & a finishing knot at the end. Sometimes you don't want a big ugly knot stuck in the middle of your sewing & that is when you use an invisible backstitch.
Running With Stitches
The Running Stitich is the main one you need to know for this project.
The Whip Stitch will come in handy, too.
The Basting Stitch might come in handy, but is not required. It is an extra-long running stitch that you do not secure at both ends. It temporarily holds the fabric in place while you sew, and then you pull out the basting stitches. Use a noticeable thread color to make the stitch removal easier!
Instructions:
Assemble Your Ingredients
I used both regular thread & embroidery thread on this project, a coin slightly larger than a US quarter, & fabric scraps. The scraps were left over from a pair of old jeans I turned into my embroidery kit. You only need a little bit of fabric & the thick outside seam of the jeans.

- Cut 2 circles from your fabric, about twice as large as the plastic or metal disc you chose. Err on the side of them being too big- you can always trim them down later.
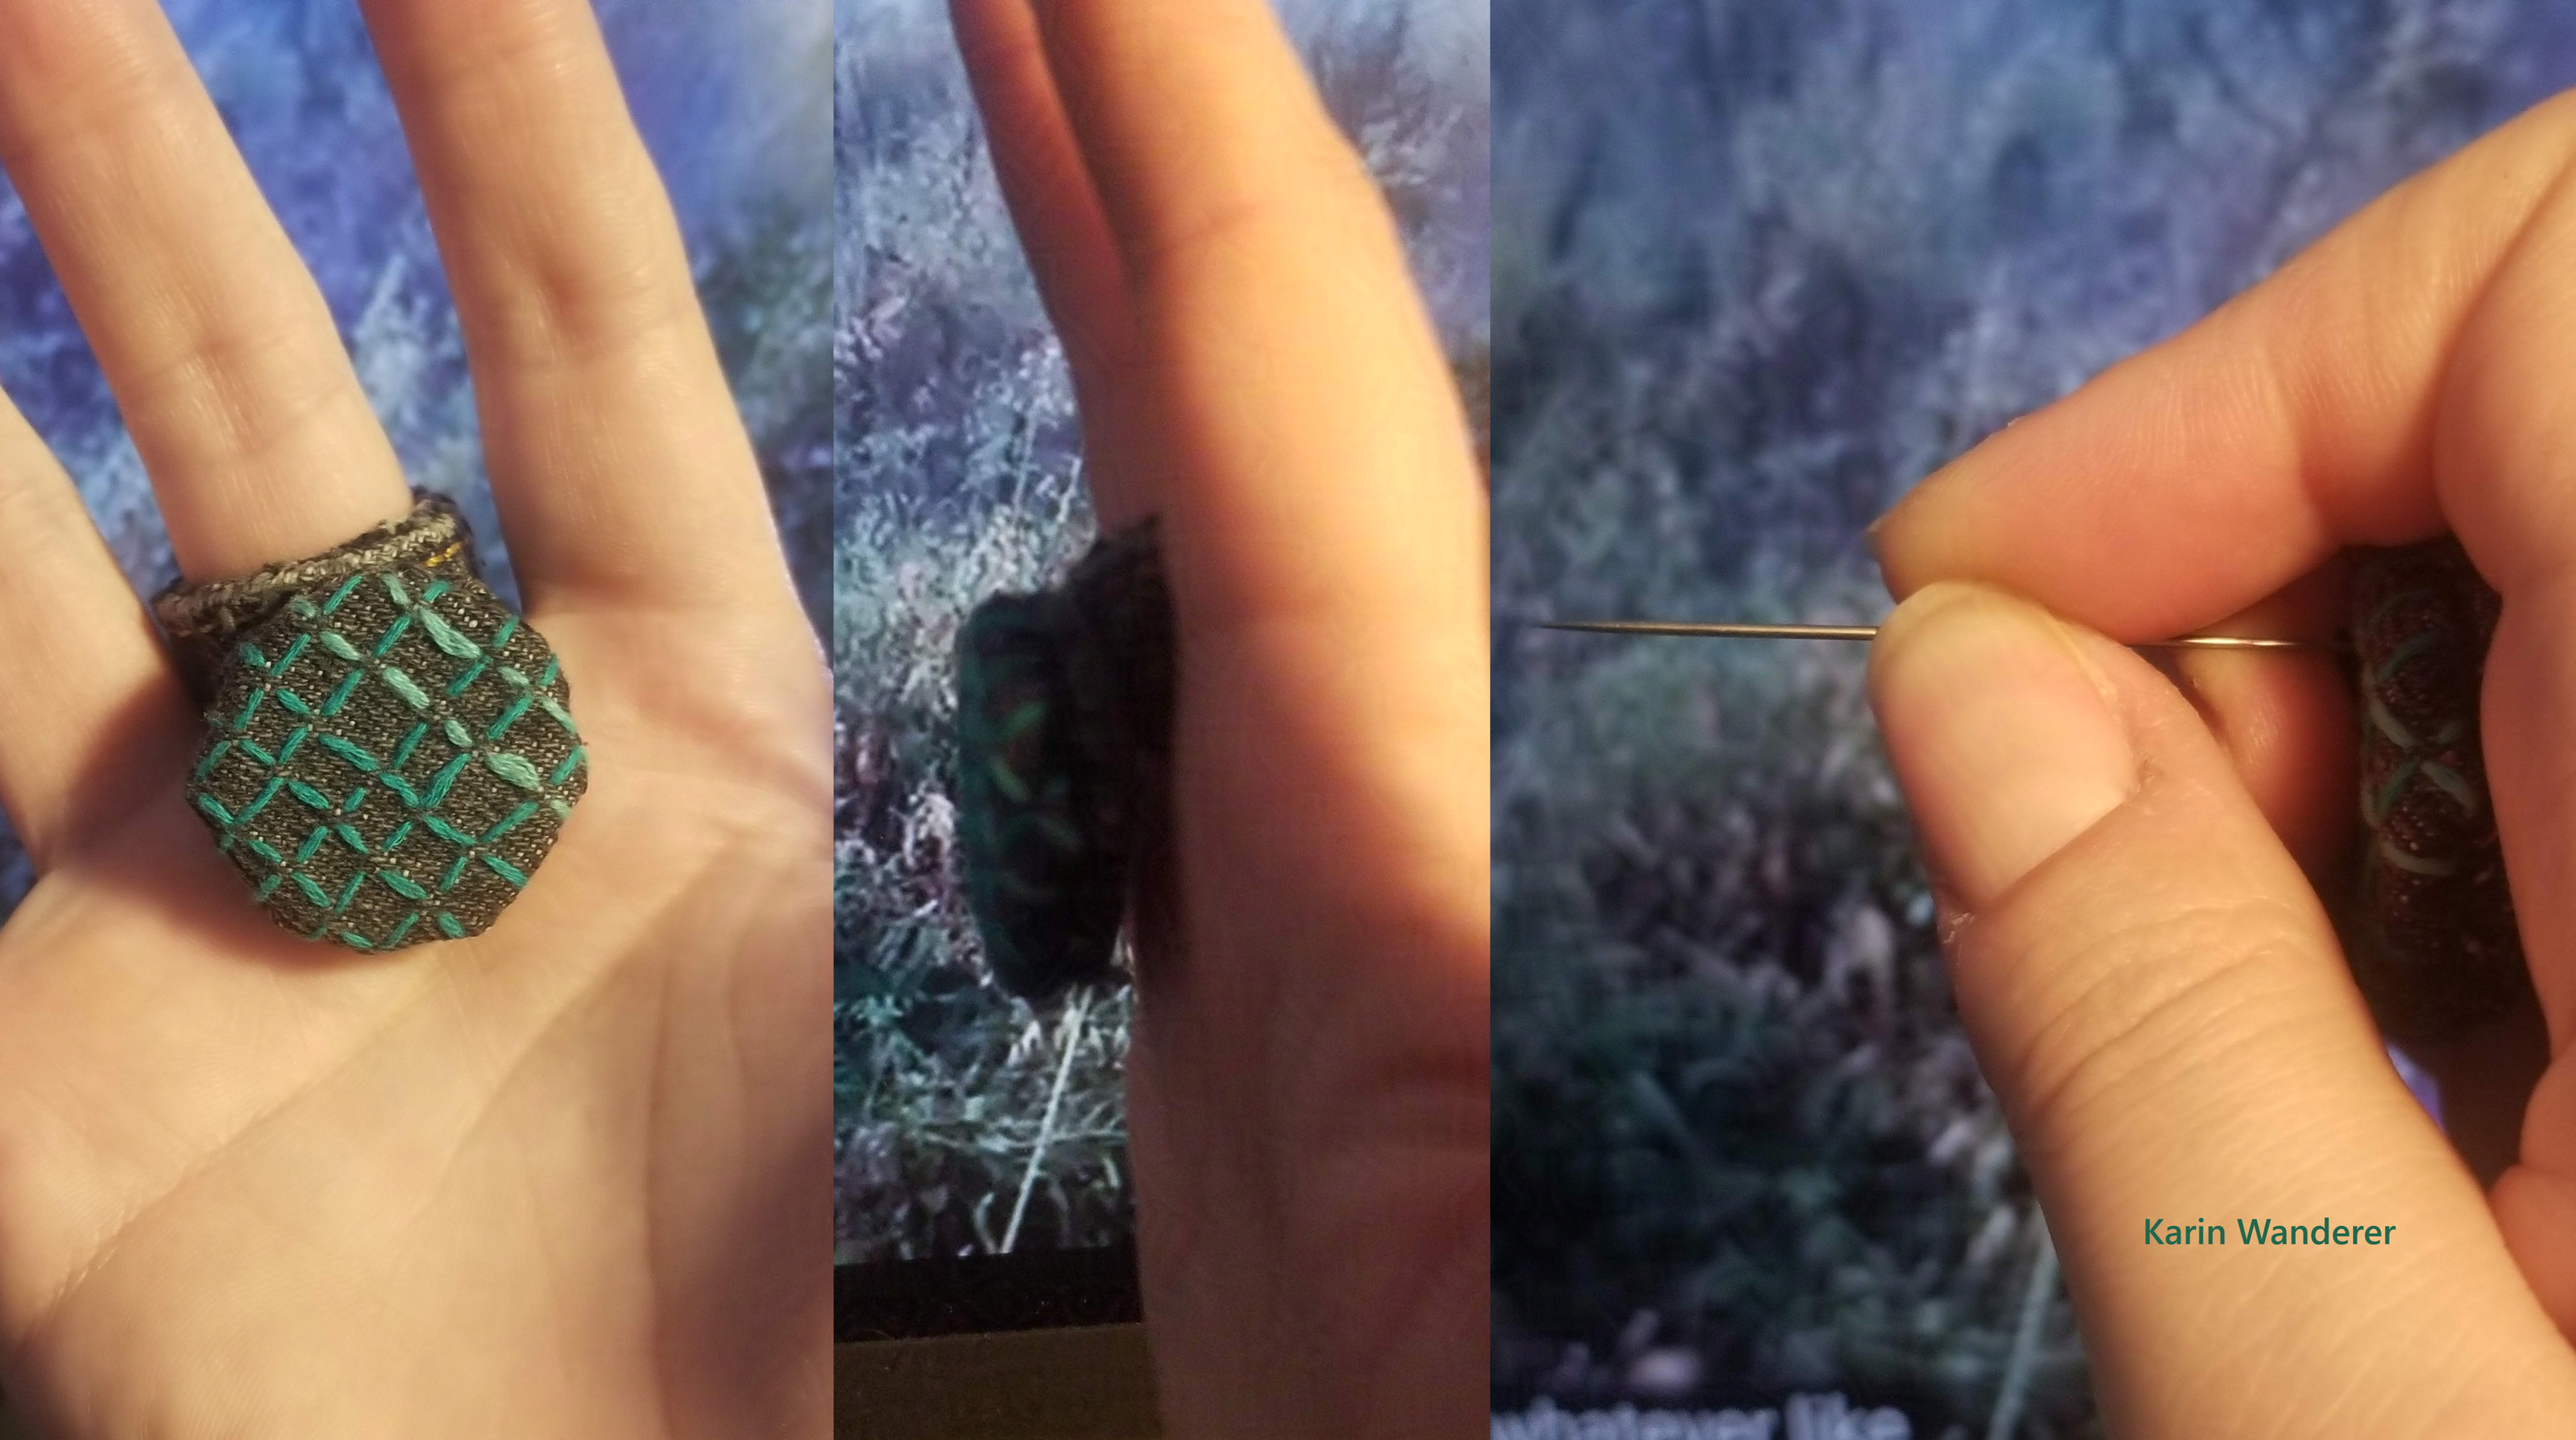
- Embroider a grid onto one of the circles, slightly larger than the disc. This will keep your needle from sliding around when you are using the thimble.
- Make the embroidered circle into a yo-yo with the disc tucked inside.
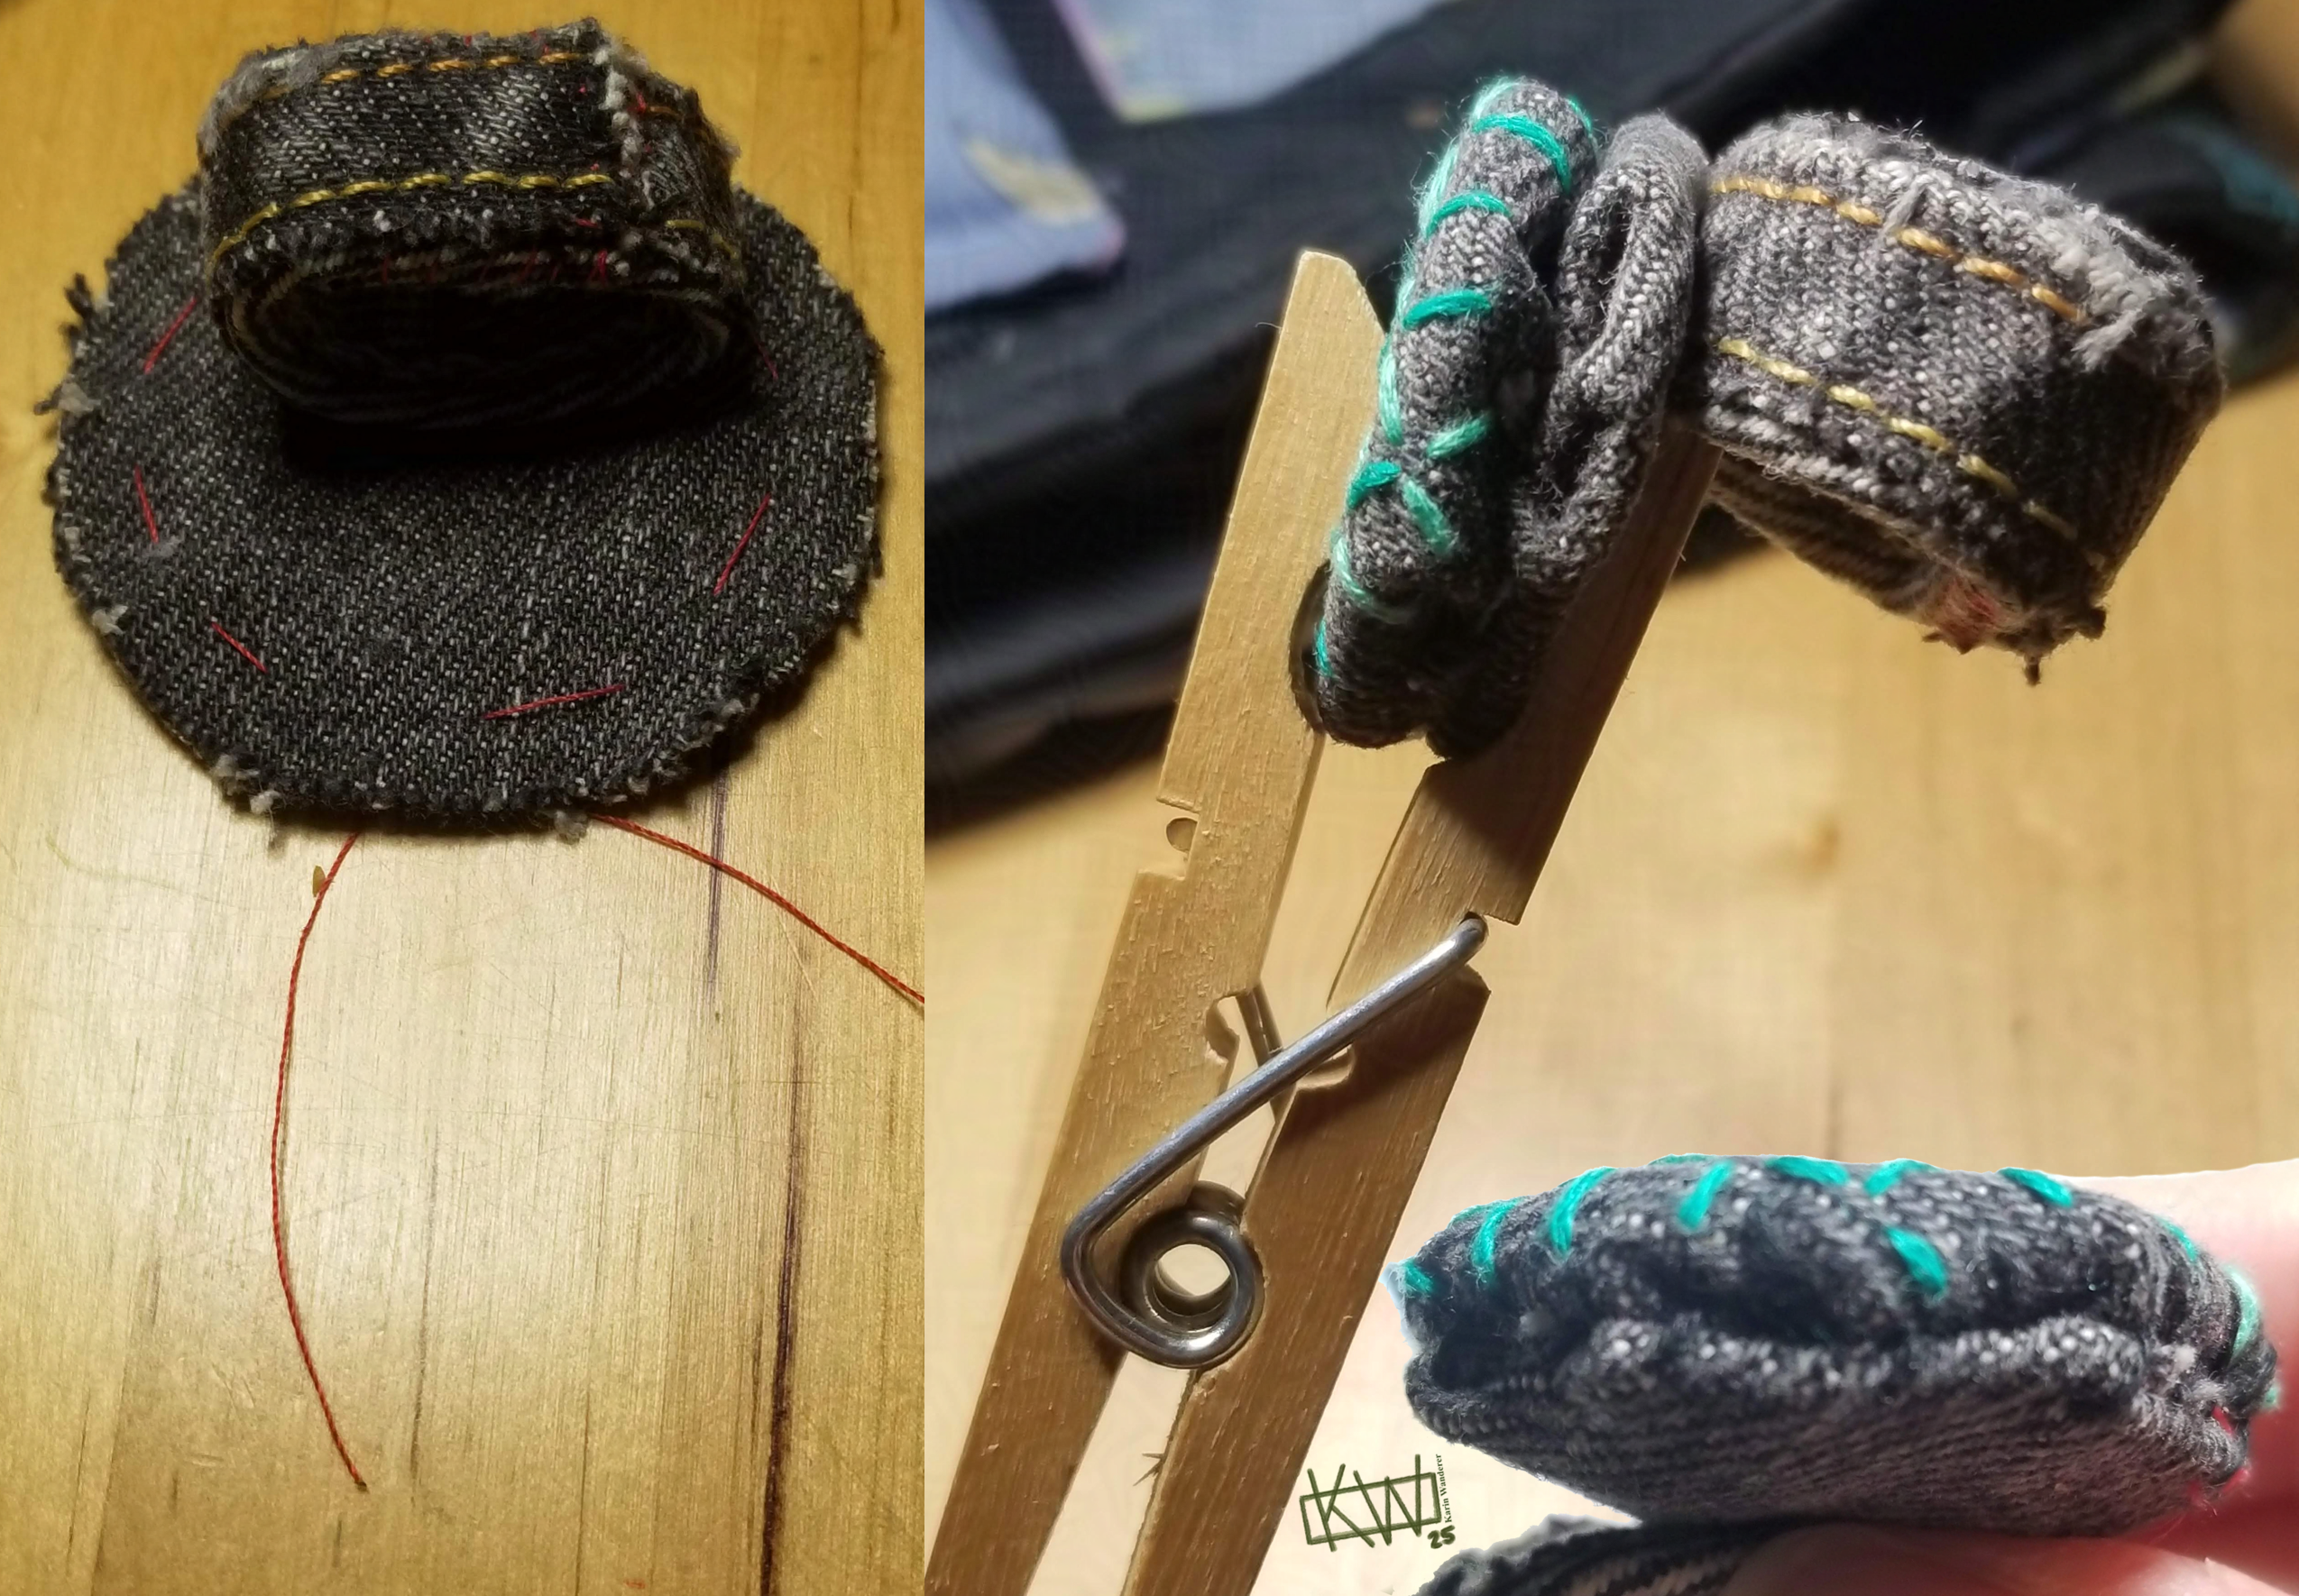
- Take a strip of thick fabric (I used the flat-felled seam from the leg of the jeans) and sew it into a ring that fits snugly on your middle finger. Make it sure it is snug not tight, you will be wearing this for a long time & you do not want it to cut off your blood circulation.
- Attach the ring to the un-embroidered circle. Make that circle into another yo-yo, same diameter as the first, with the ring on the outside.
 Make The Sandwich
- Hold your 2 fabric yo-yos wrong sides together, as shown. You can just hold them in place with your fingers, but I found a clothespin to be very helpful at this stage!
- Whip stitch the yo-yos together. I basted mine in place and then went back over it again more neatly.
- Congratulate yourself on a job well done!
Not sure how to use this magnificent tool? Here's a video
I have been using my palm thimble to make larger & larger projects- from a drinks coaster to a scarf &, right now, a shawl. I love it! Are you going to make something like this? Do you want to see me make something else? Let me know on Mastodon or Ko-Fi!
Have a fantastic day, draw something for my art challenge, see you next week!
Get my art on mugs & vinyl stickers in my Shop!
Join us for #ArtABCs, the best art challenge on the internet!
- All pictures posted are my own work.
- All reviews are my own unpaid & unsolicited opinions.
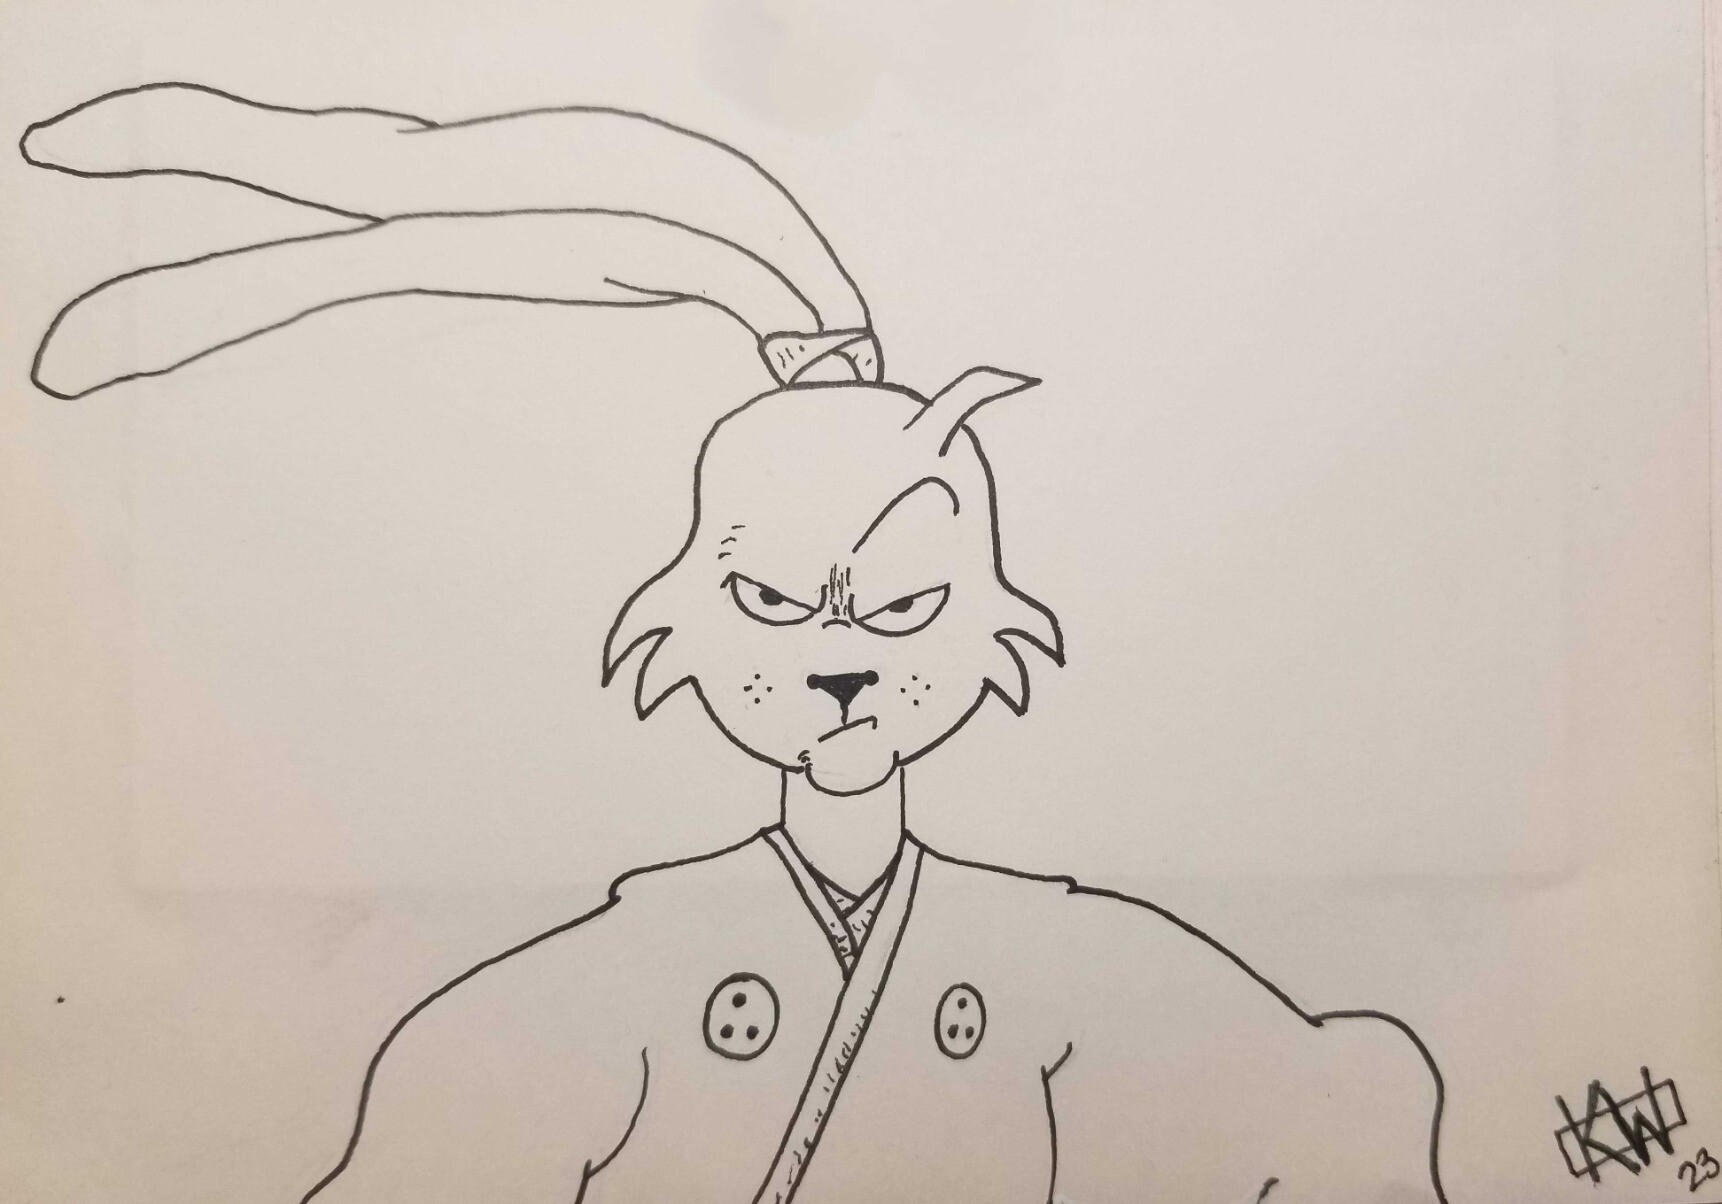 U is for Usagi
 T is for Tree
 Spoons have many uses, in & out of metaphor.
 S is for Szyslak
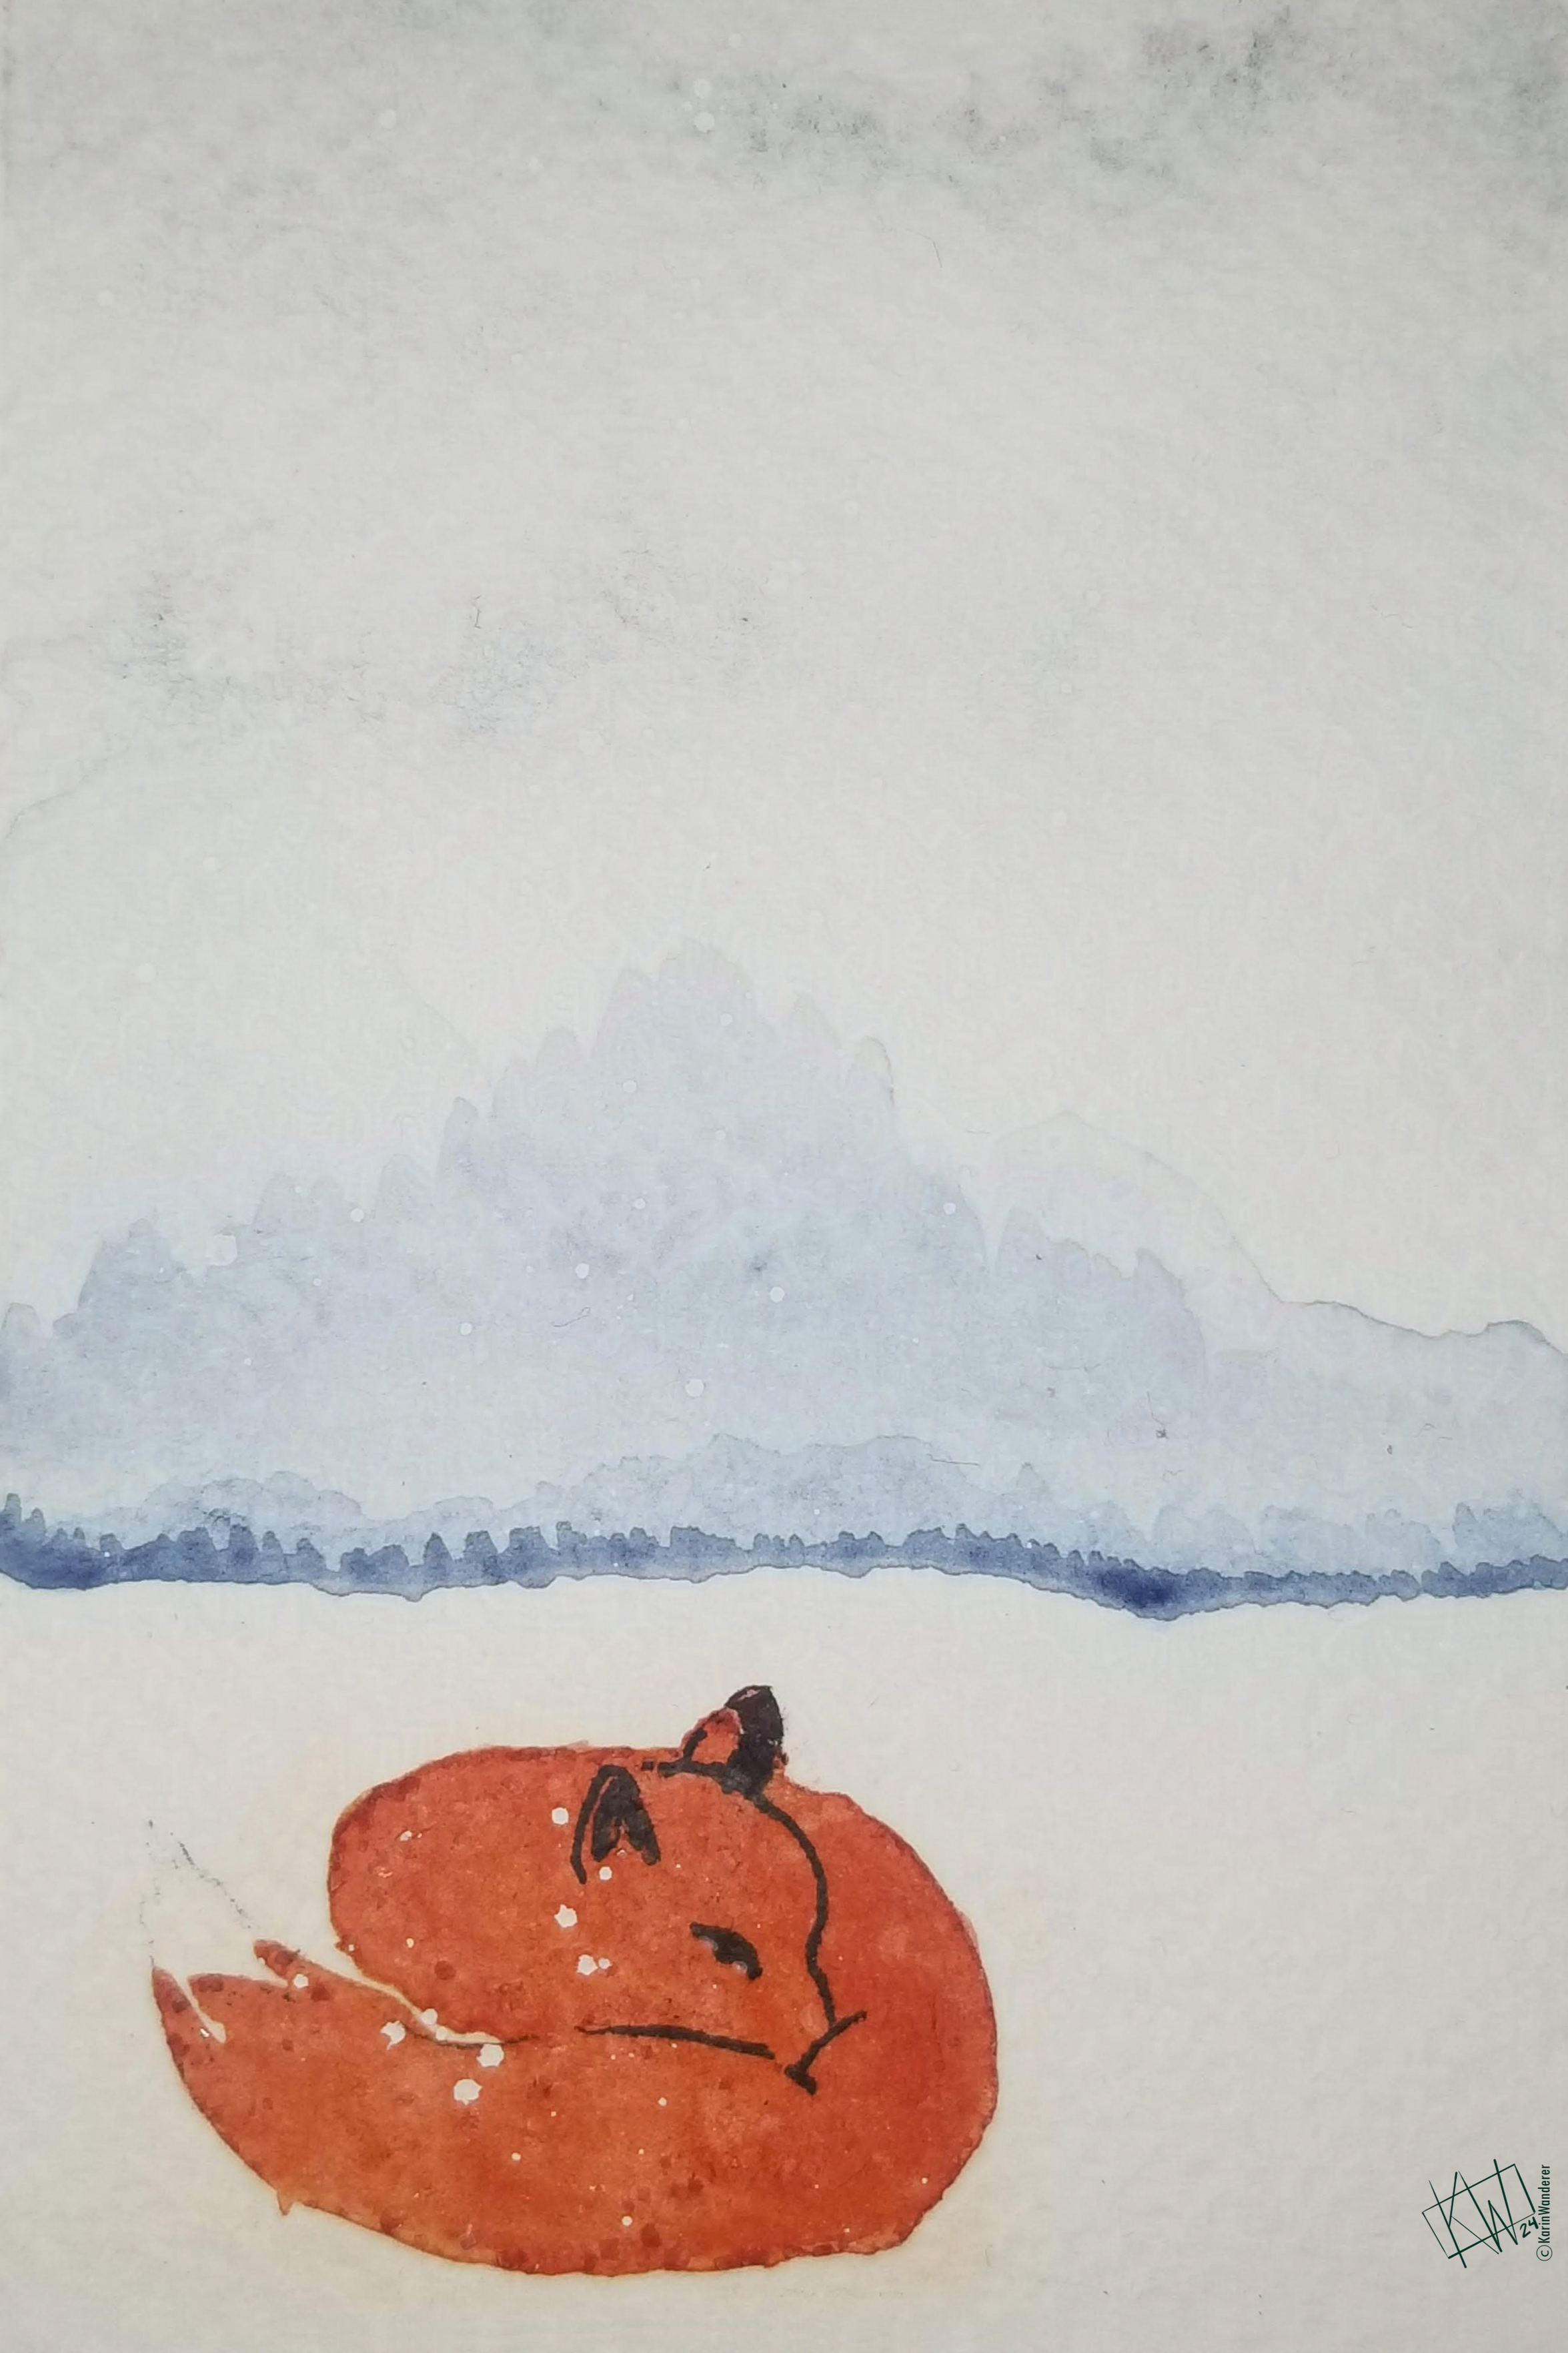 R is for Red Fox
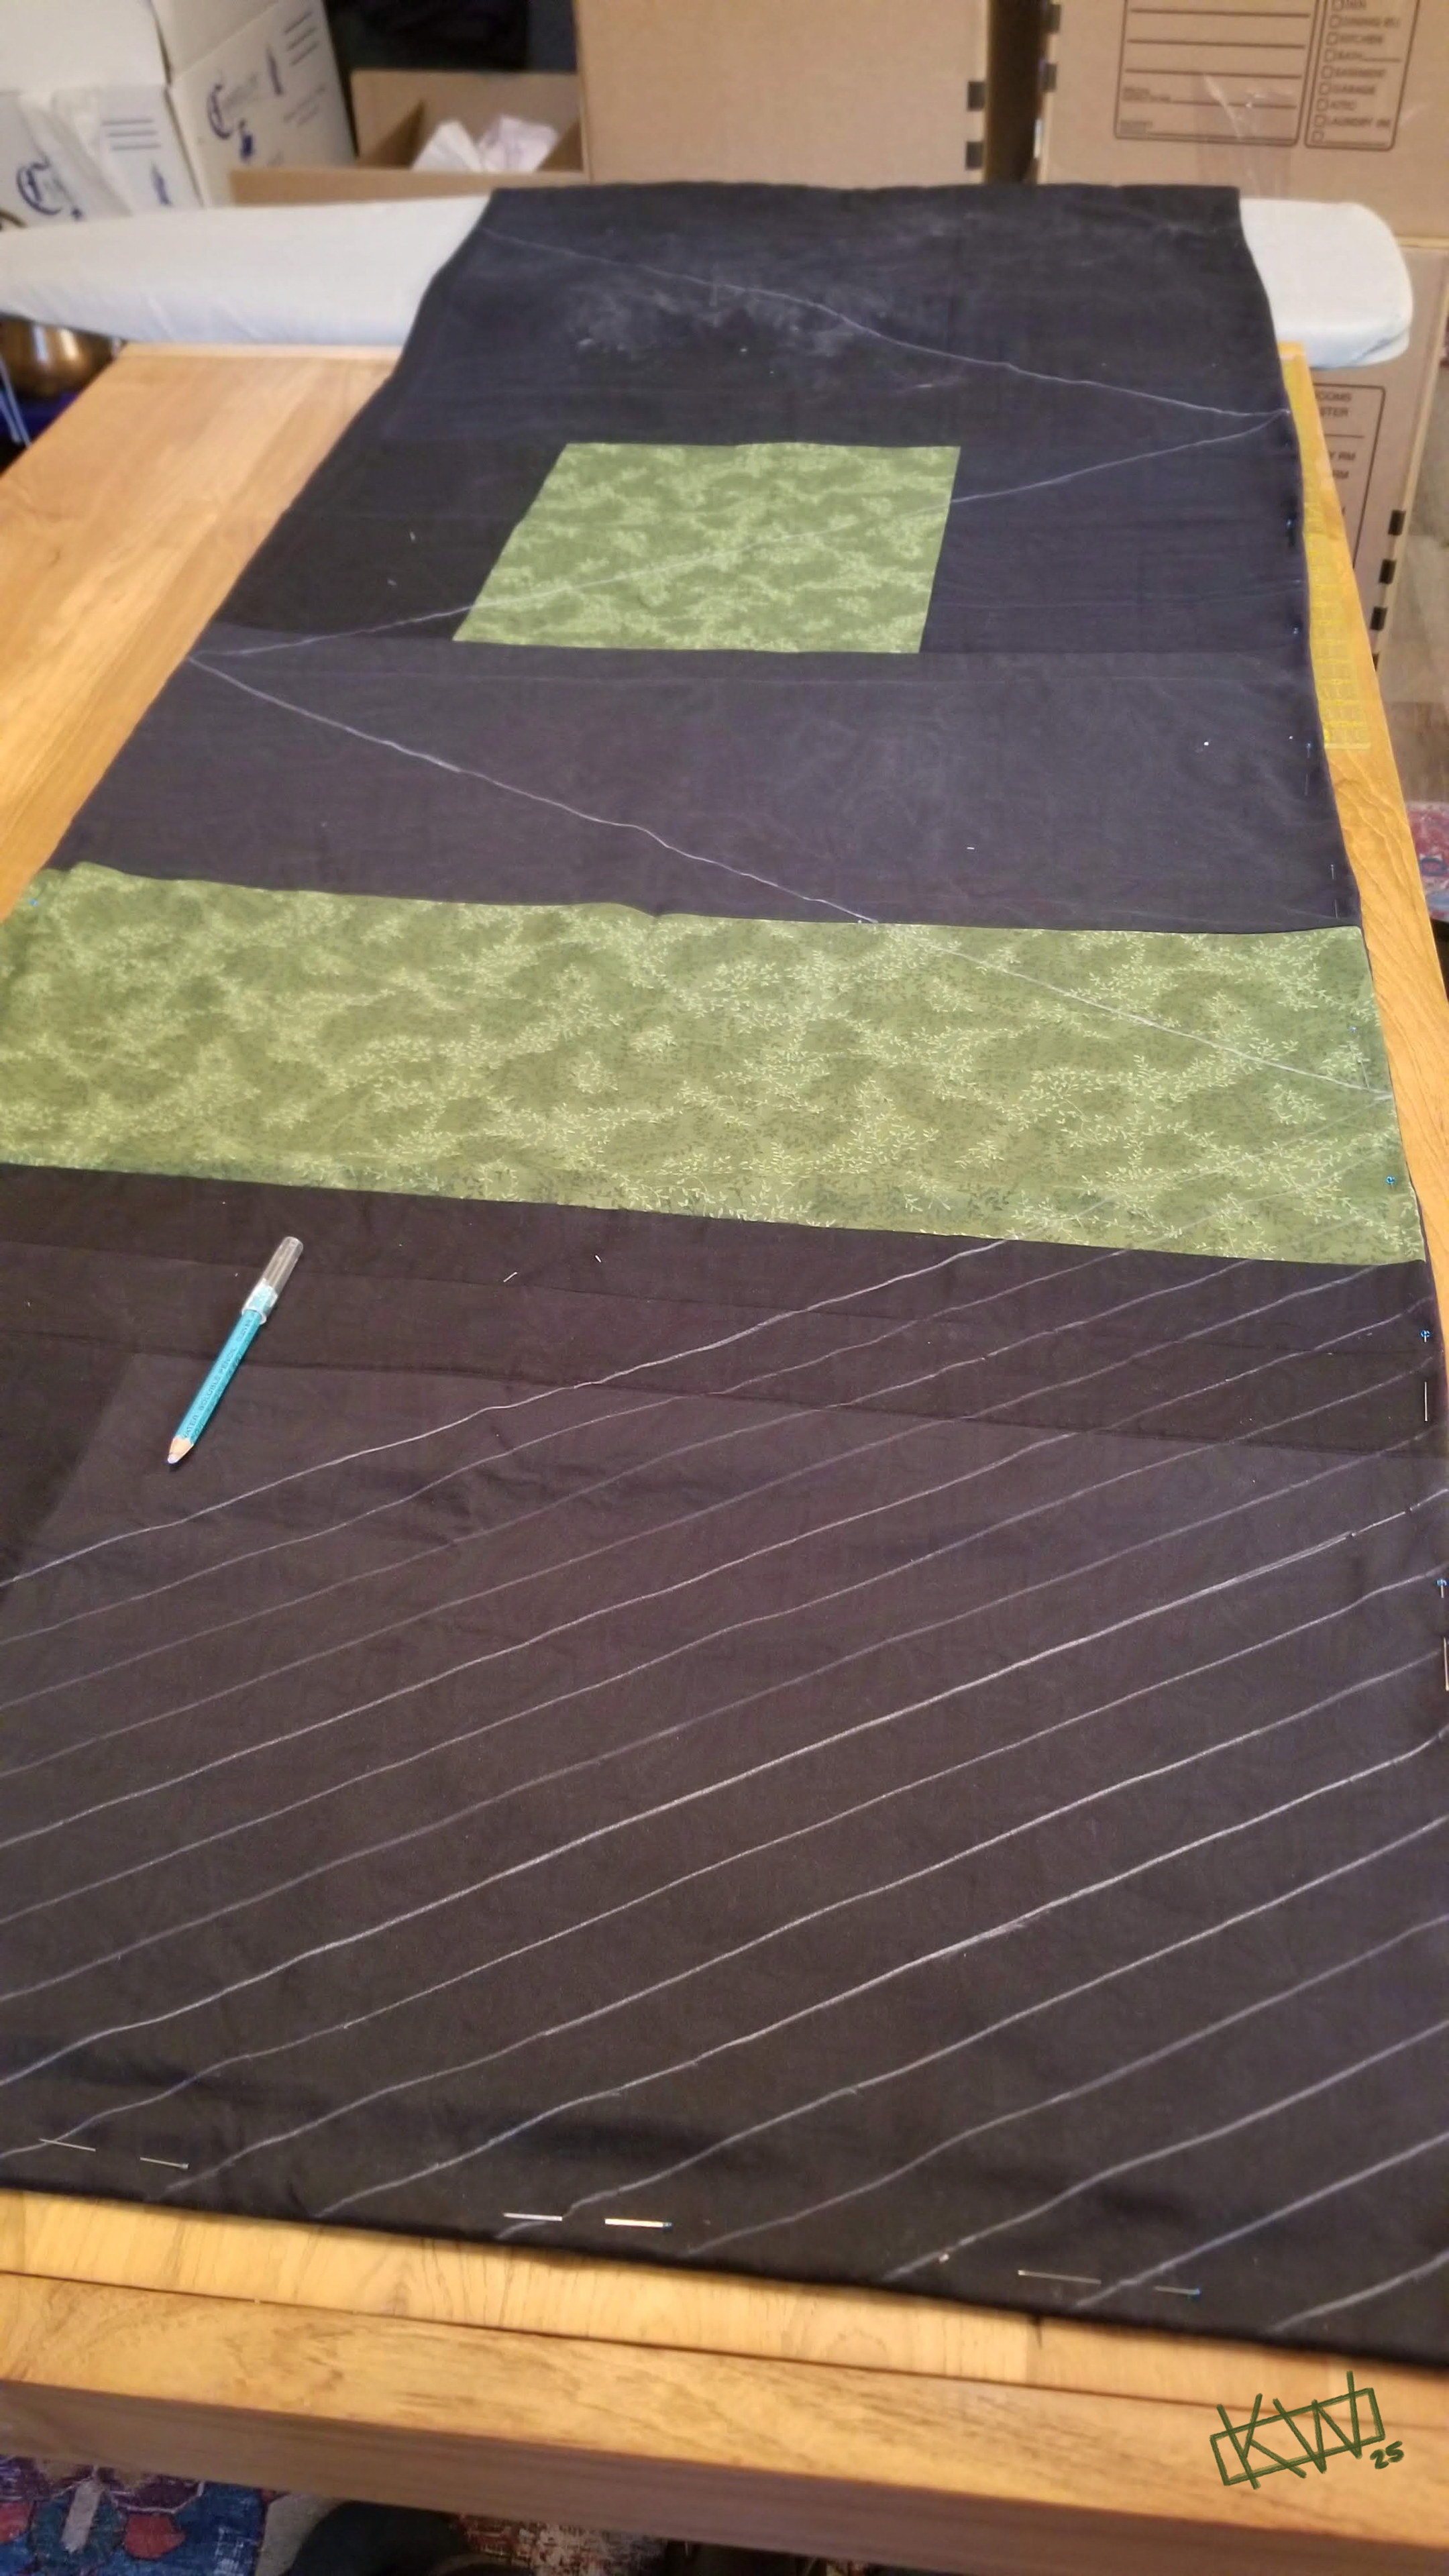 Seen here with the stacks of boxes I am ignoring in order to sew
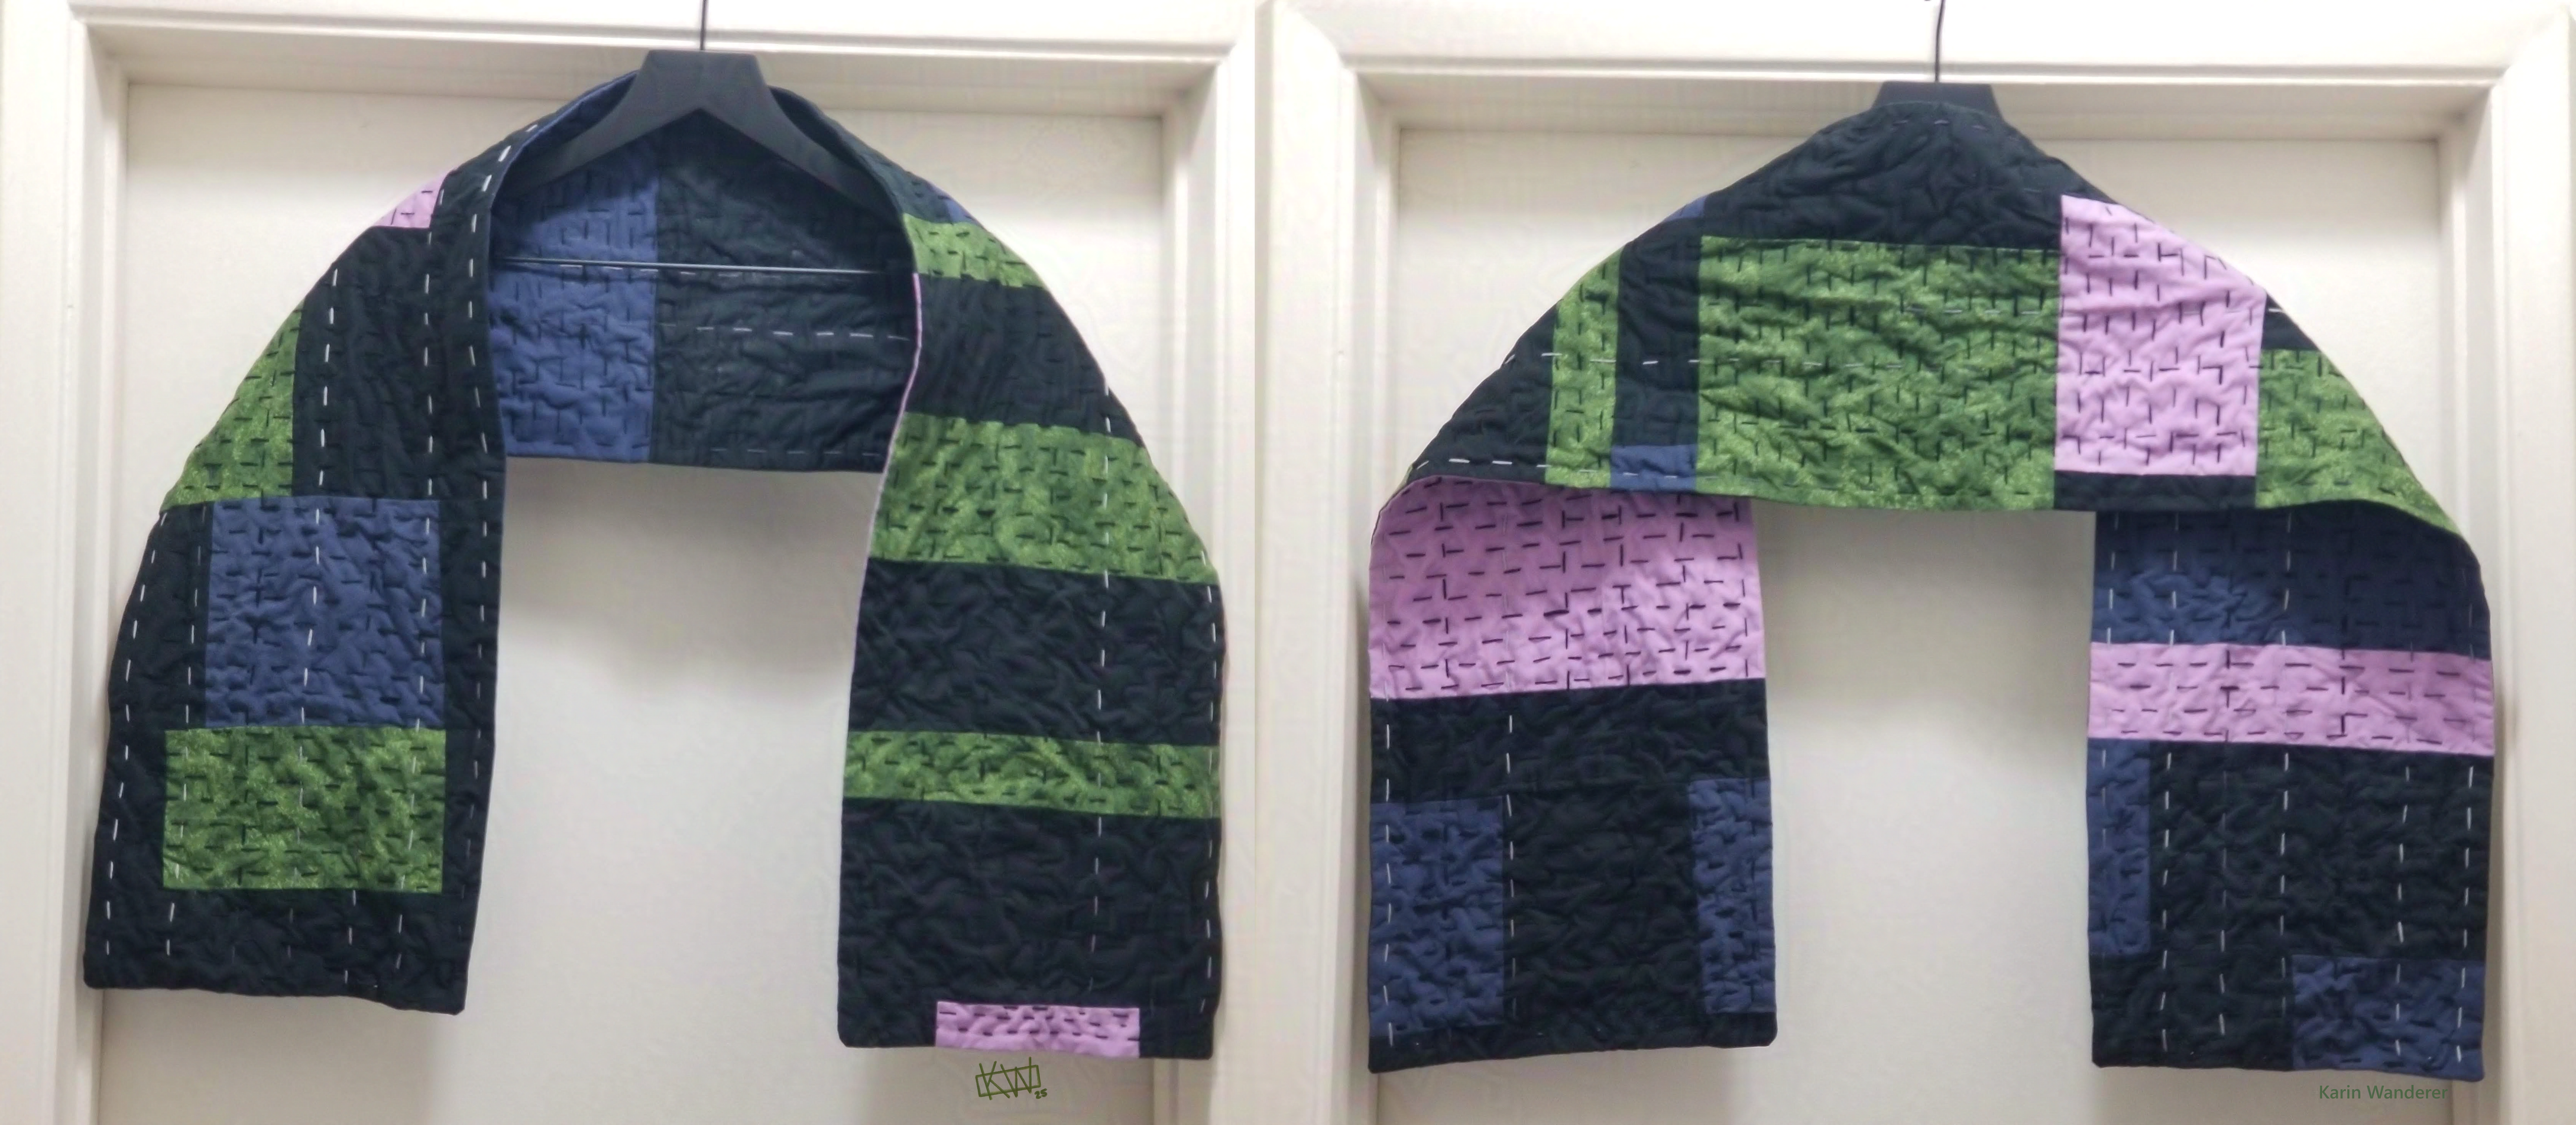
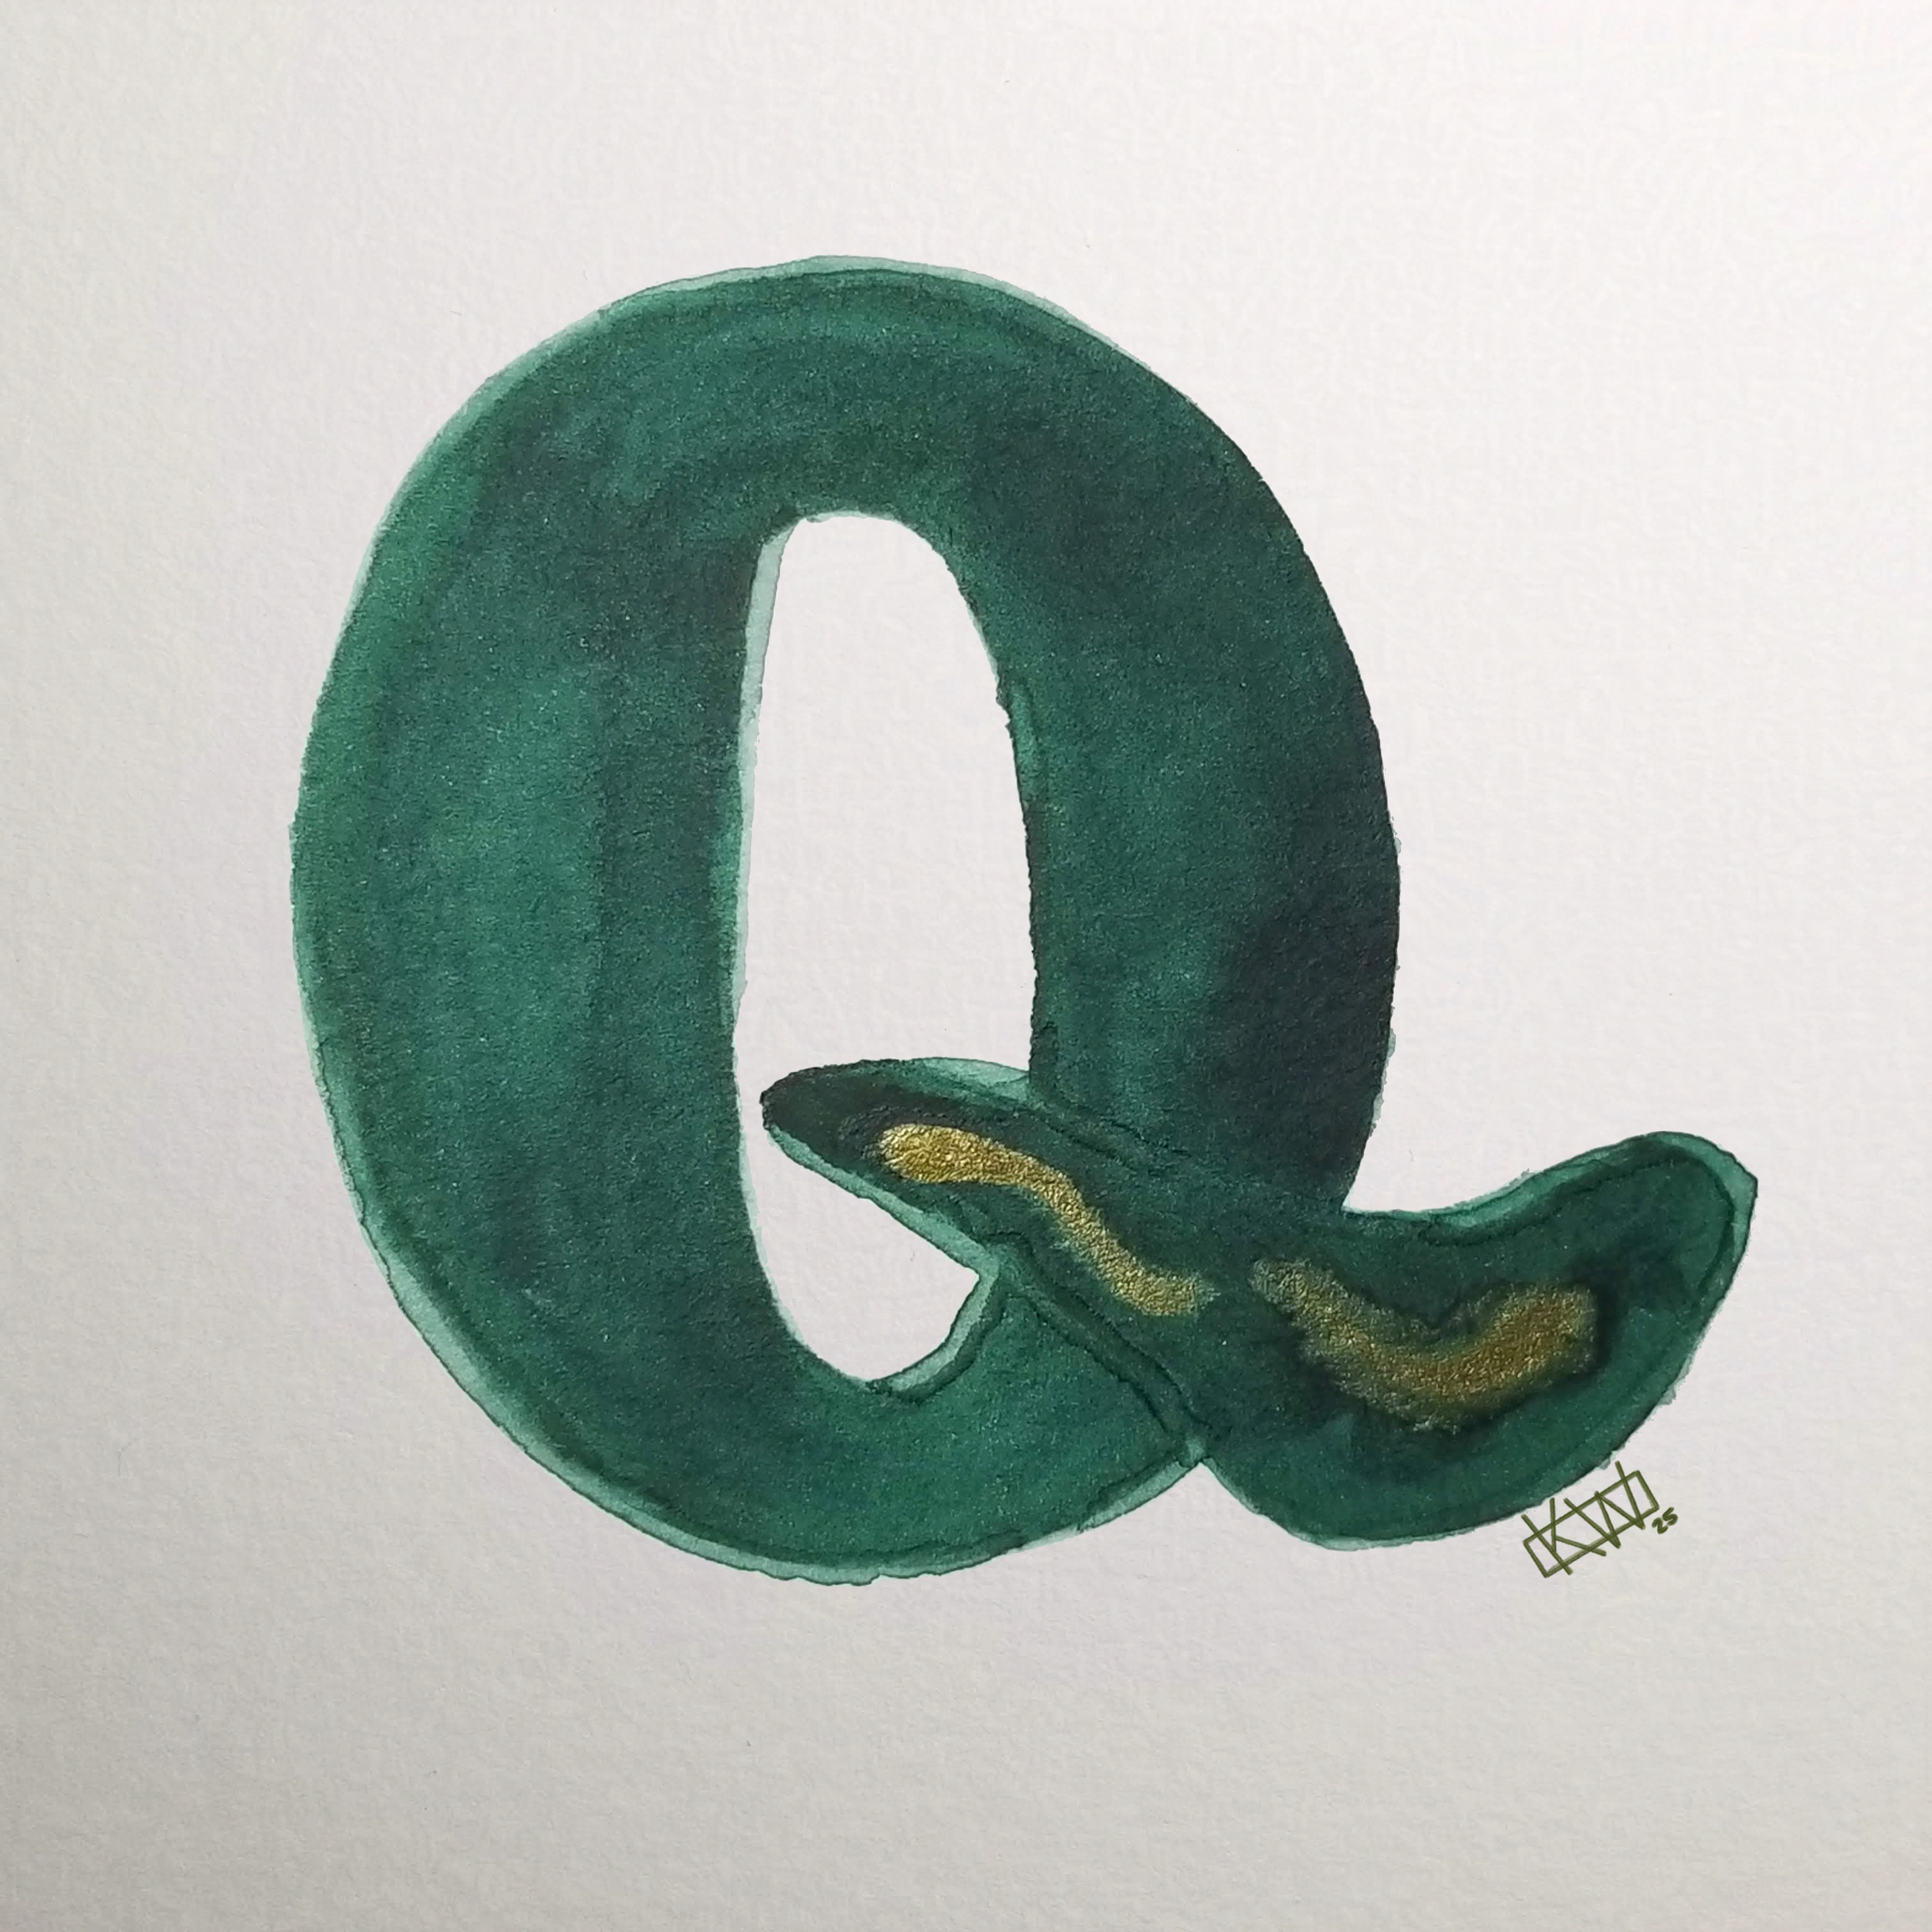
 Q is for Quail
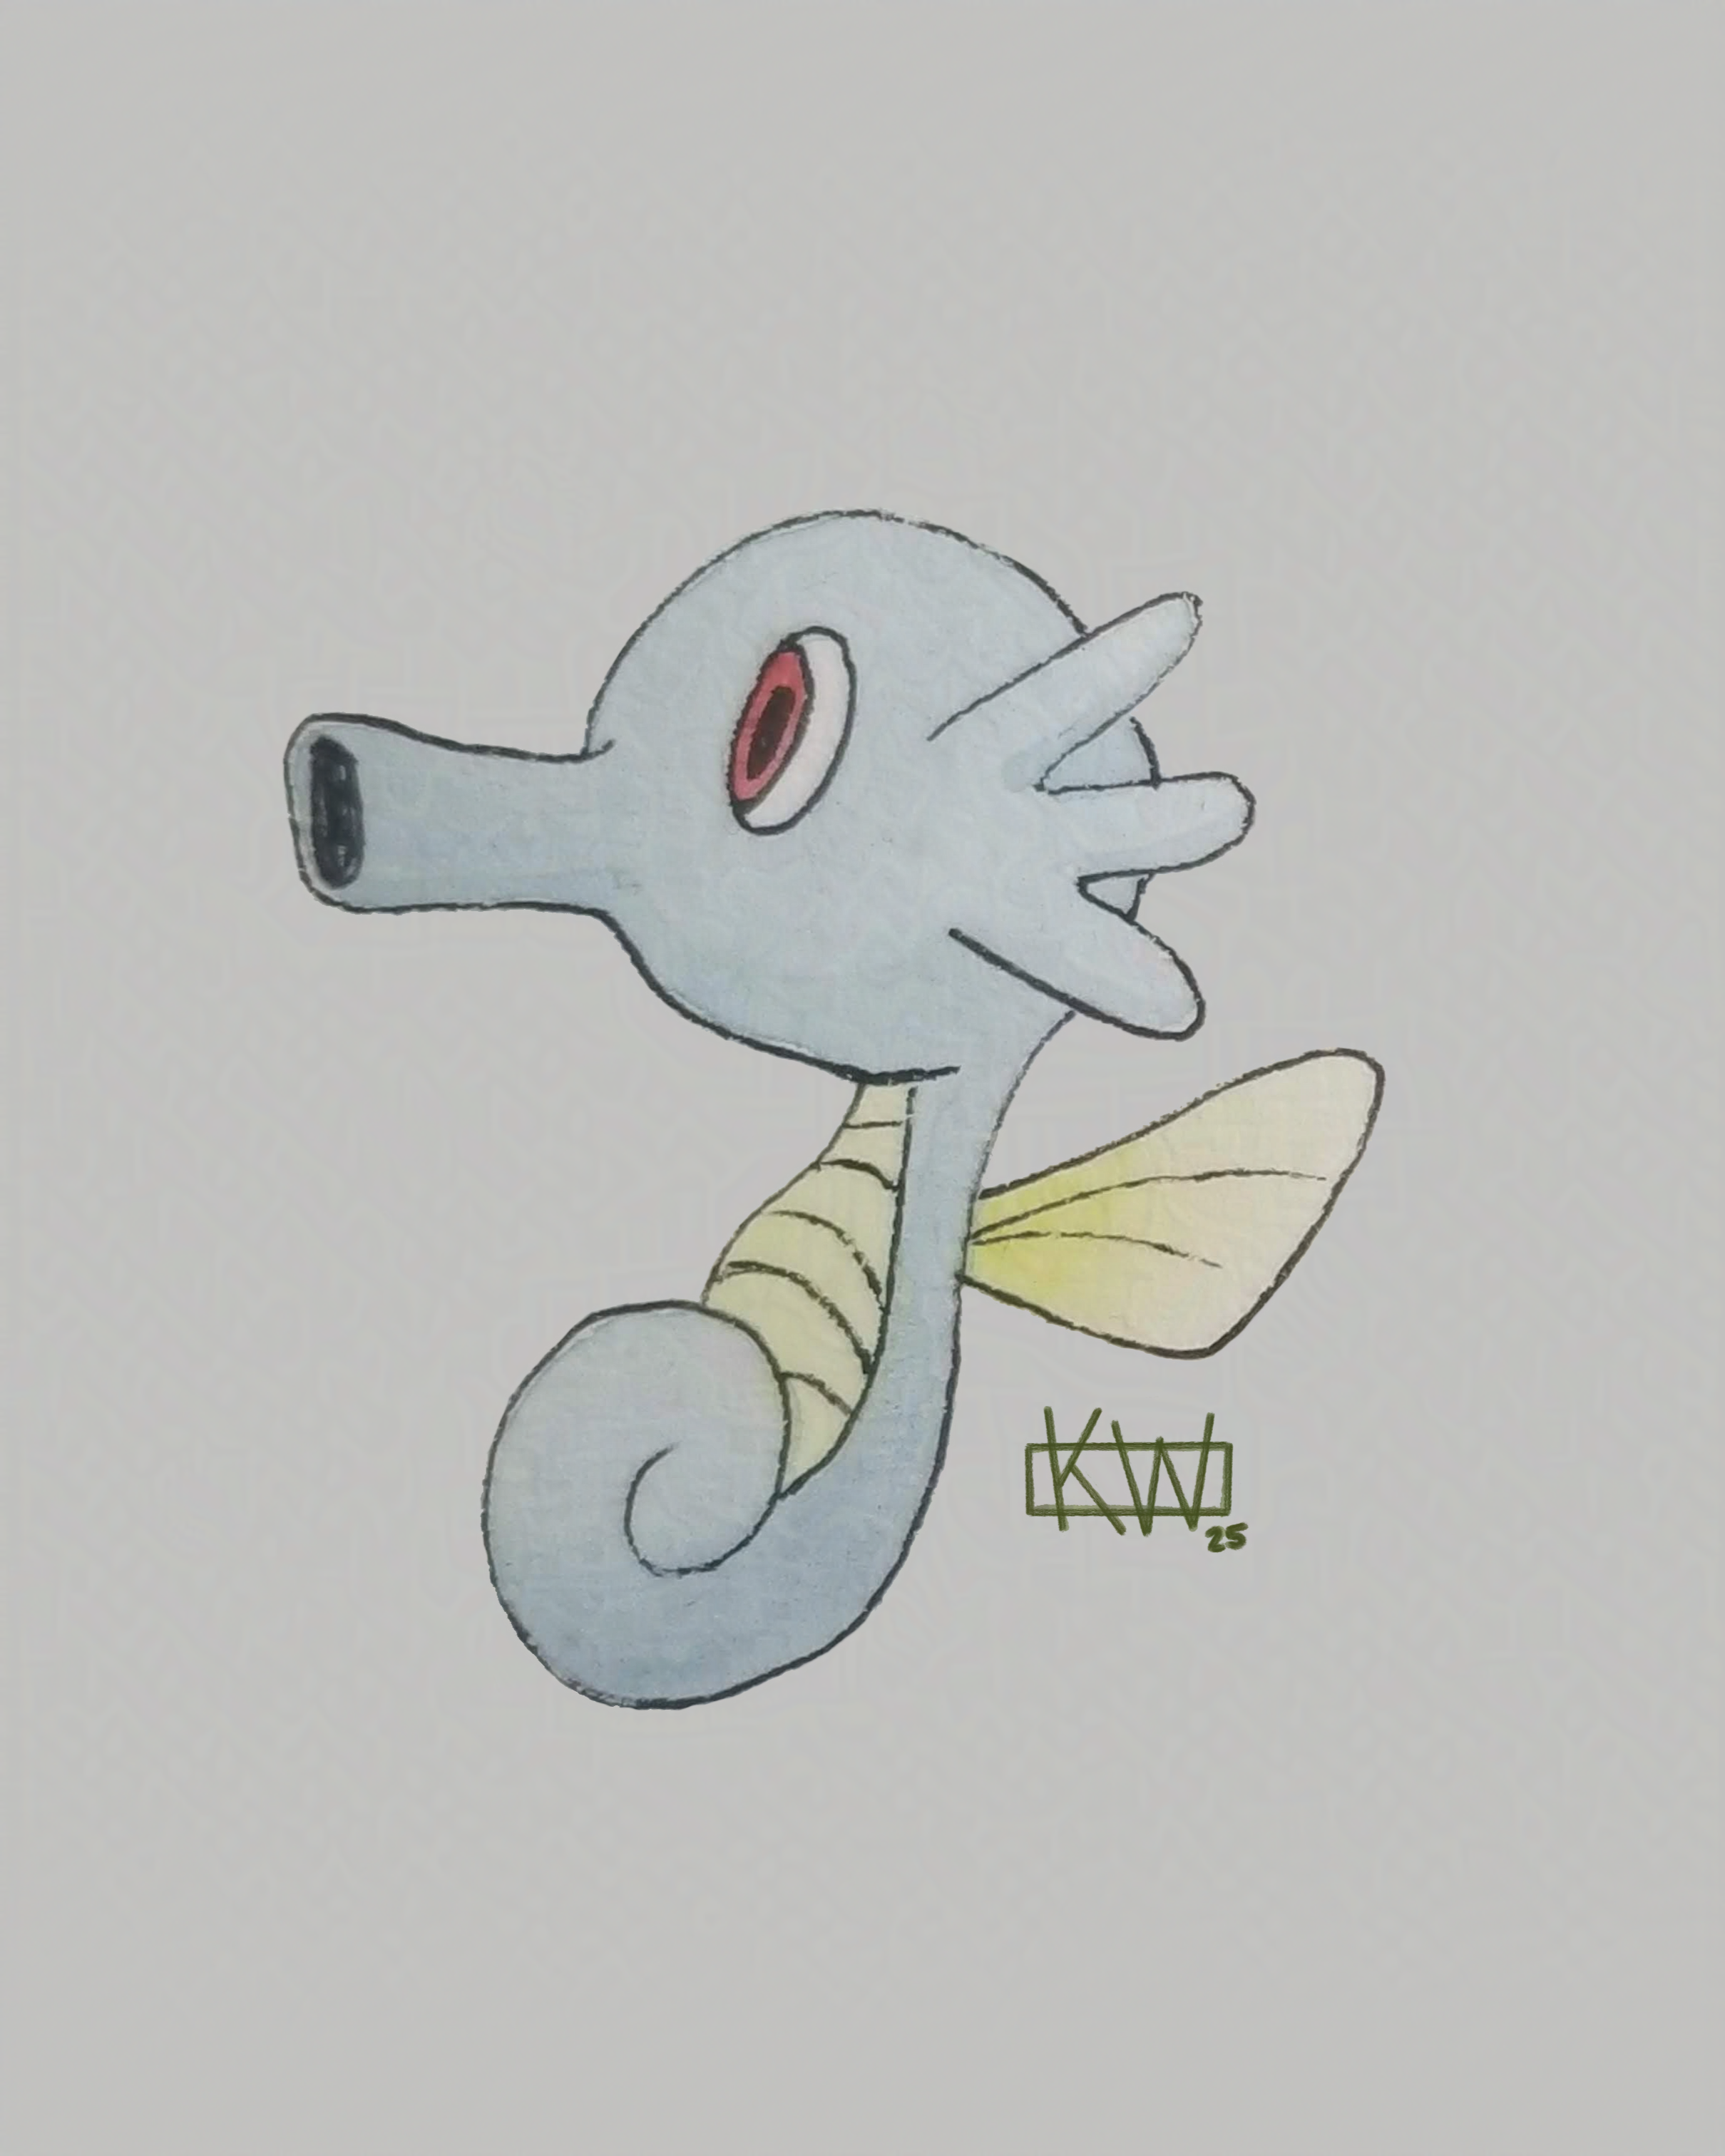 P is for Pokémon