B is for Bread!
Hello & Hello Again!
Every so often on this blog, we take a break & share a #recipe instead of talking about art. You can find a complete list of the recipes at the end of this article. Would you like to share a recipe in a future blog post? Let me know!
C is for... Challah!
This recipe takes time, but it is worth it! I love this amazing bread so much when it is freshly baked, either plain or with jam. Want a sweeter braided bread? Check out my bulle recipe.
 Recipe makes 3-4 loaves depending on the size
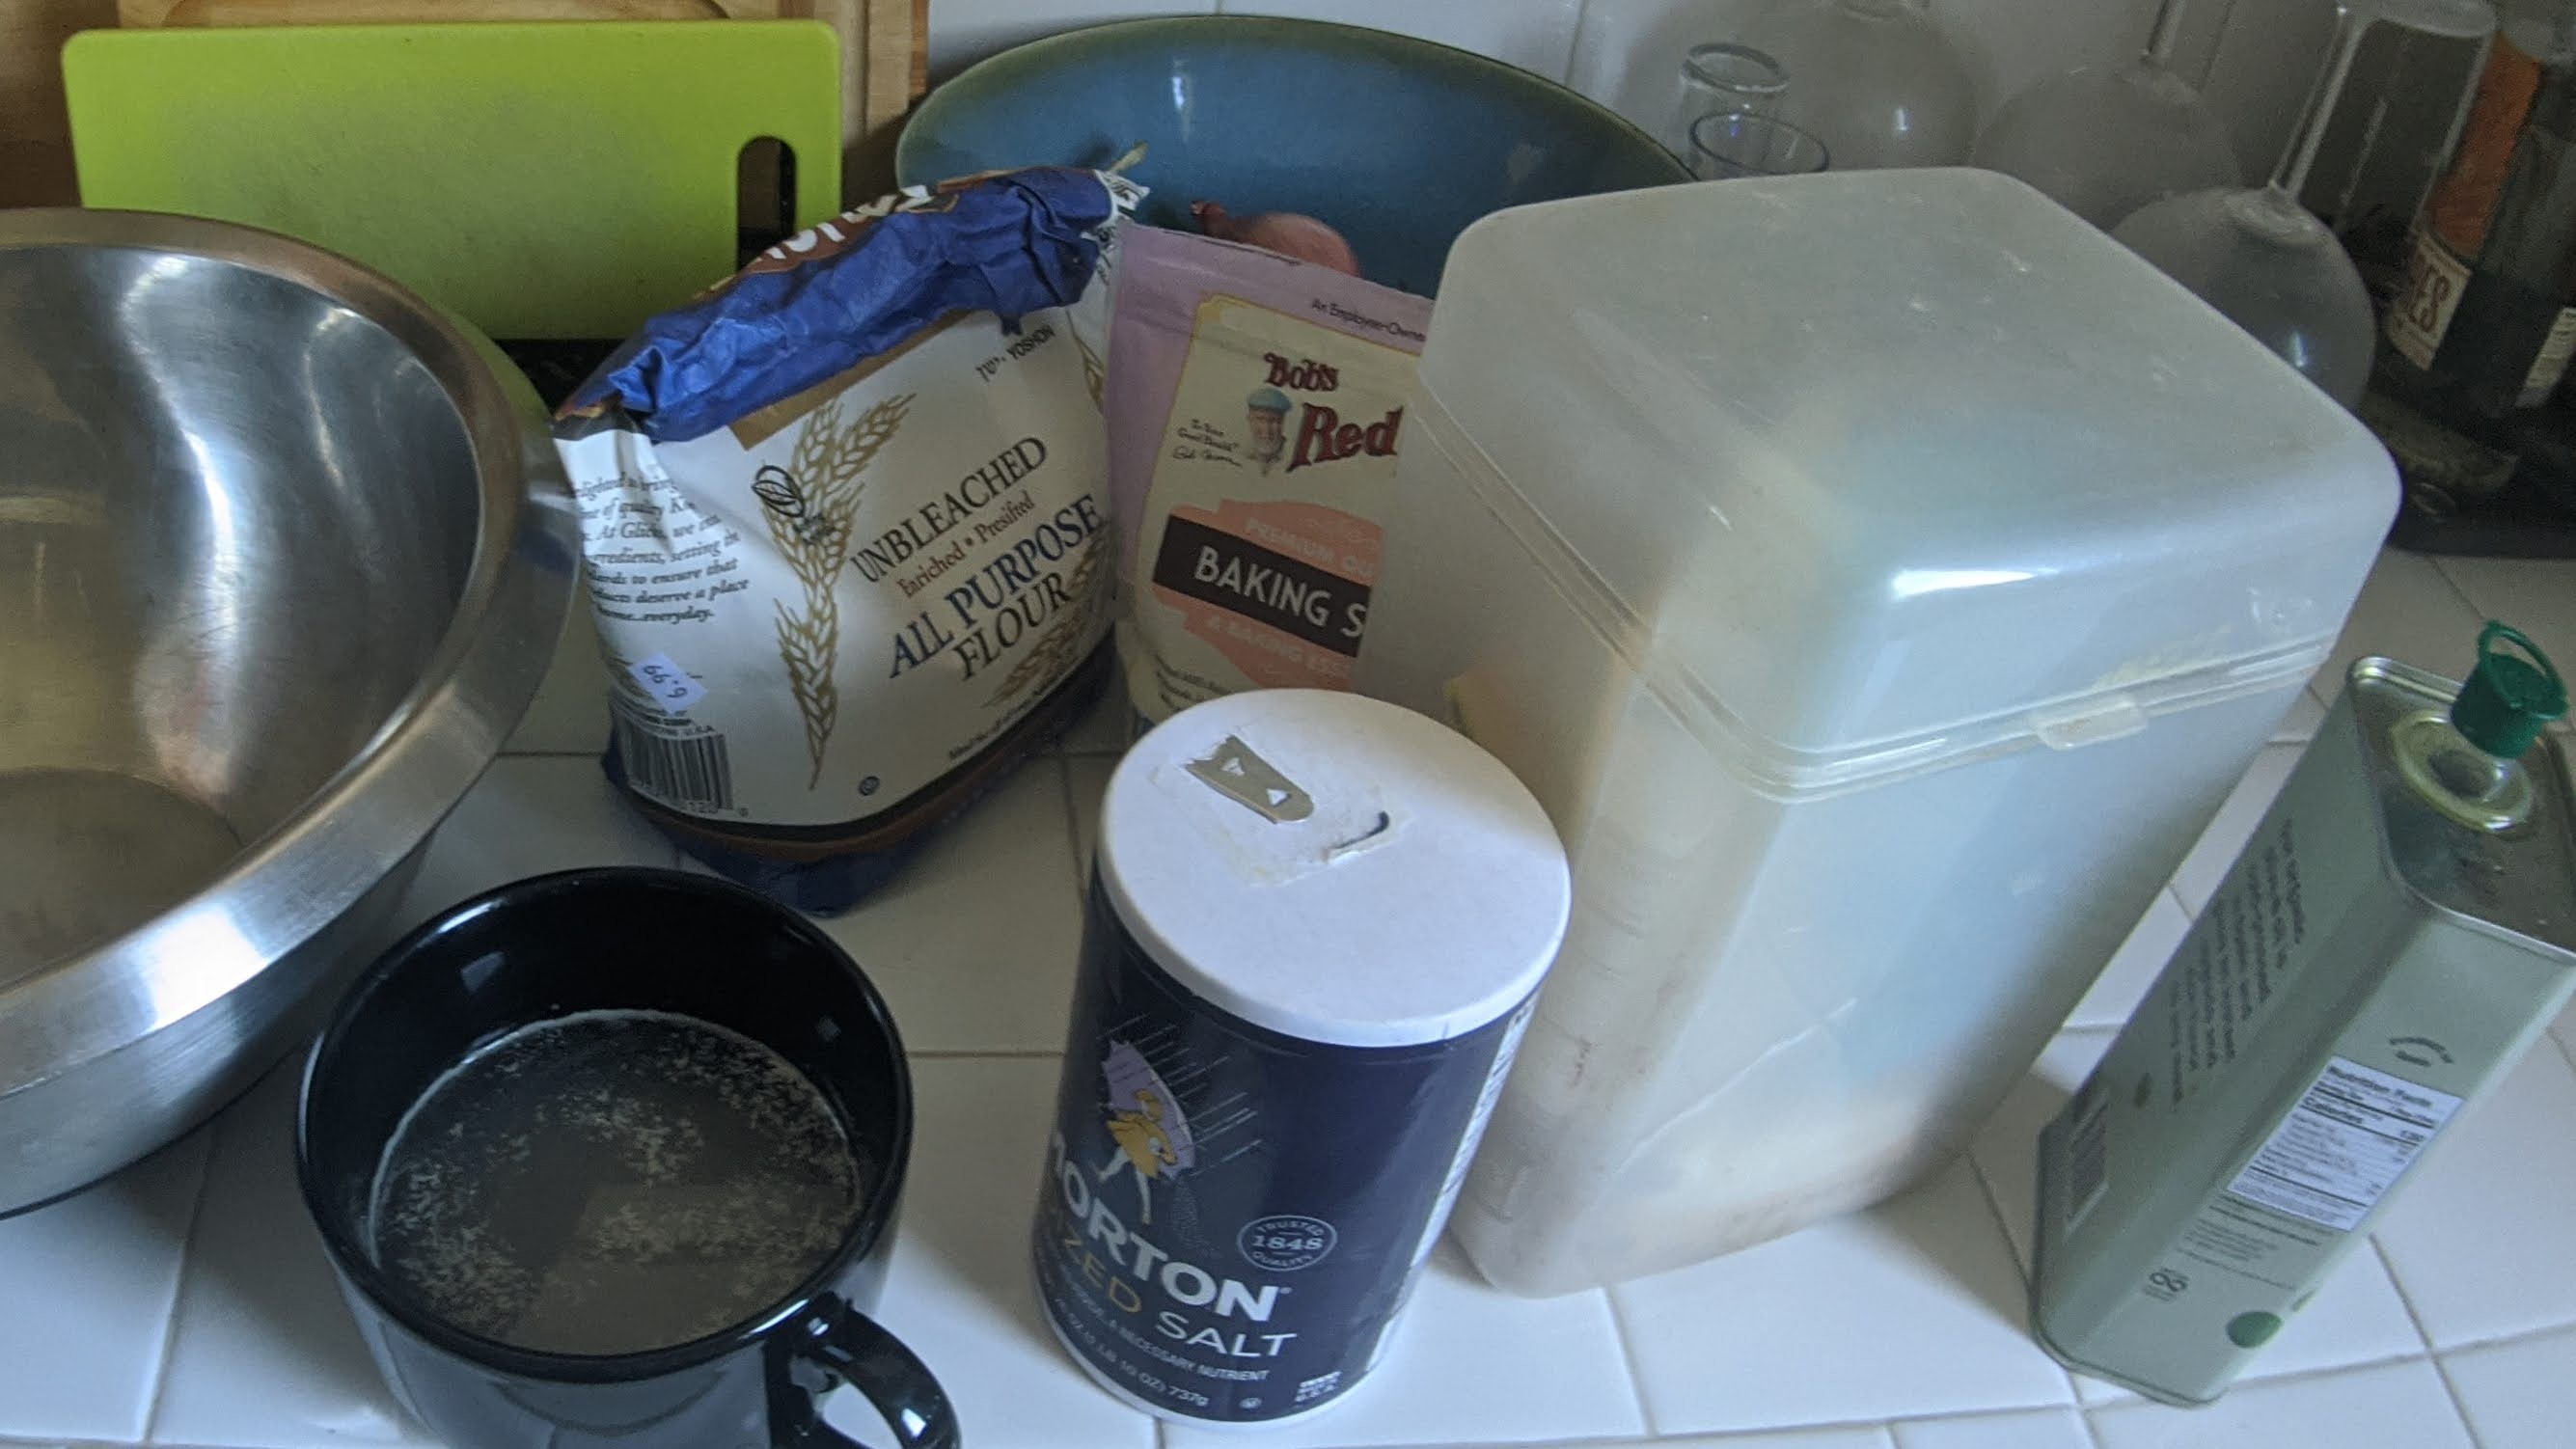
Ingredients
- 2 ½ cups warm water
- 1 tablespoon active dry yeast
- ½ cup honey
- 4 tablespoons vegetable oil
- 3 eggs
- 1 tablespoon salt
- 8 cups unbleached all-purpose flour
Instructions
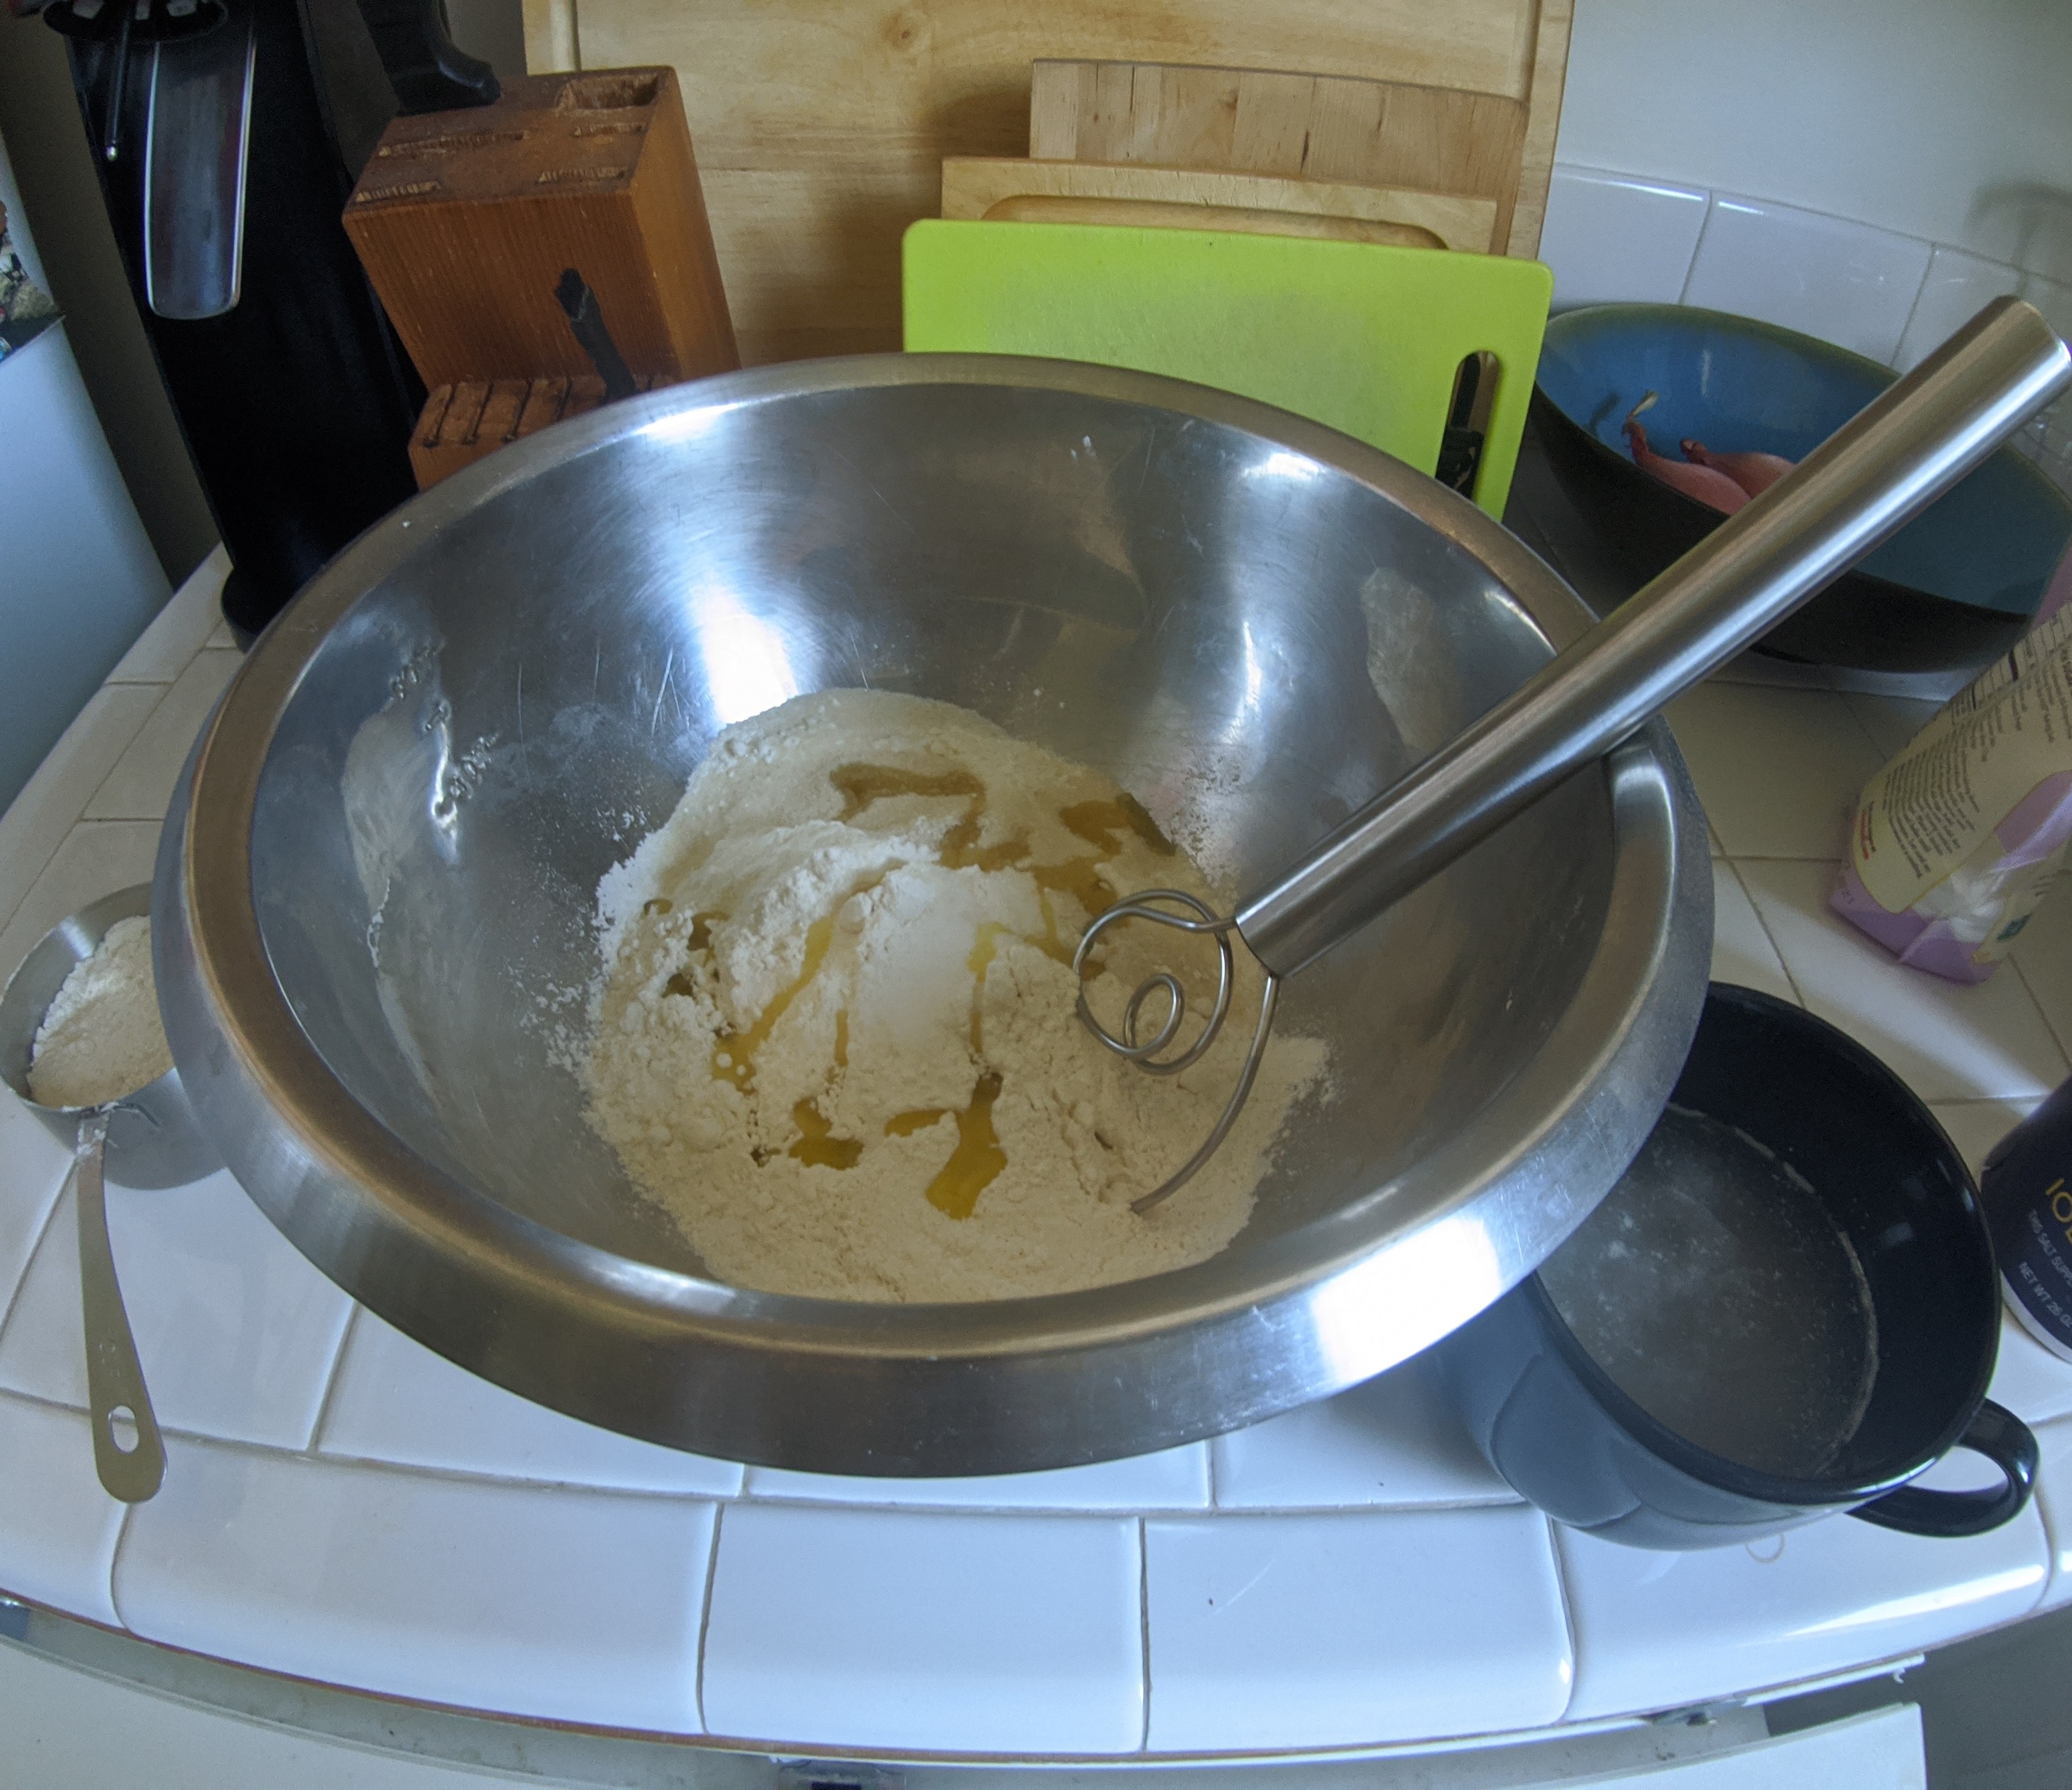
- In a large bowl, sprinkle yeast over barely warm water.
- Beat in honey, oil, 2 eggs, and salt.
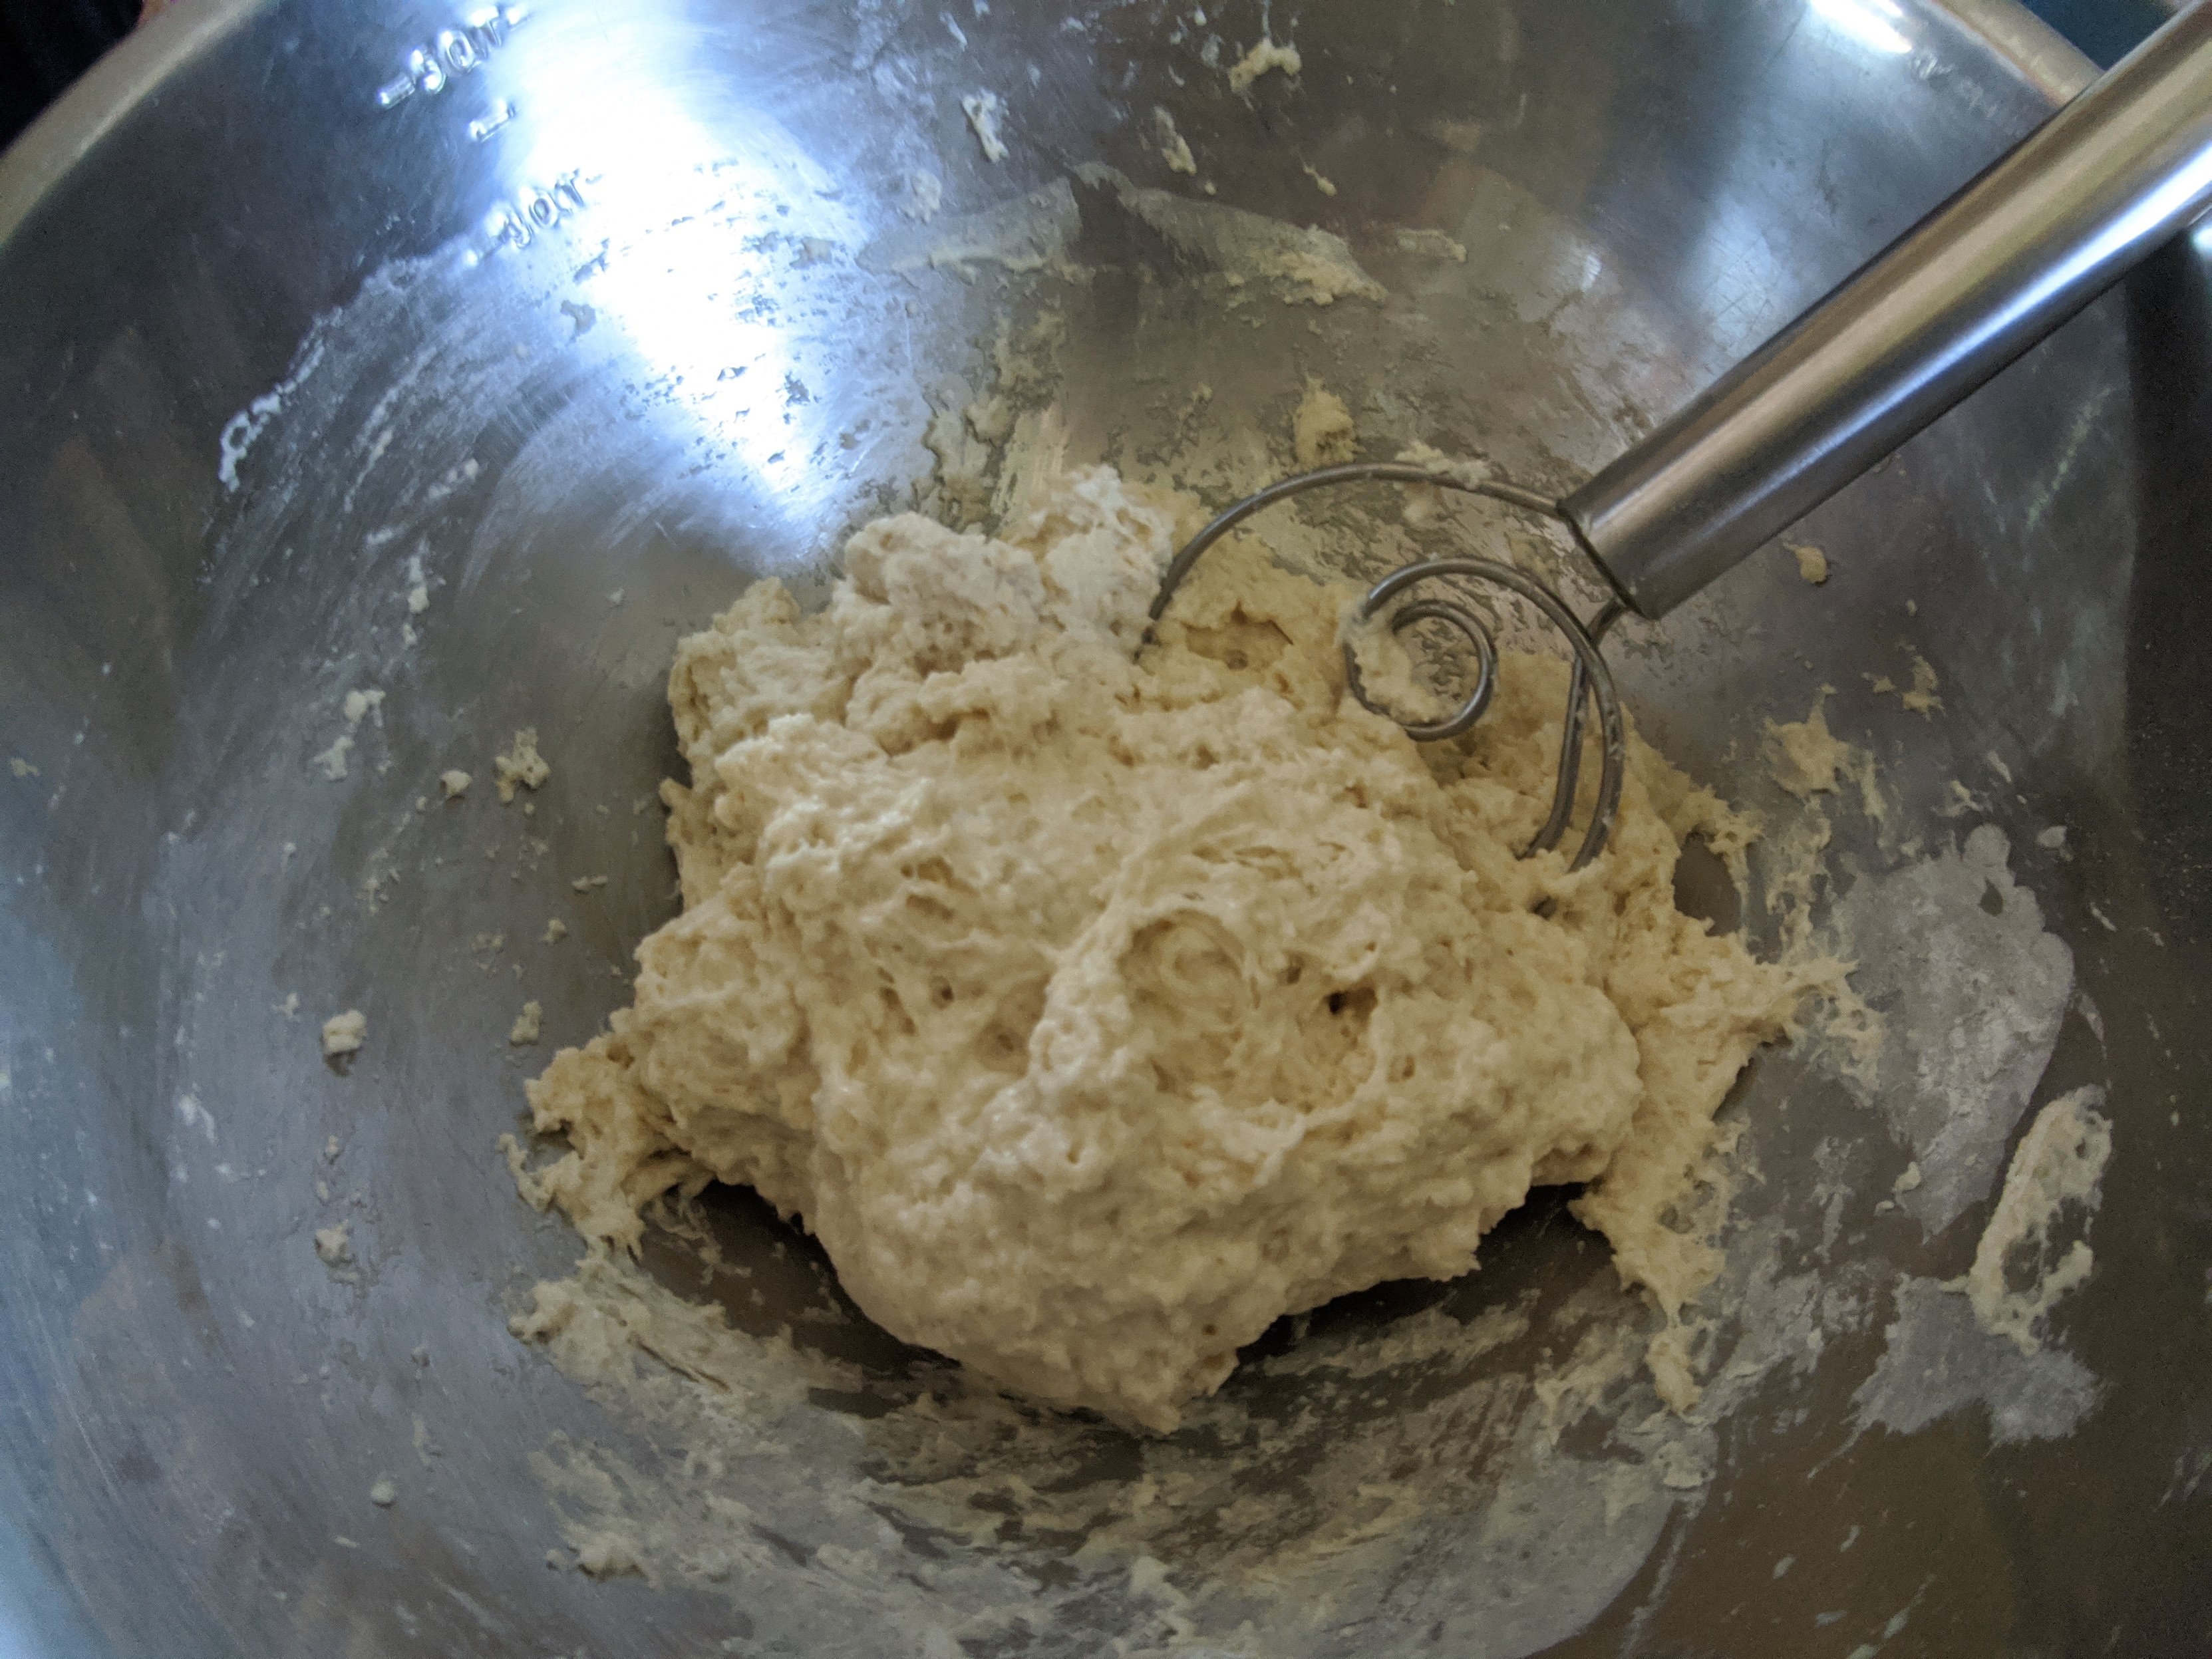
- Add the flour one cup at a time, beating after each addition, graduating to kneading with hands as dough thickens.
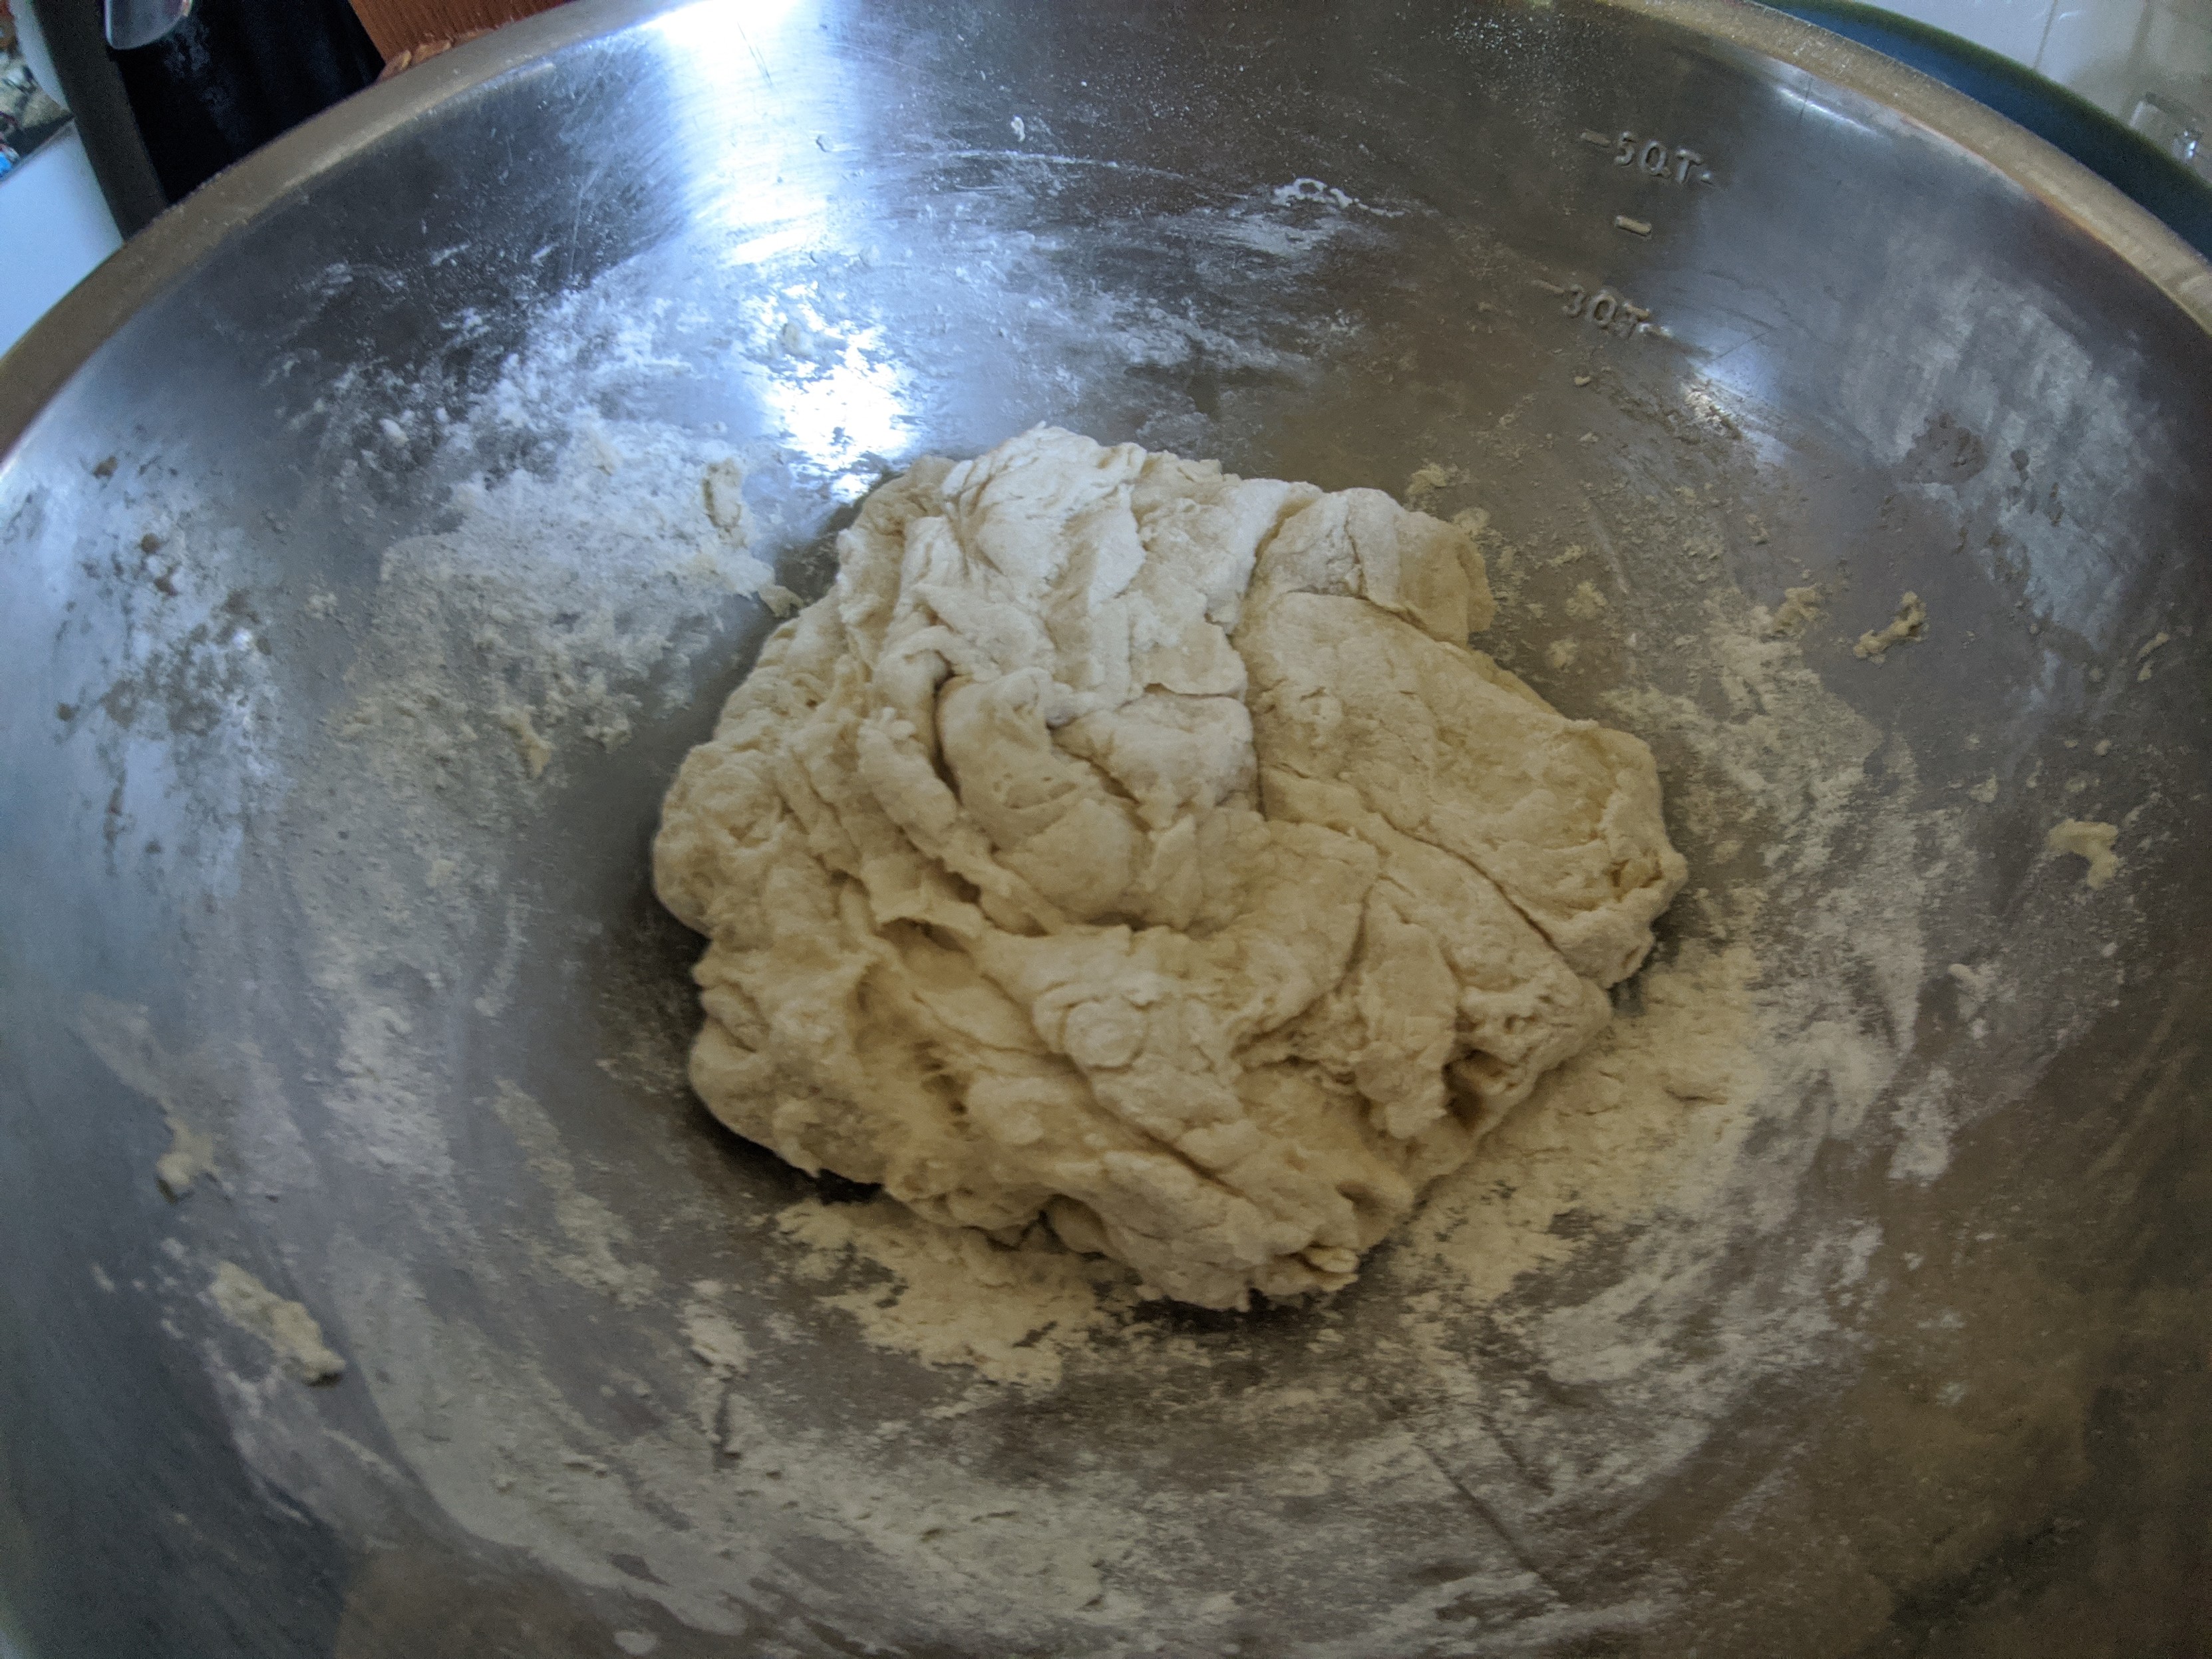
- Knead until smooth and elastic and no longer sticky, adding flour as needed until it reaches a good handling texture.

- (This is how you test for a “good handling texture”: Press the dough gently with a clean finger. The dough should barely stick to your finger as you start to pull it away & slowly re-inflate to the original dough ball size instead of staying indented from your finger.)
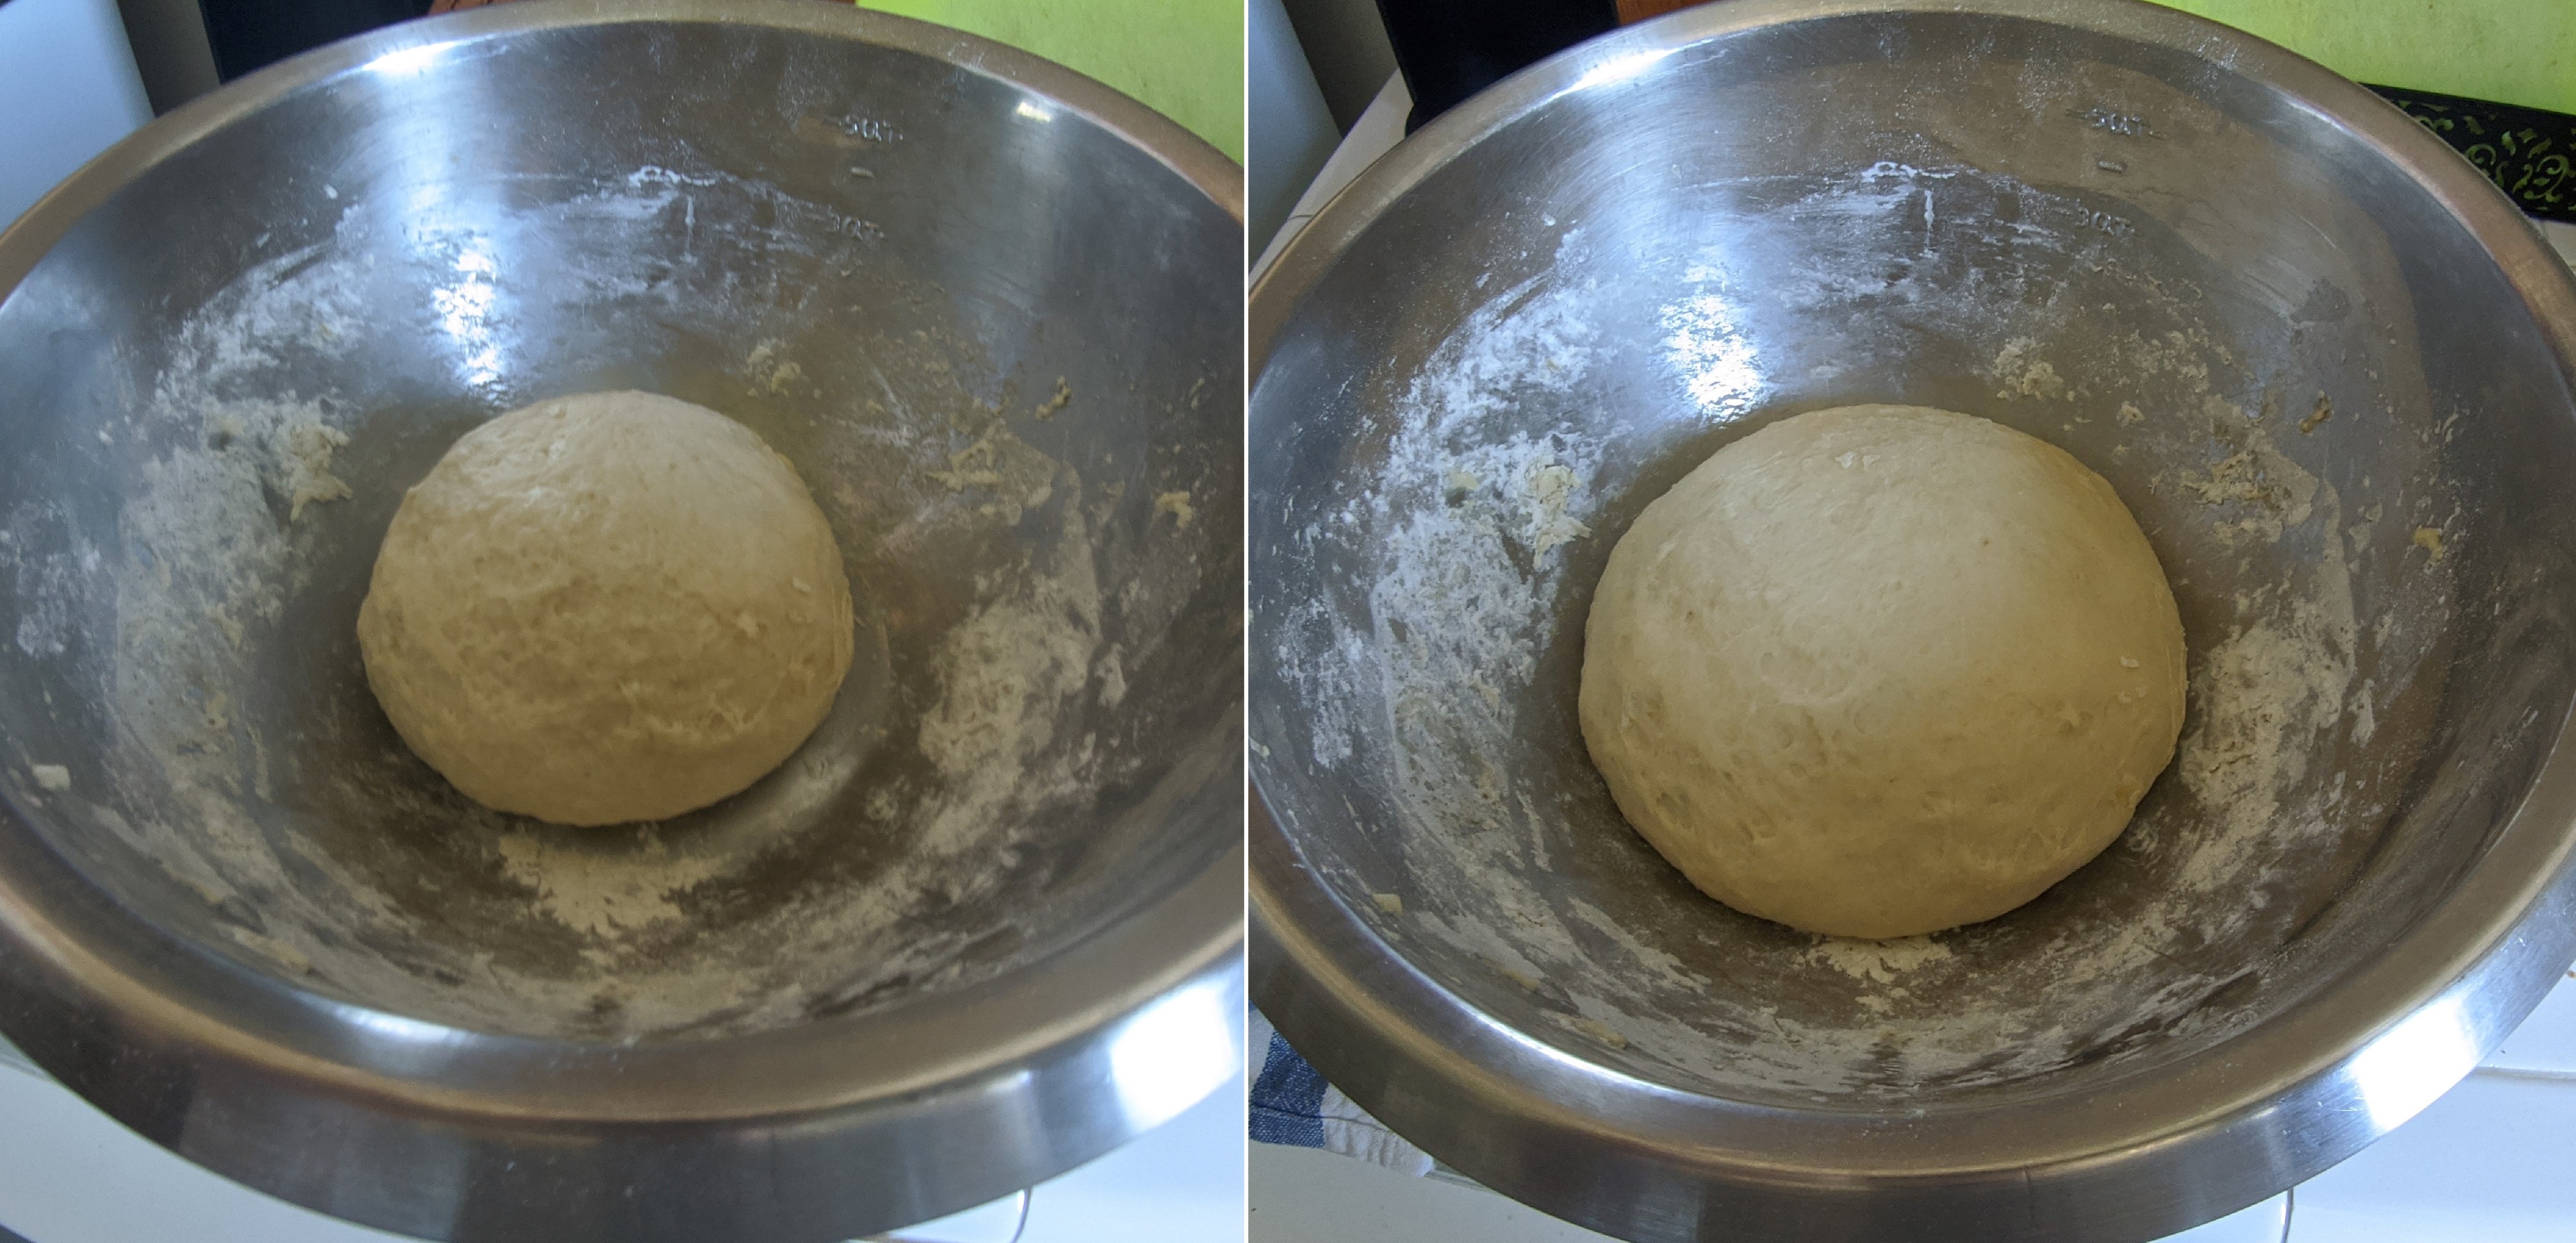
- Cover with a barely-damp clean cloth and let rise for 1 ½ hours or until dough has doubled in bulk.

- Punch down the risen dough and turn out onto floured board.
- Divide in half and knead each half for five minutes or so, adding flour as needed to keep from getting sticky.
- Divide each half into thirds and roll into long snake about 1 ½ inches in diameter.
- Pinch the ends of the three snakes together firmly and braid from middle. It’s just like braiding hair: if you don’t know how, there are a billion tutorials online. If you want to get fancy, you can braid more strands. This will affect your cooking times- my instructions are for a 3-strand braid. If you try a more complicated braid, let me know how it goes!
- Either leave as braid or form into a round braided loaf by bringing ends together, curving braid into a circle, pinch ends together.
- Grease two baking trays and place finished braid or round on each. Cover each with a dish towel and let rise about one hour.
- Preheat oven to 375 degrees F.
- Beat that last egg and brush a generous amount over each braid.
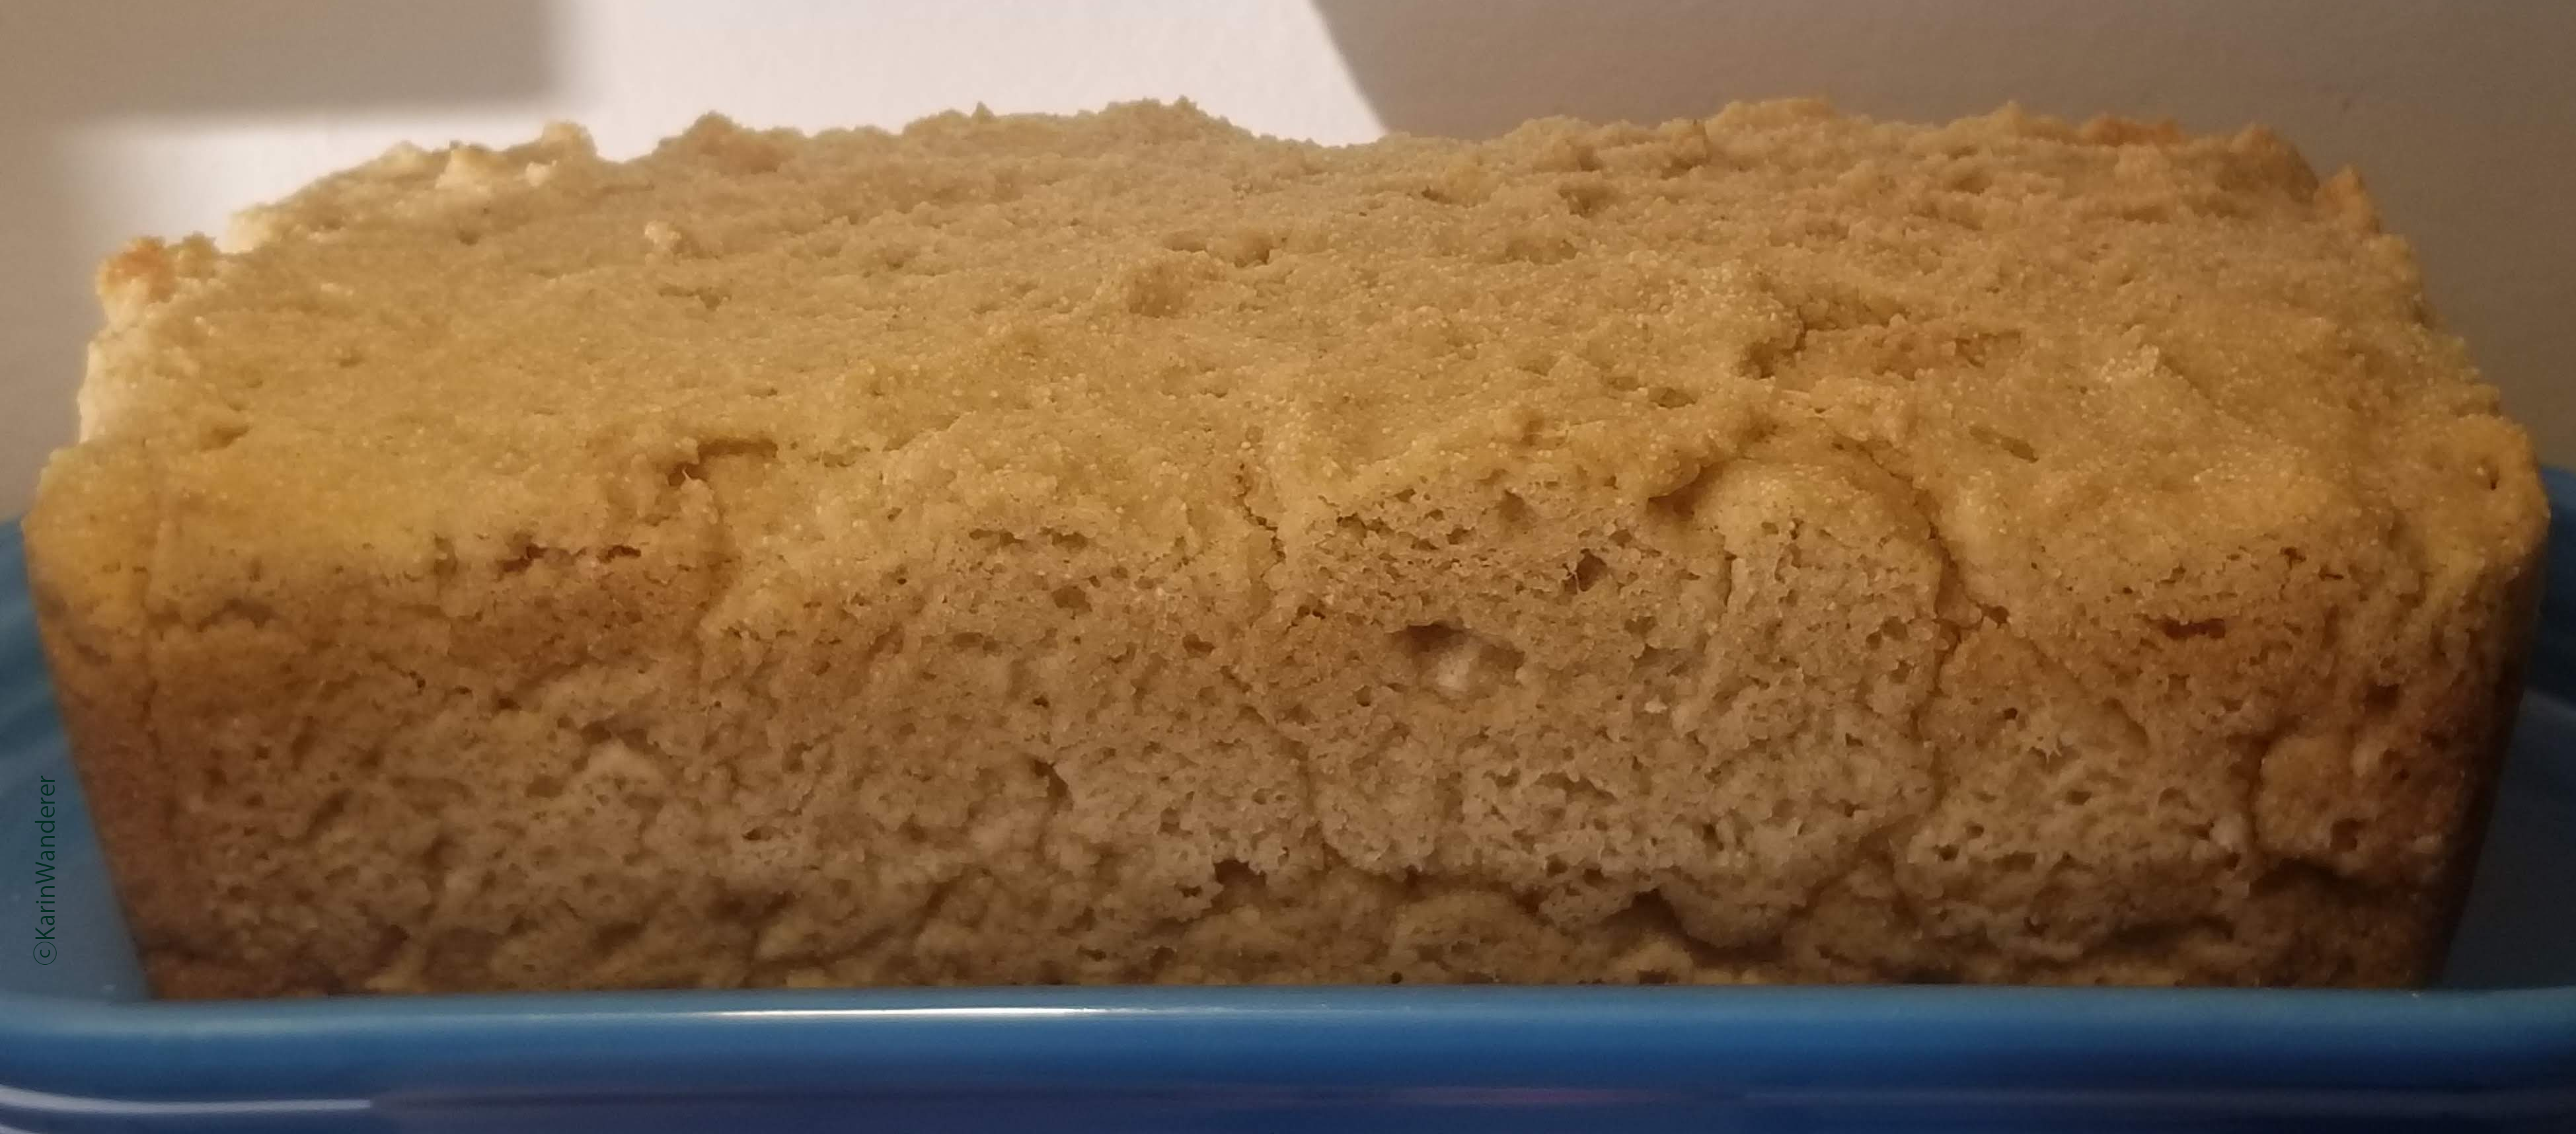
- Bake at 375 degrees F for about 40 minutes. Bread should have a nice hollow sound when thumped on the bottom.
- Cool on a rack for at least one hour before slicing. Do not rush this! It's hard, I know, but it's worth it.

Finish Them!
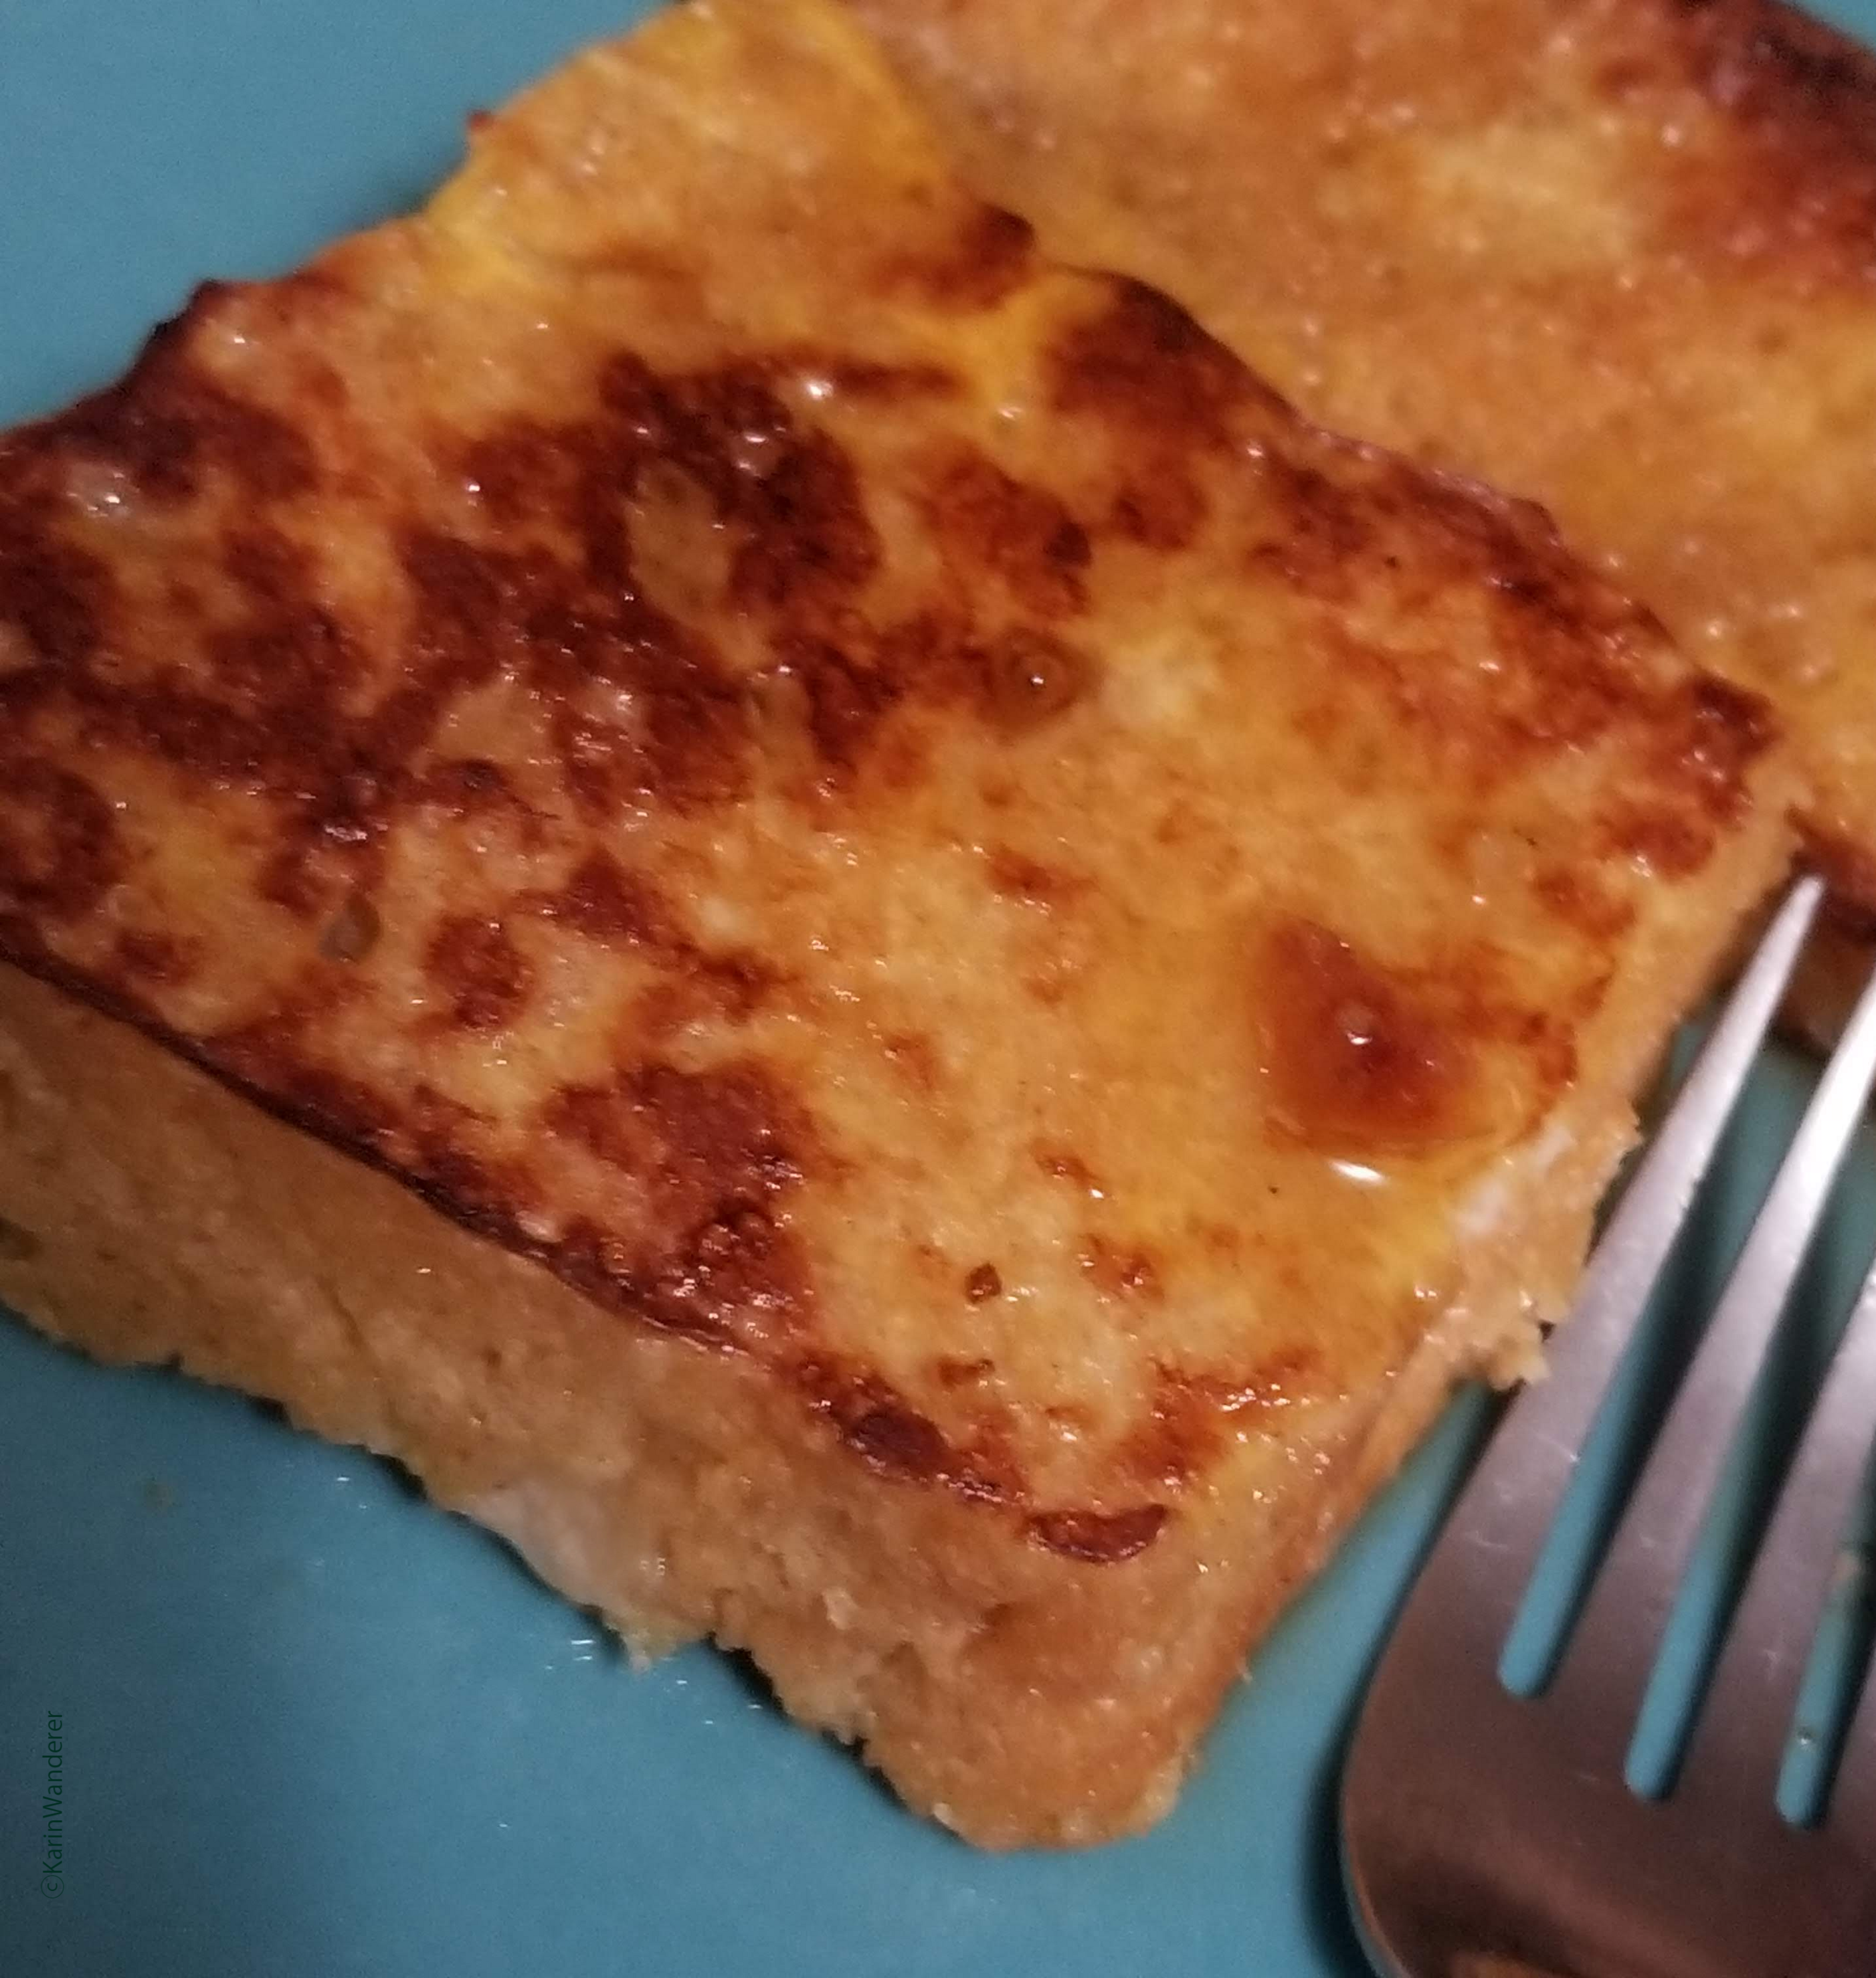
My favorite ways to eat this bread are plain or with a bit of lingonberry jam, alongside a cup of coffee.
Past Recipes
- A very flexible cake recipe Cups & Cakes (vegan)
- Iced tea with a plum simple syrup Have a Cuppa Tea (vegan)
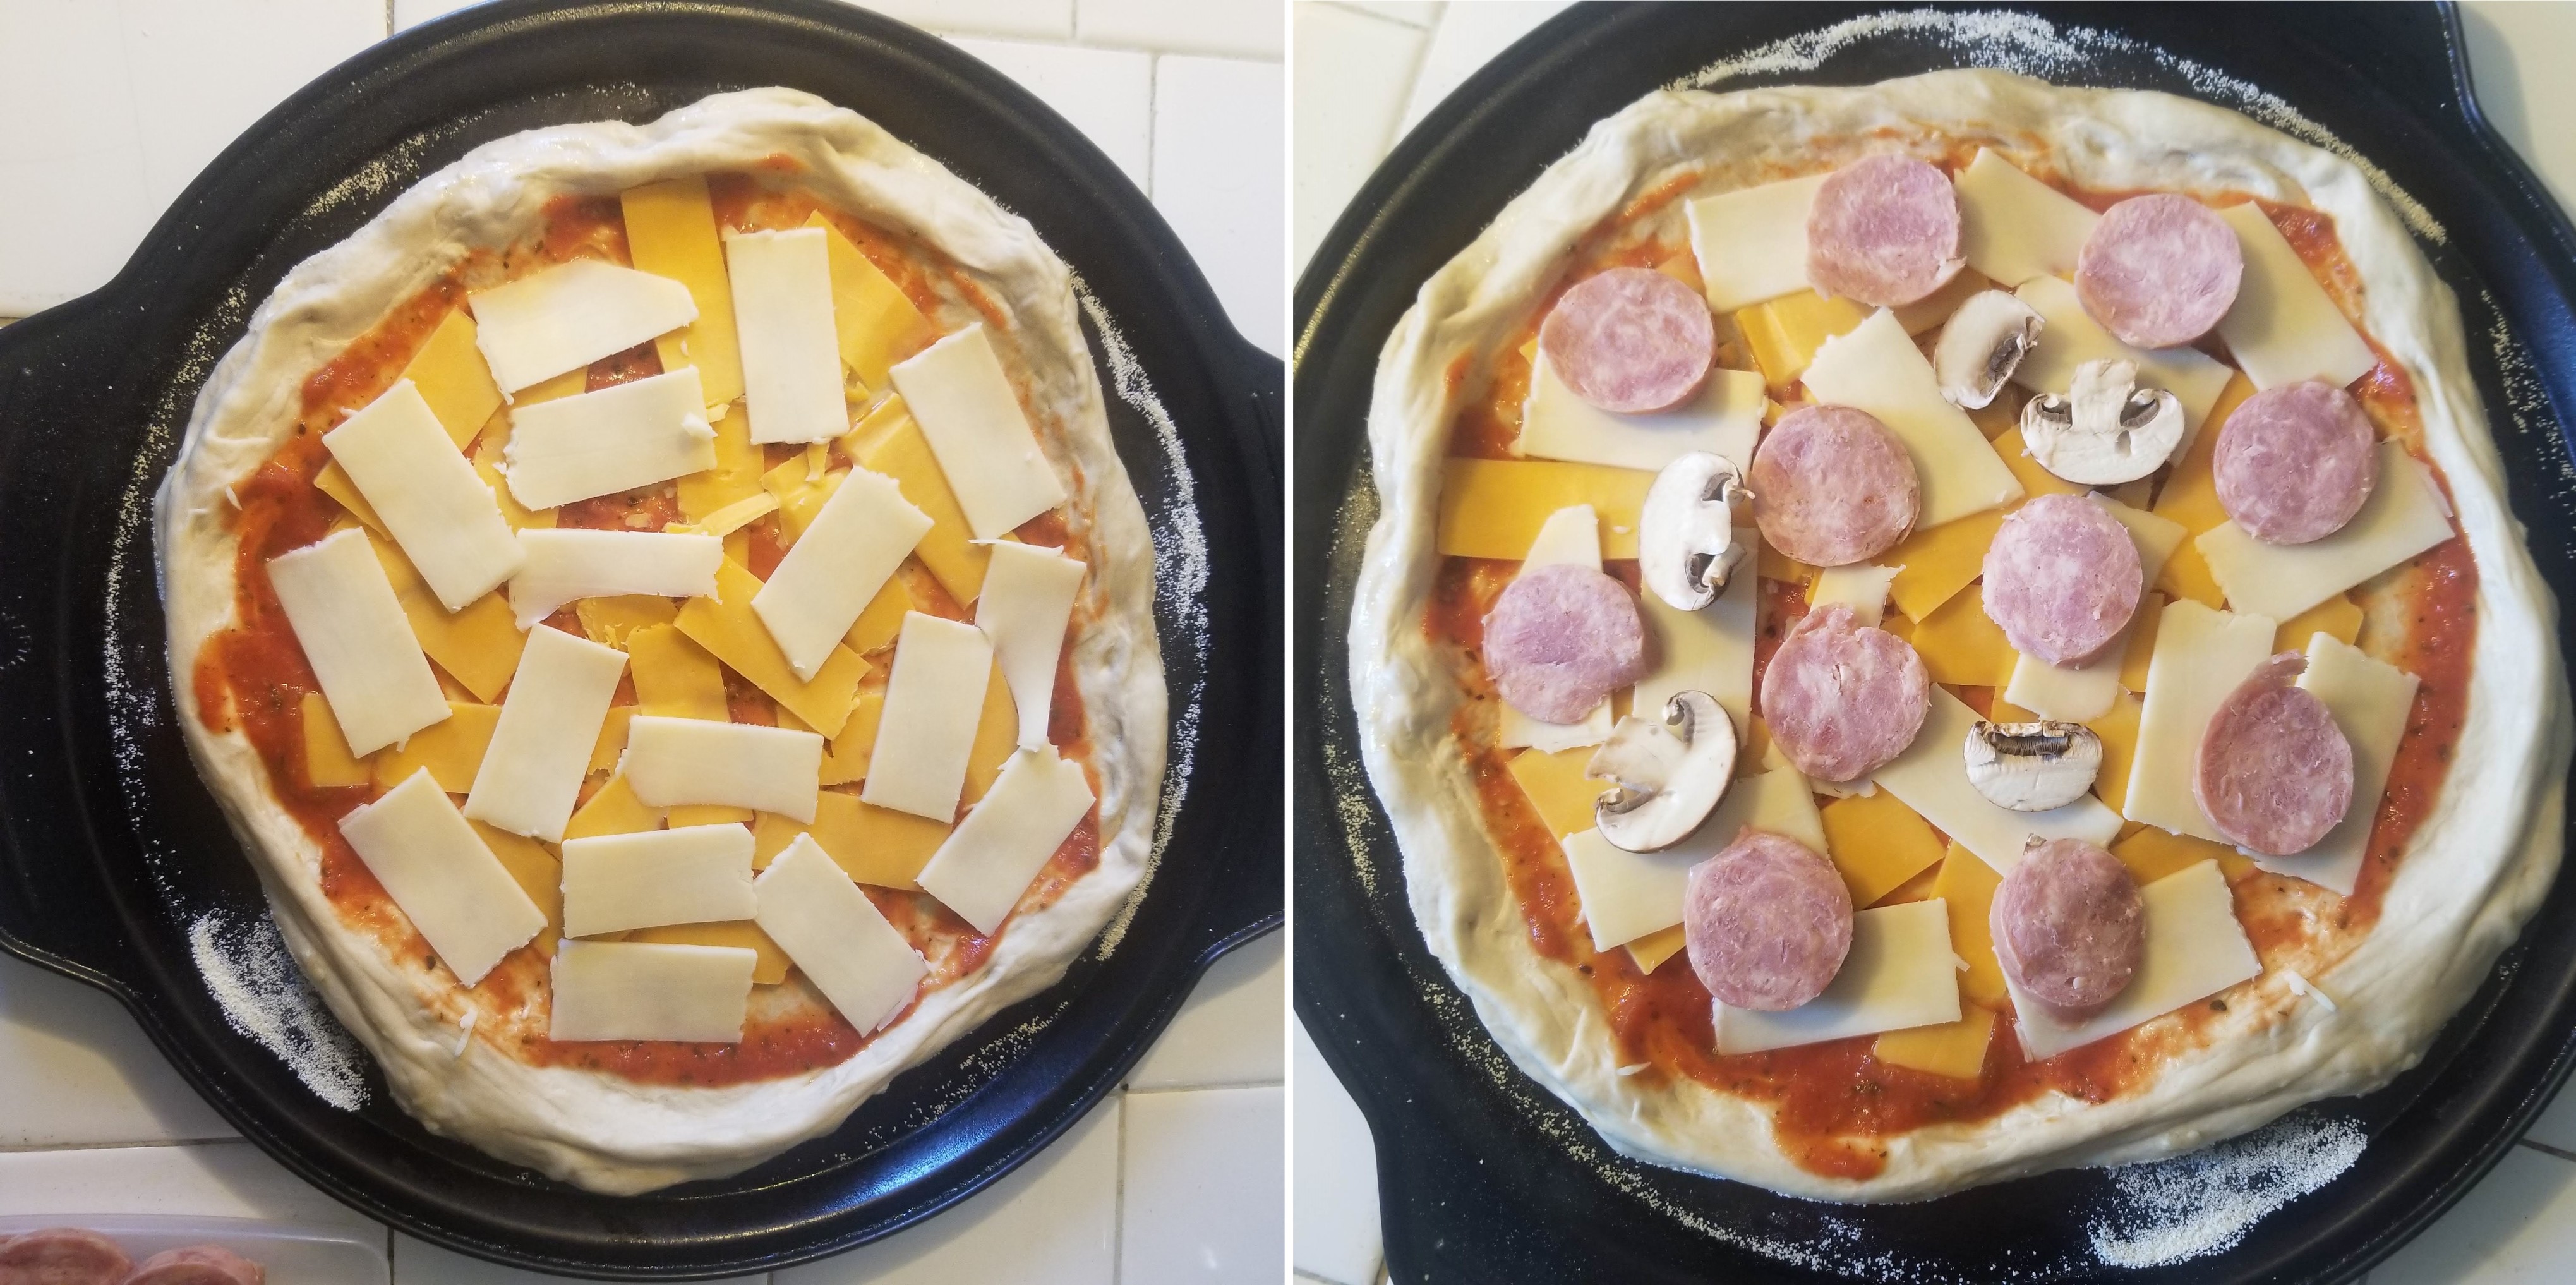
- The best pizza dough Pizza Time!
- Non-pizza foods made with pizza dough Pizza Time! Part Deux
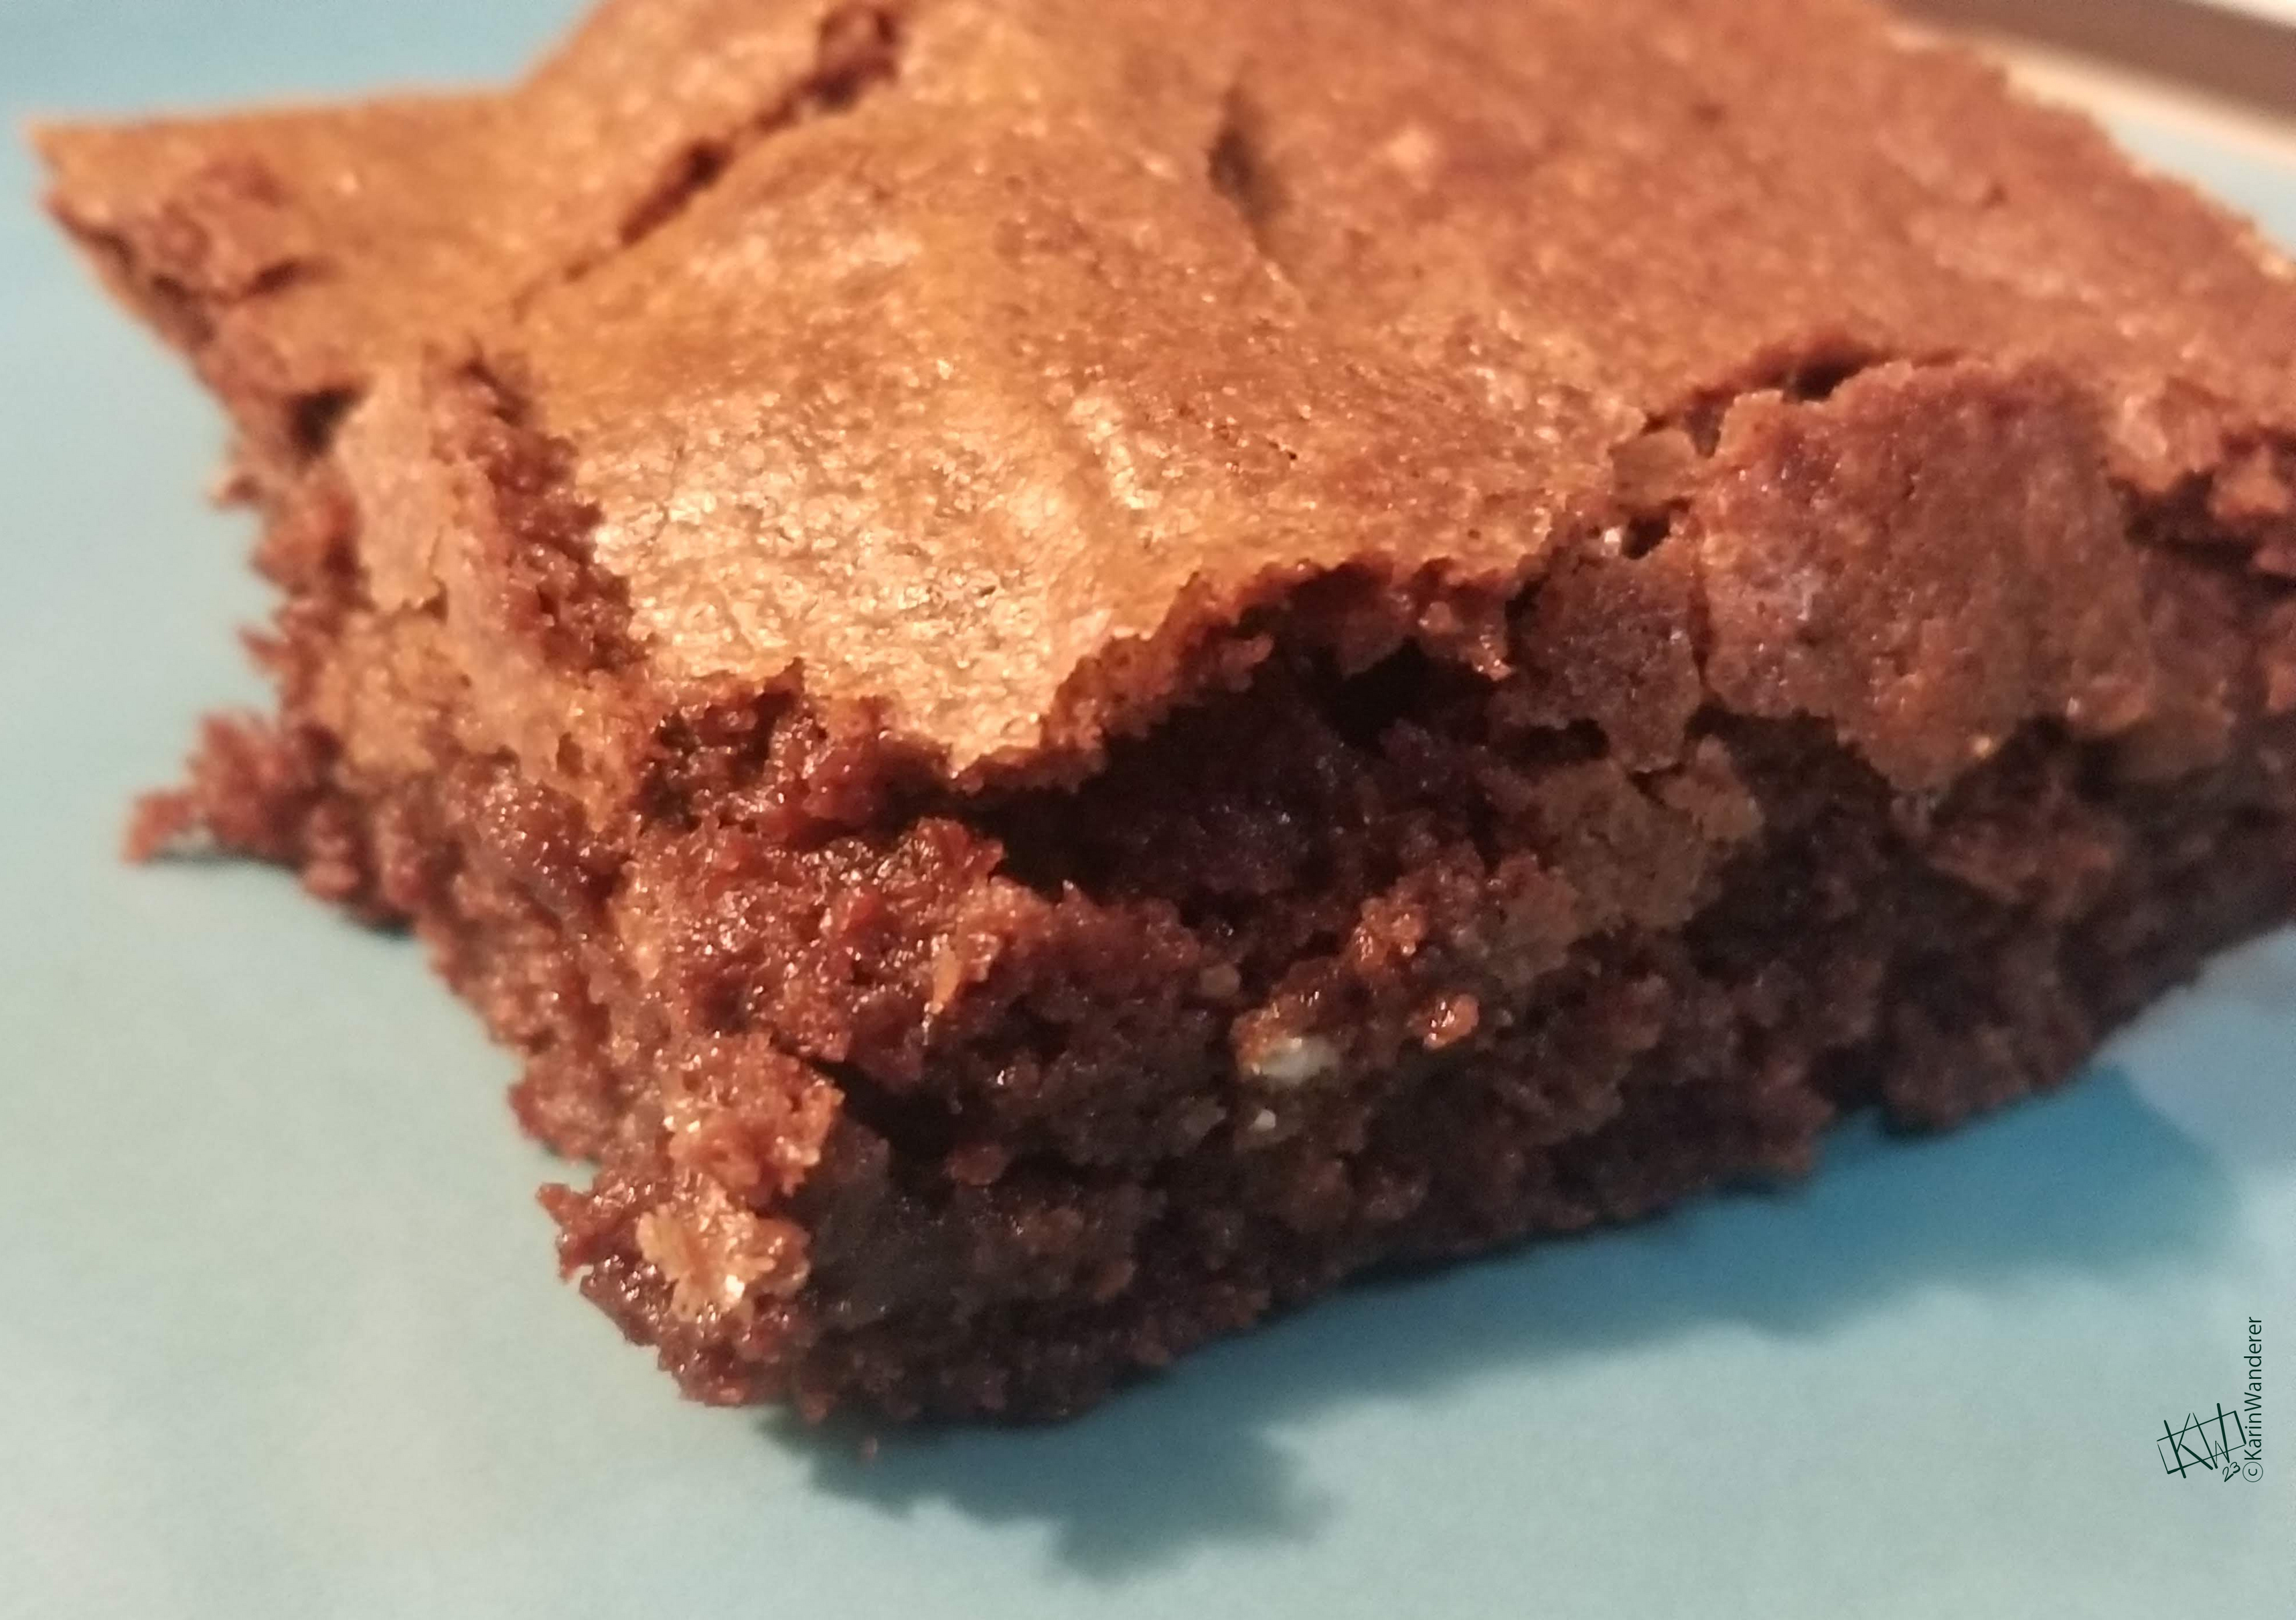
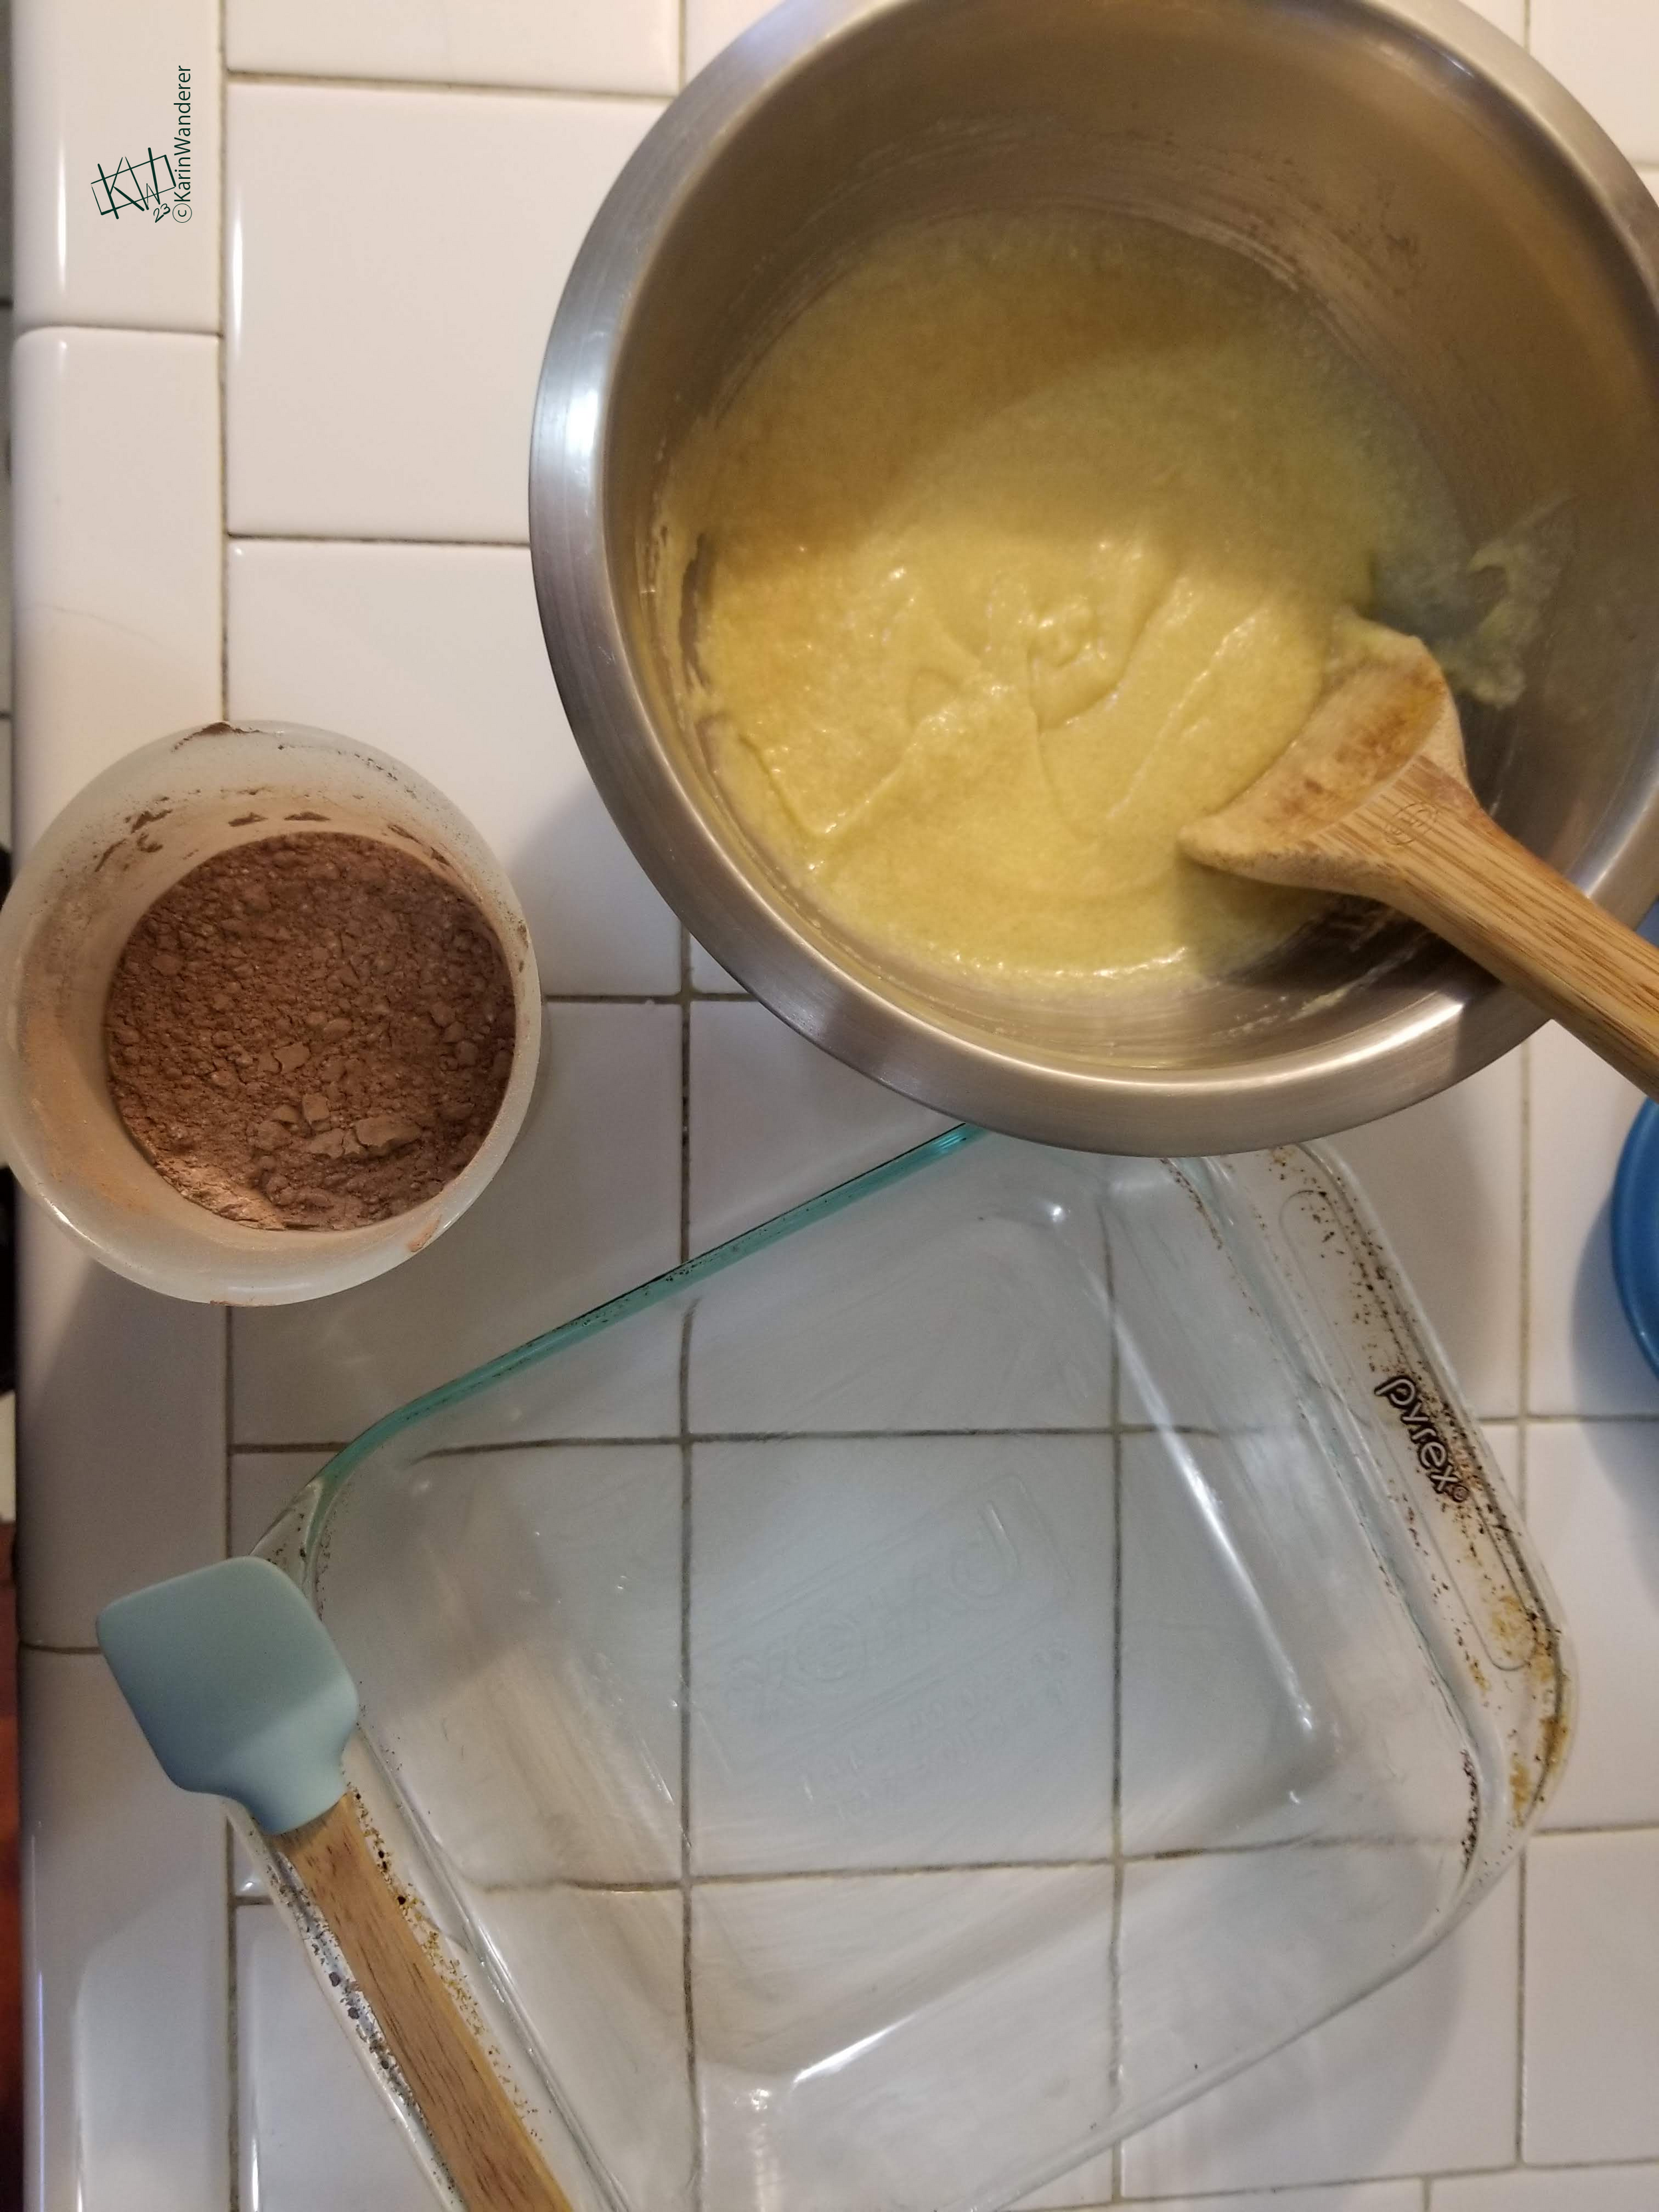
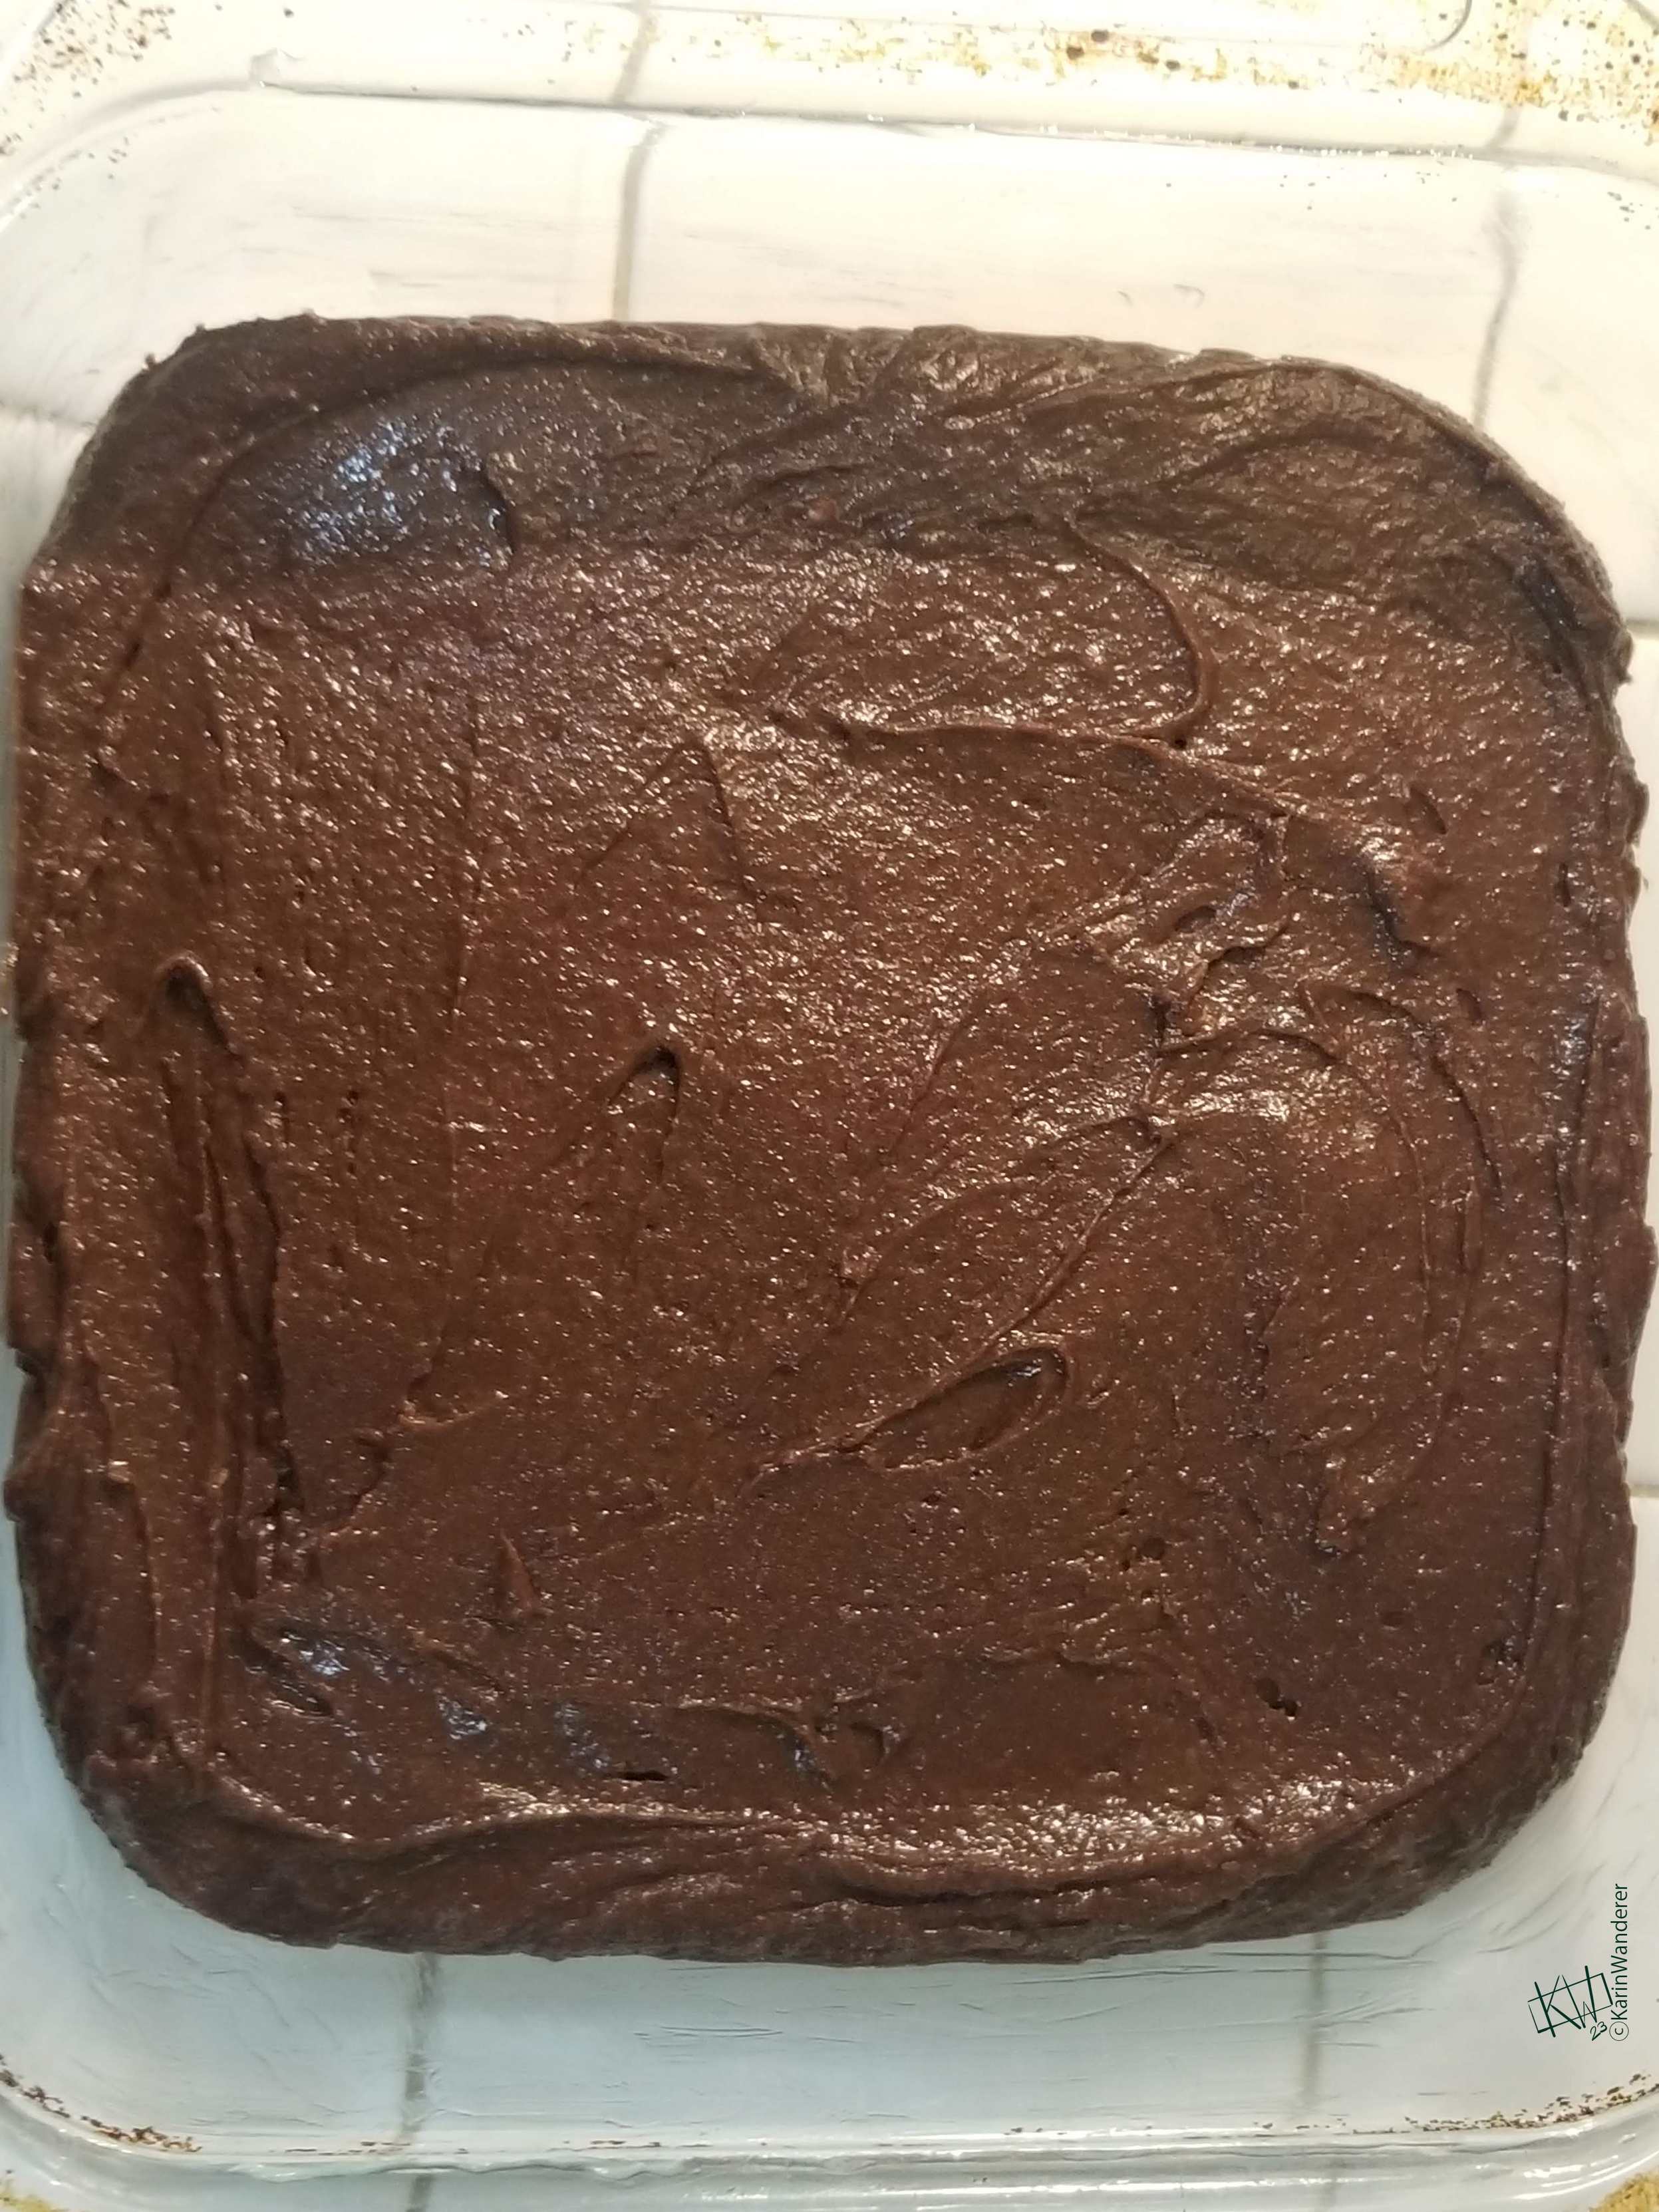
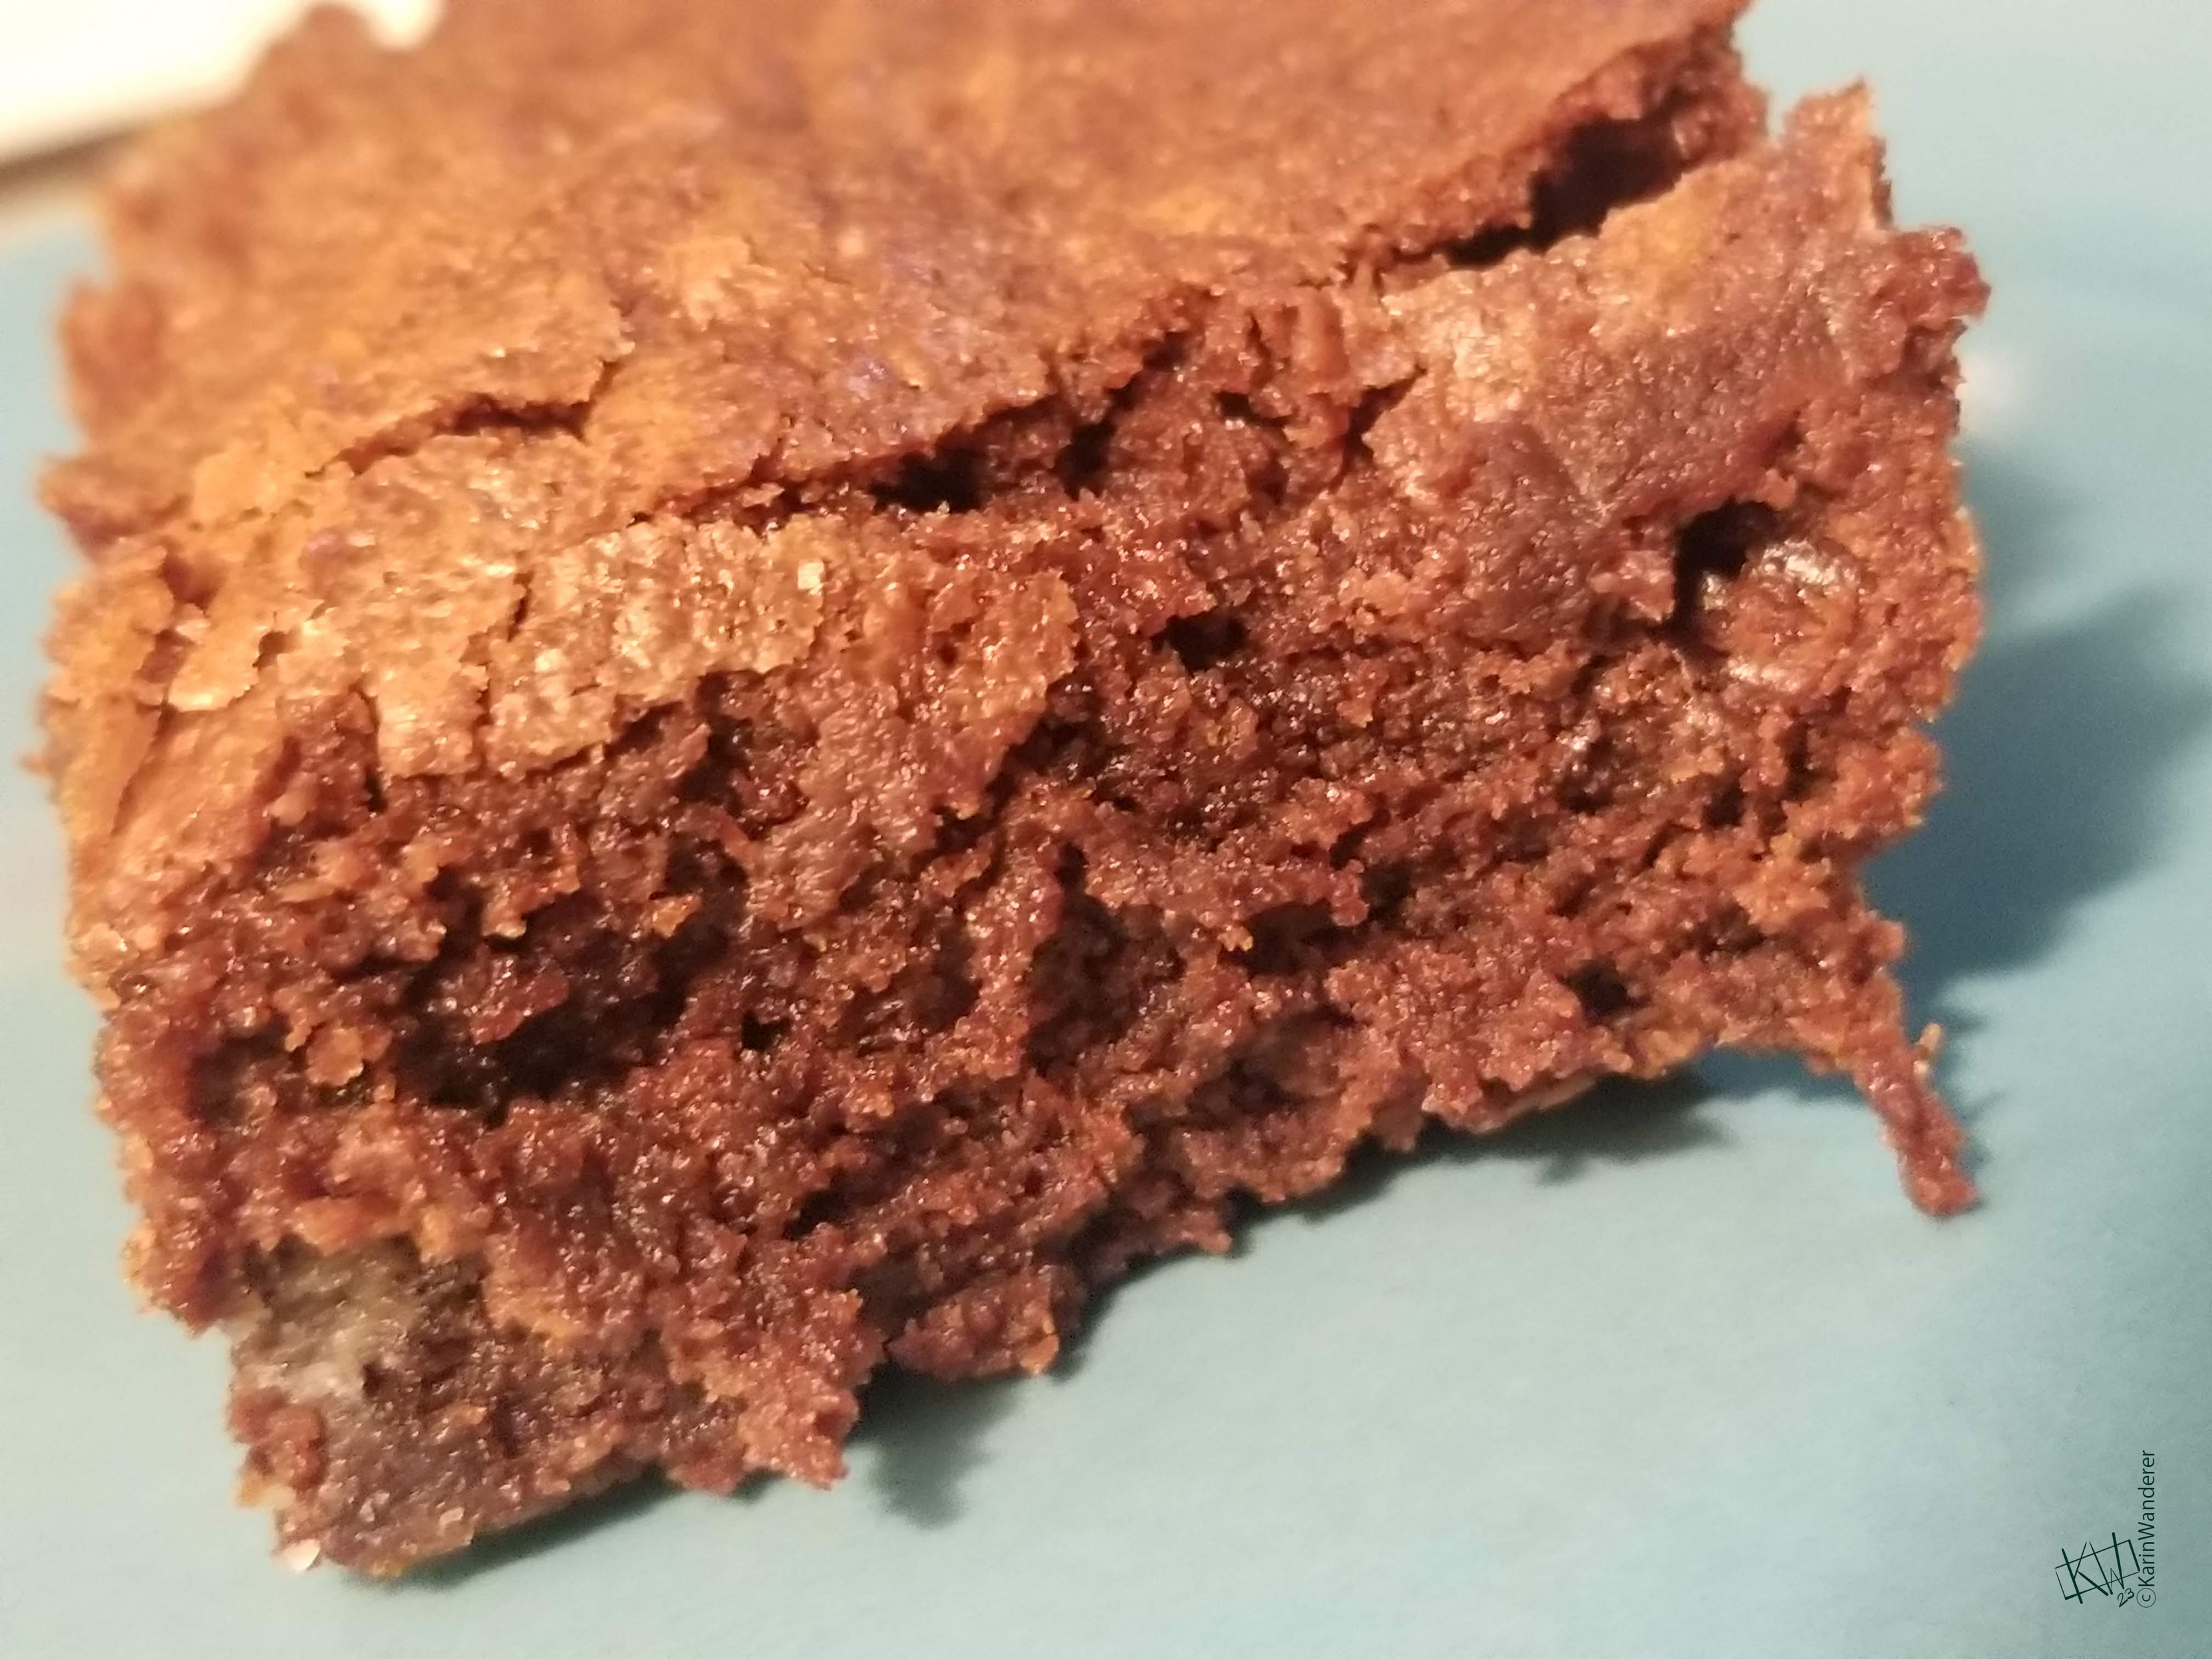
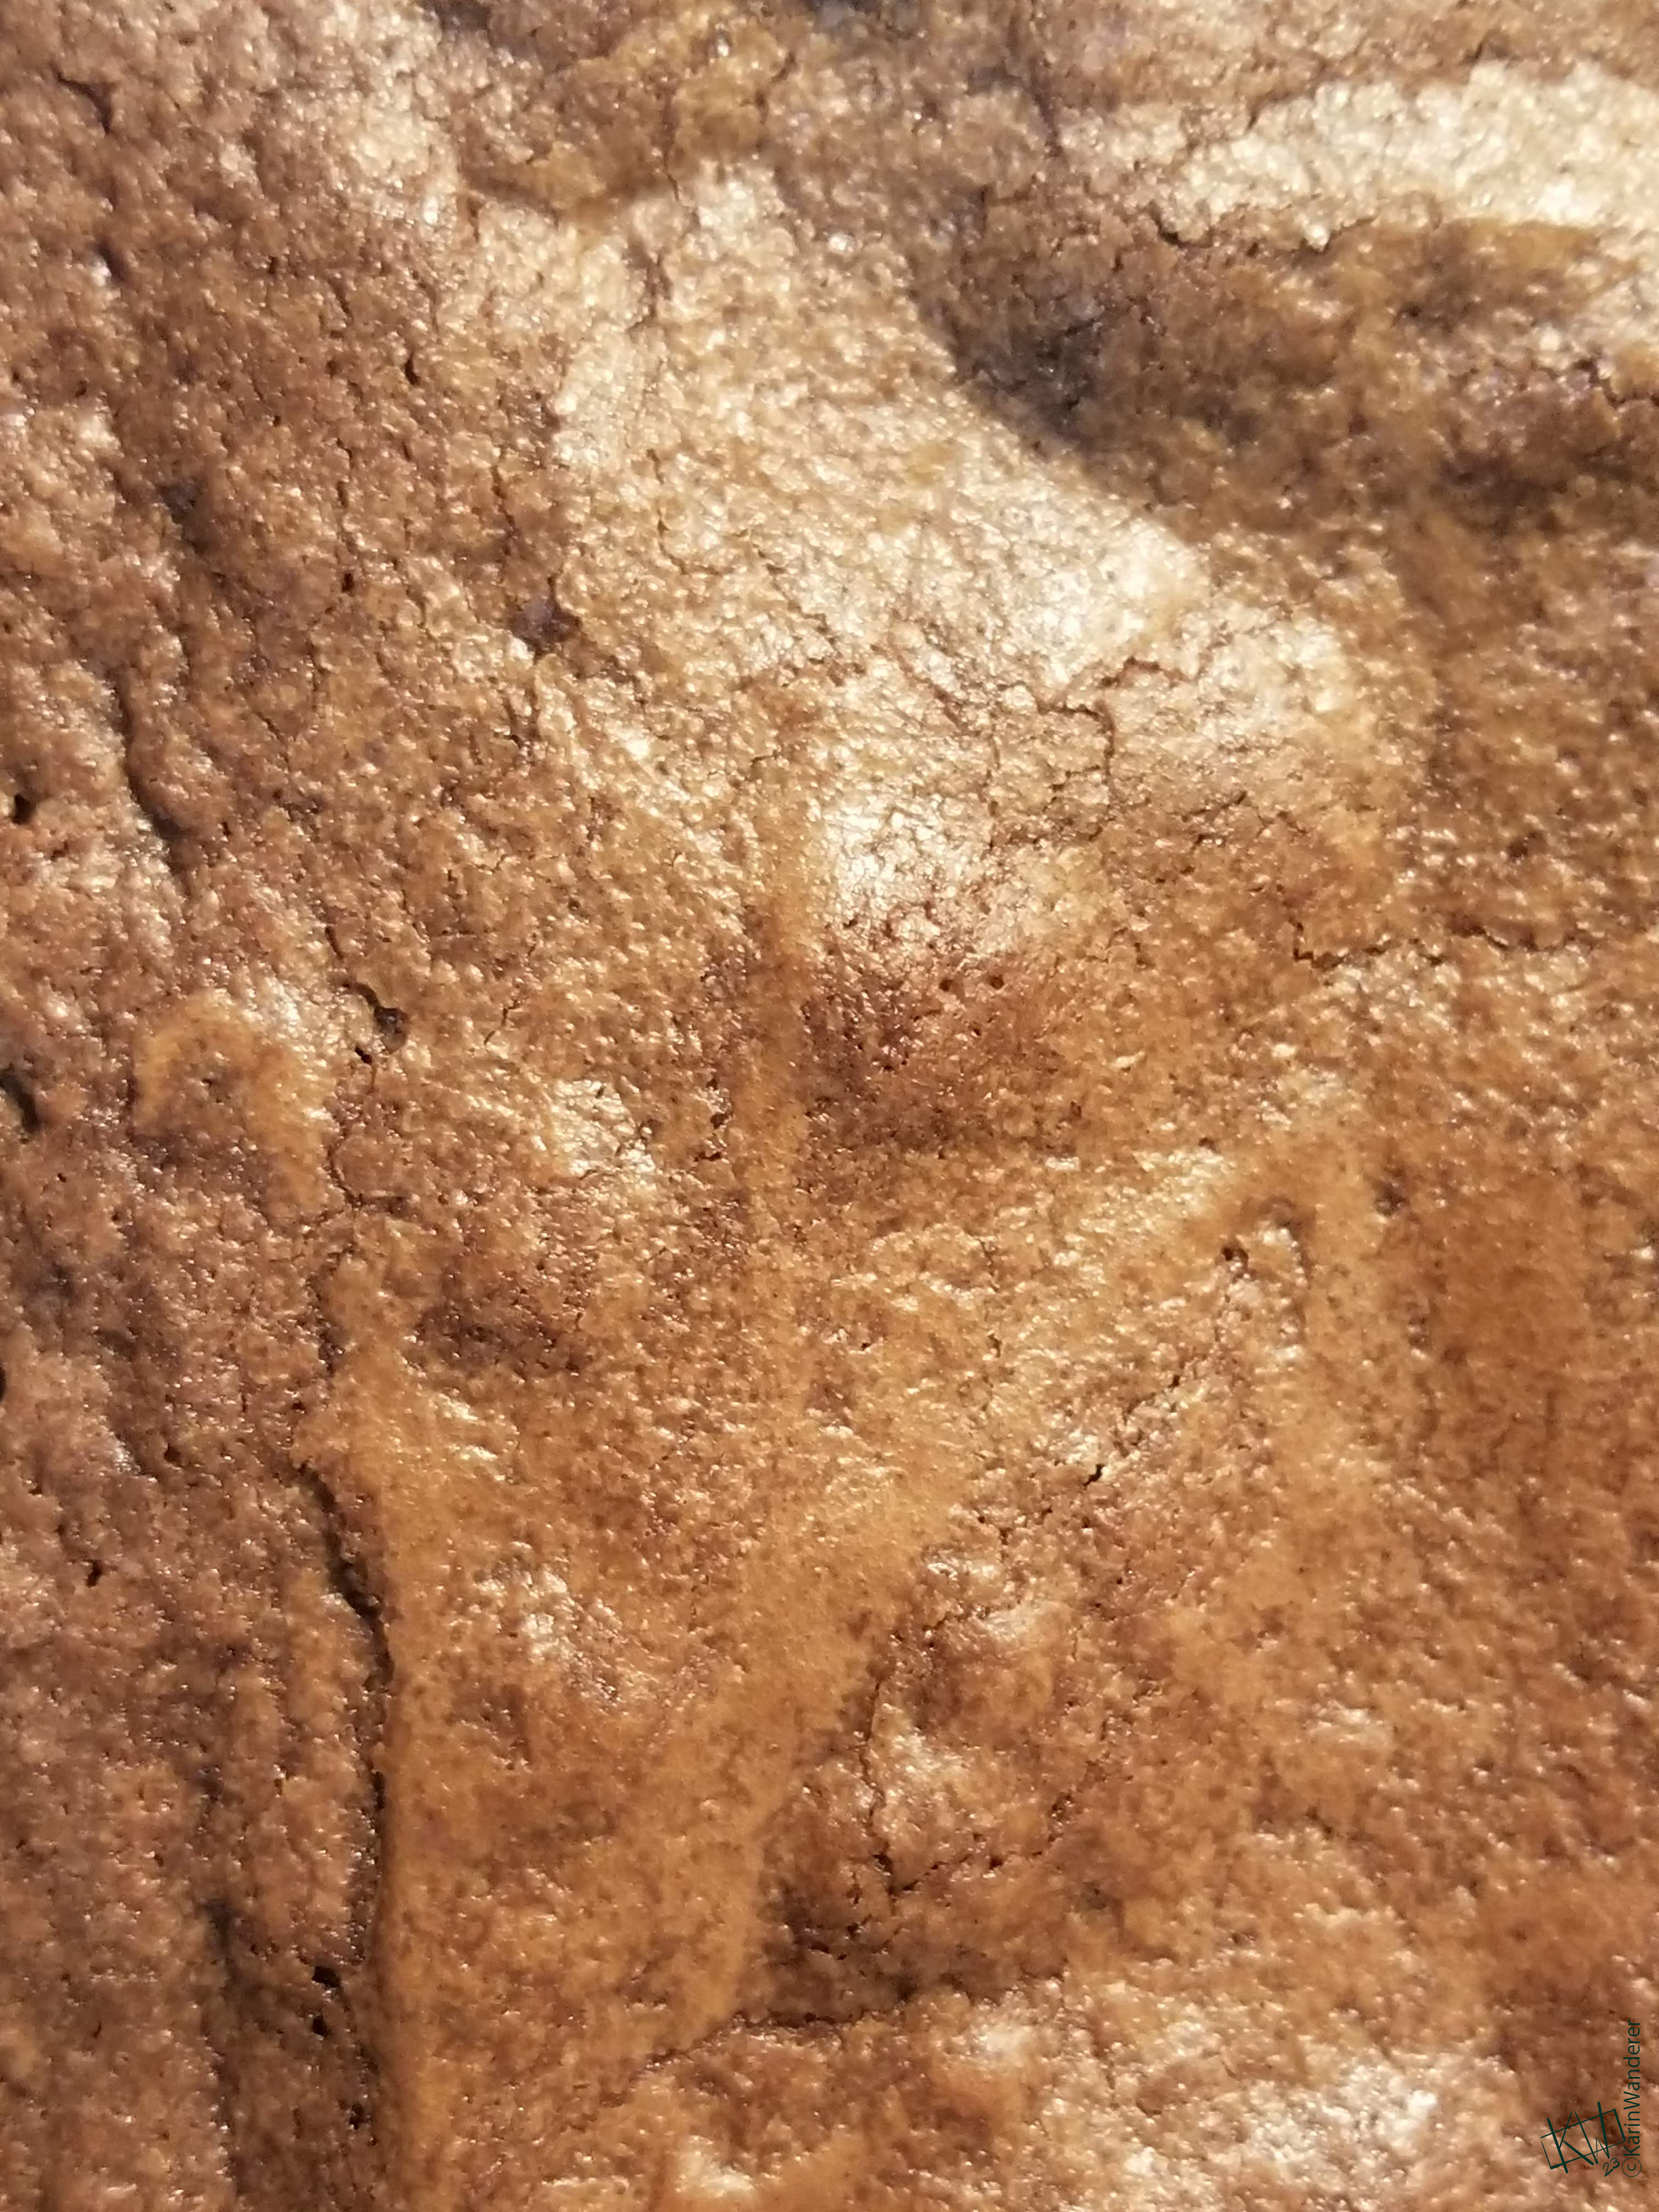
- Super easy brownies Sweets For My Sweet
- Lemon Bars on Olive Oil Shortbread Texture Like Sun
- Peanut Butter Bread I Looked In & I Saw Bread
- Bulle Never A Frown With Golden Brown
- Bread Art You Need Bread (vegan) You Need More Bread (vegan)
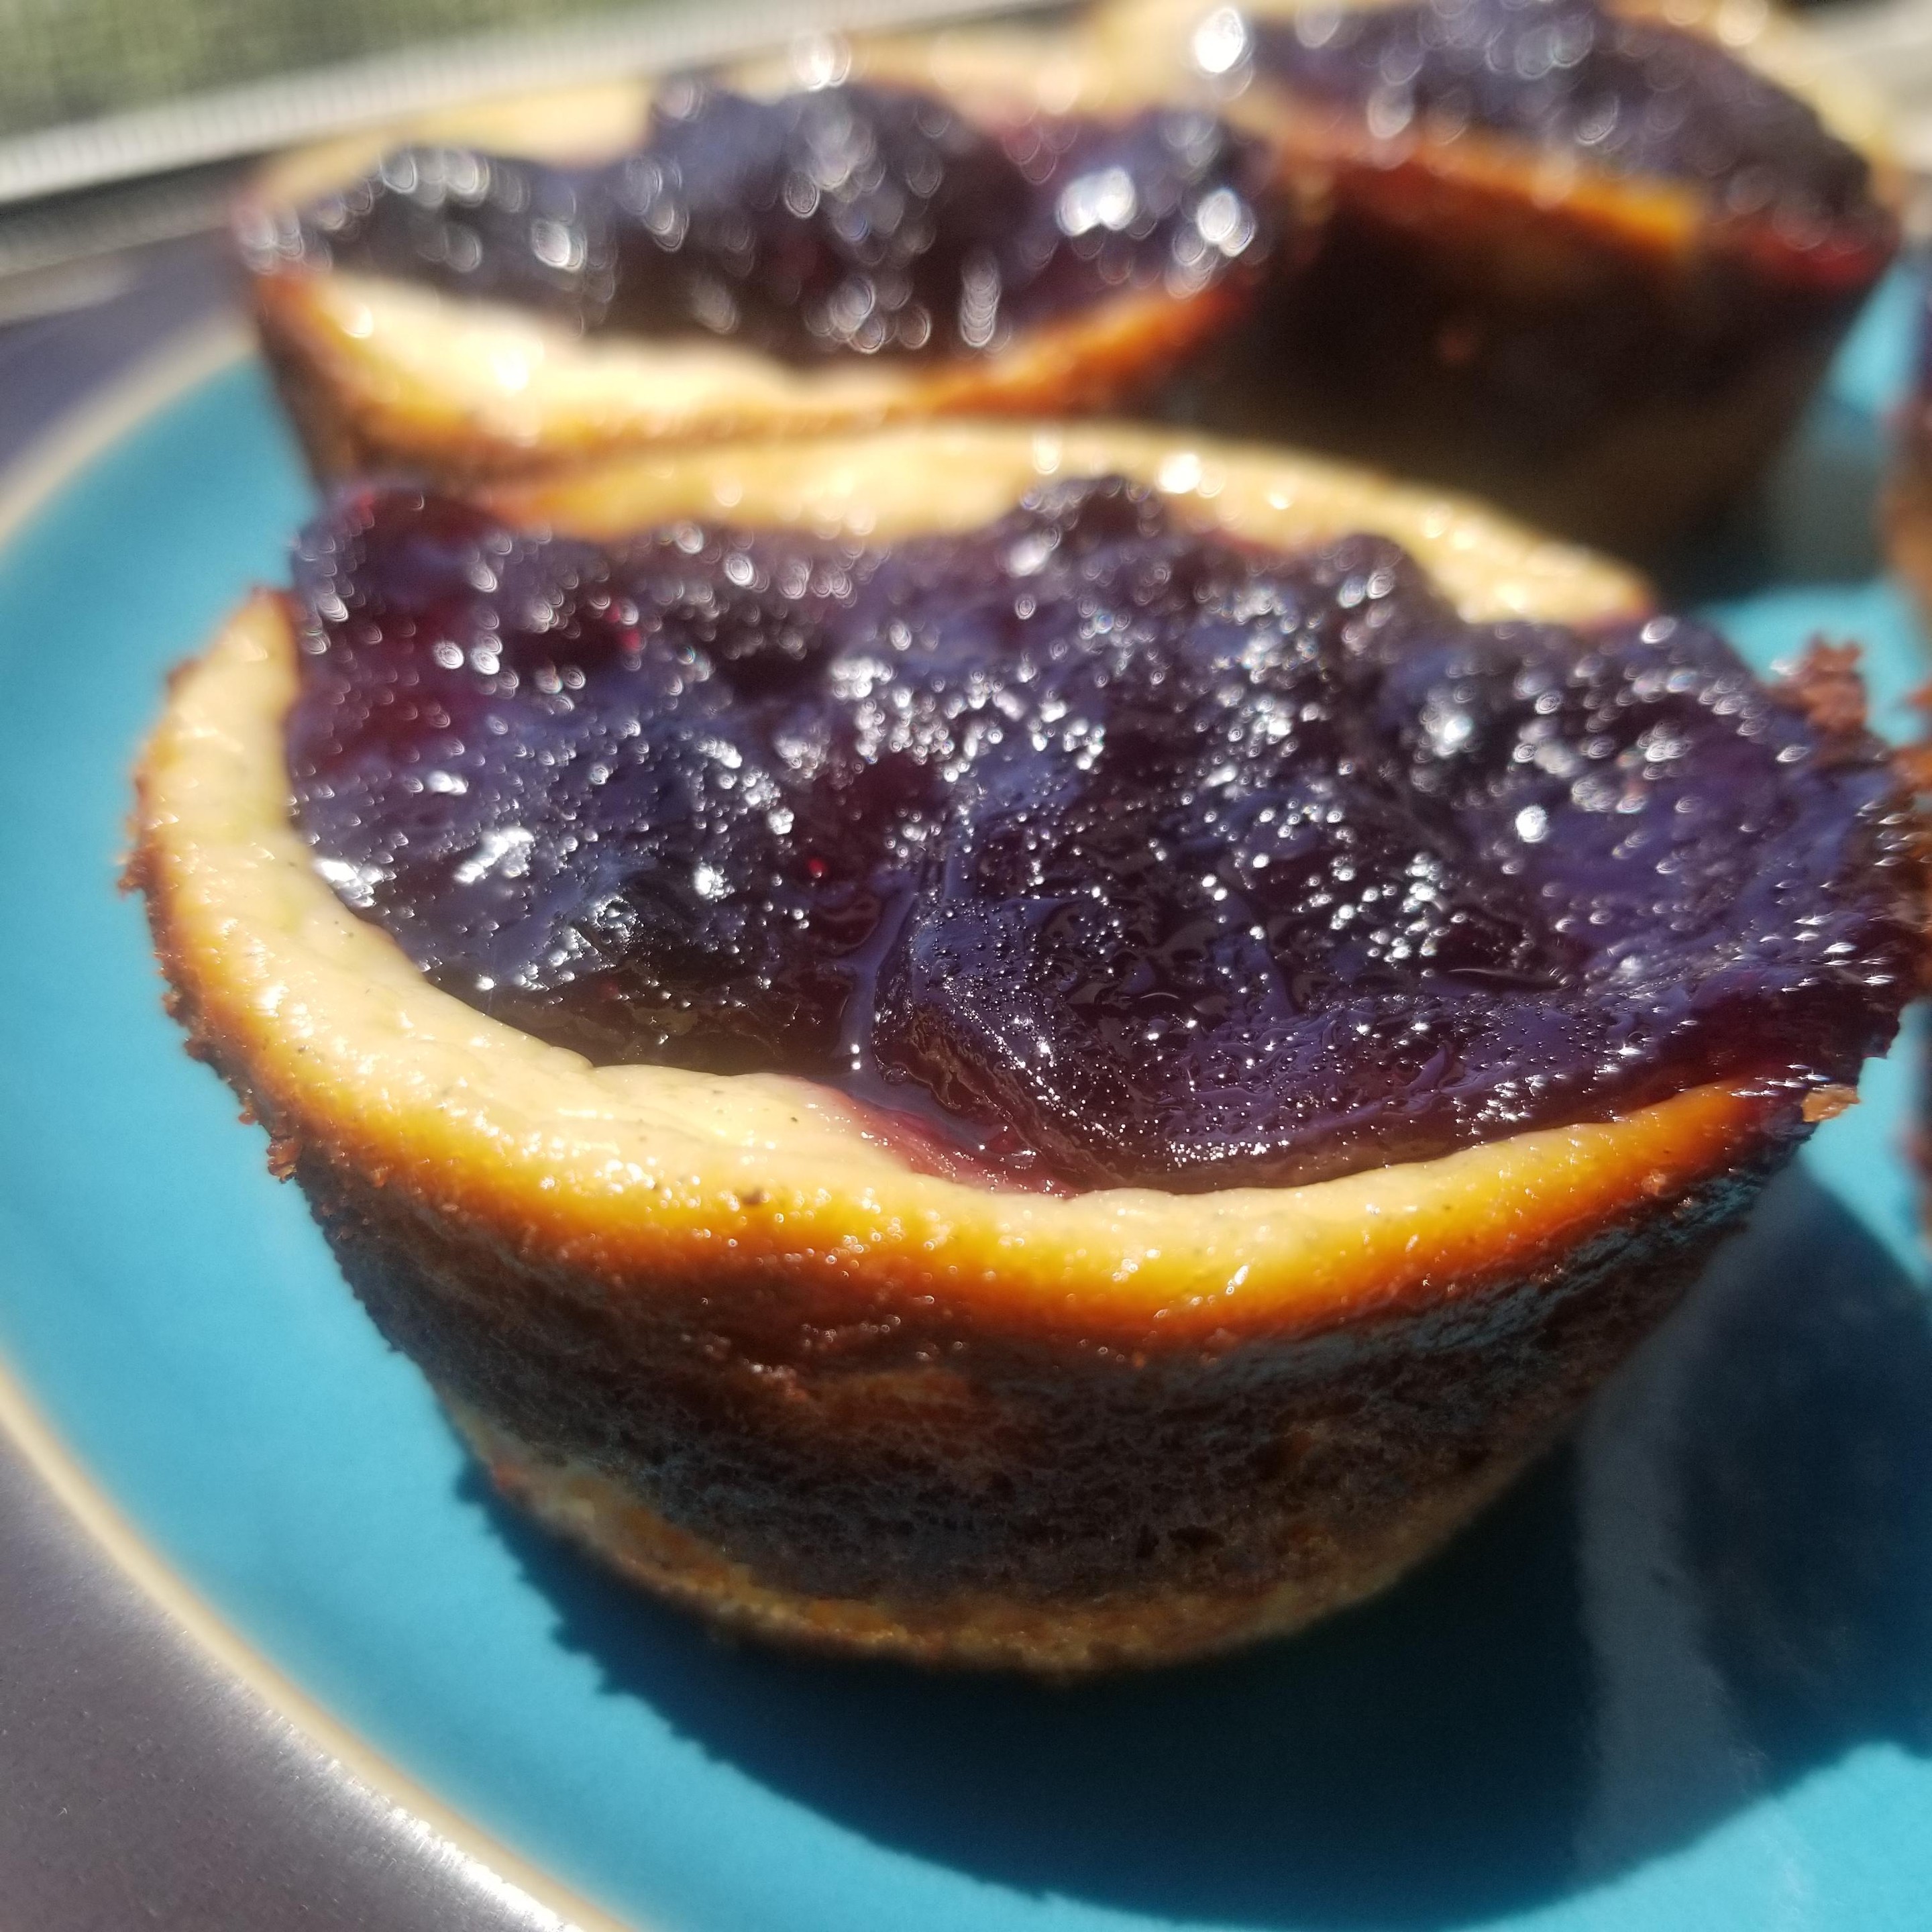
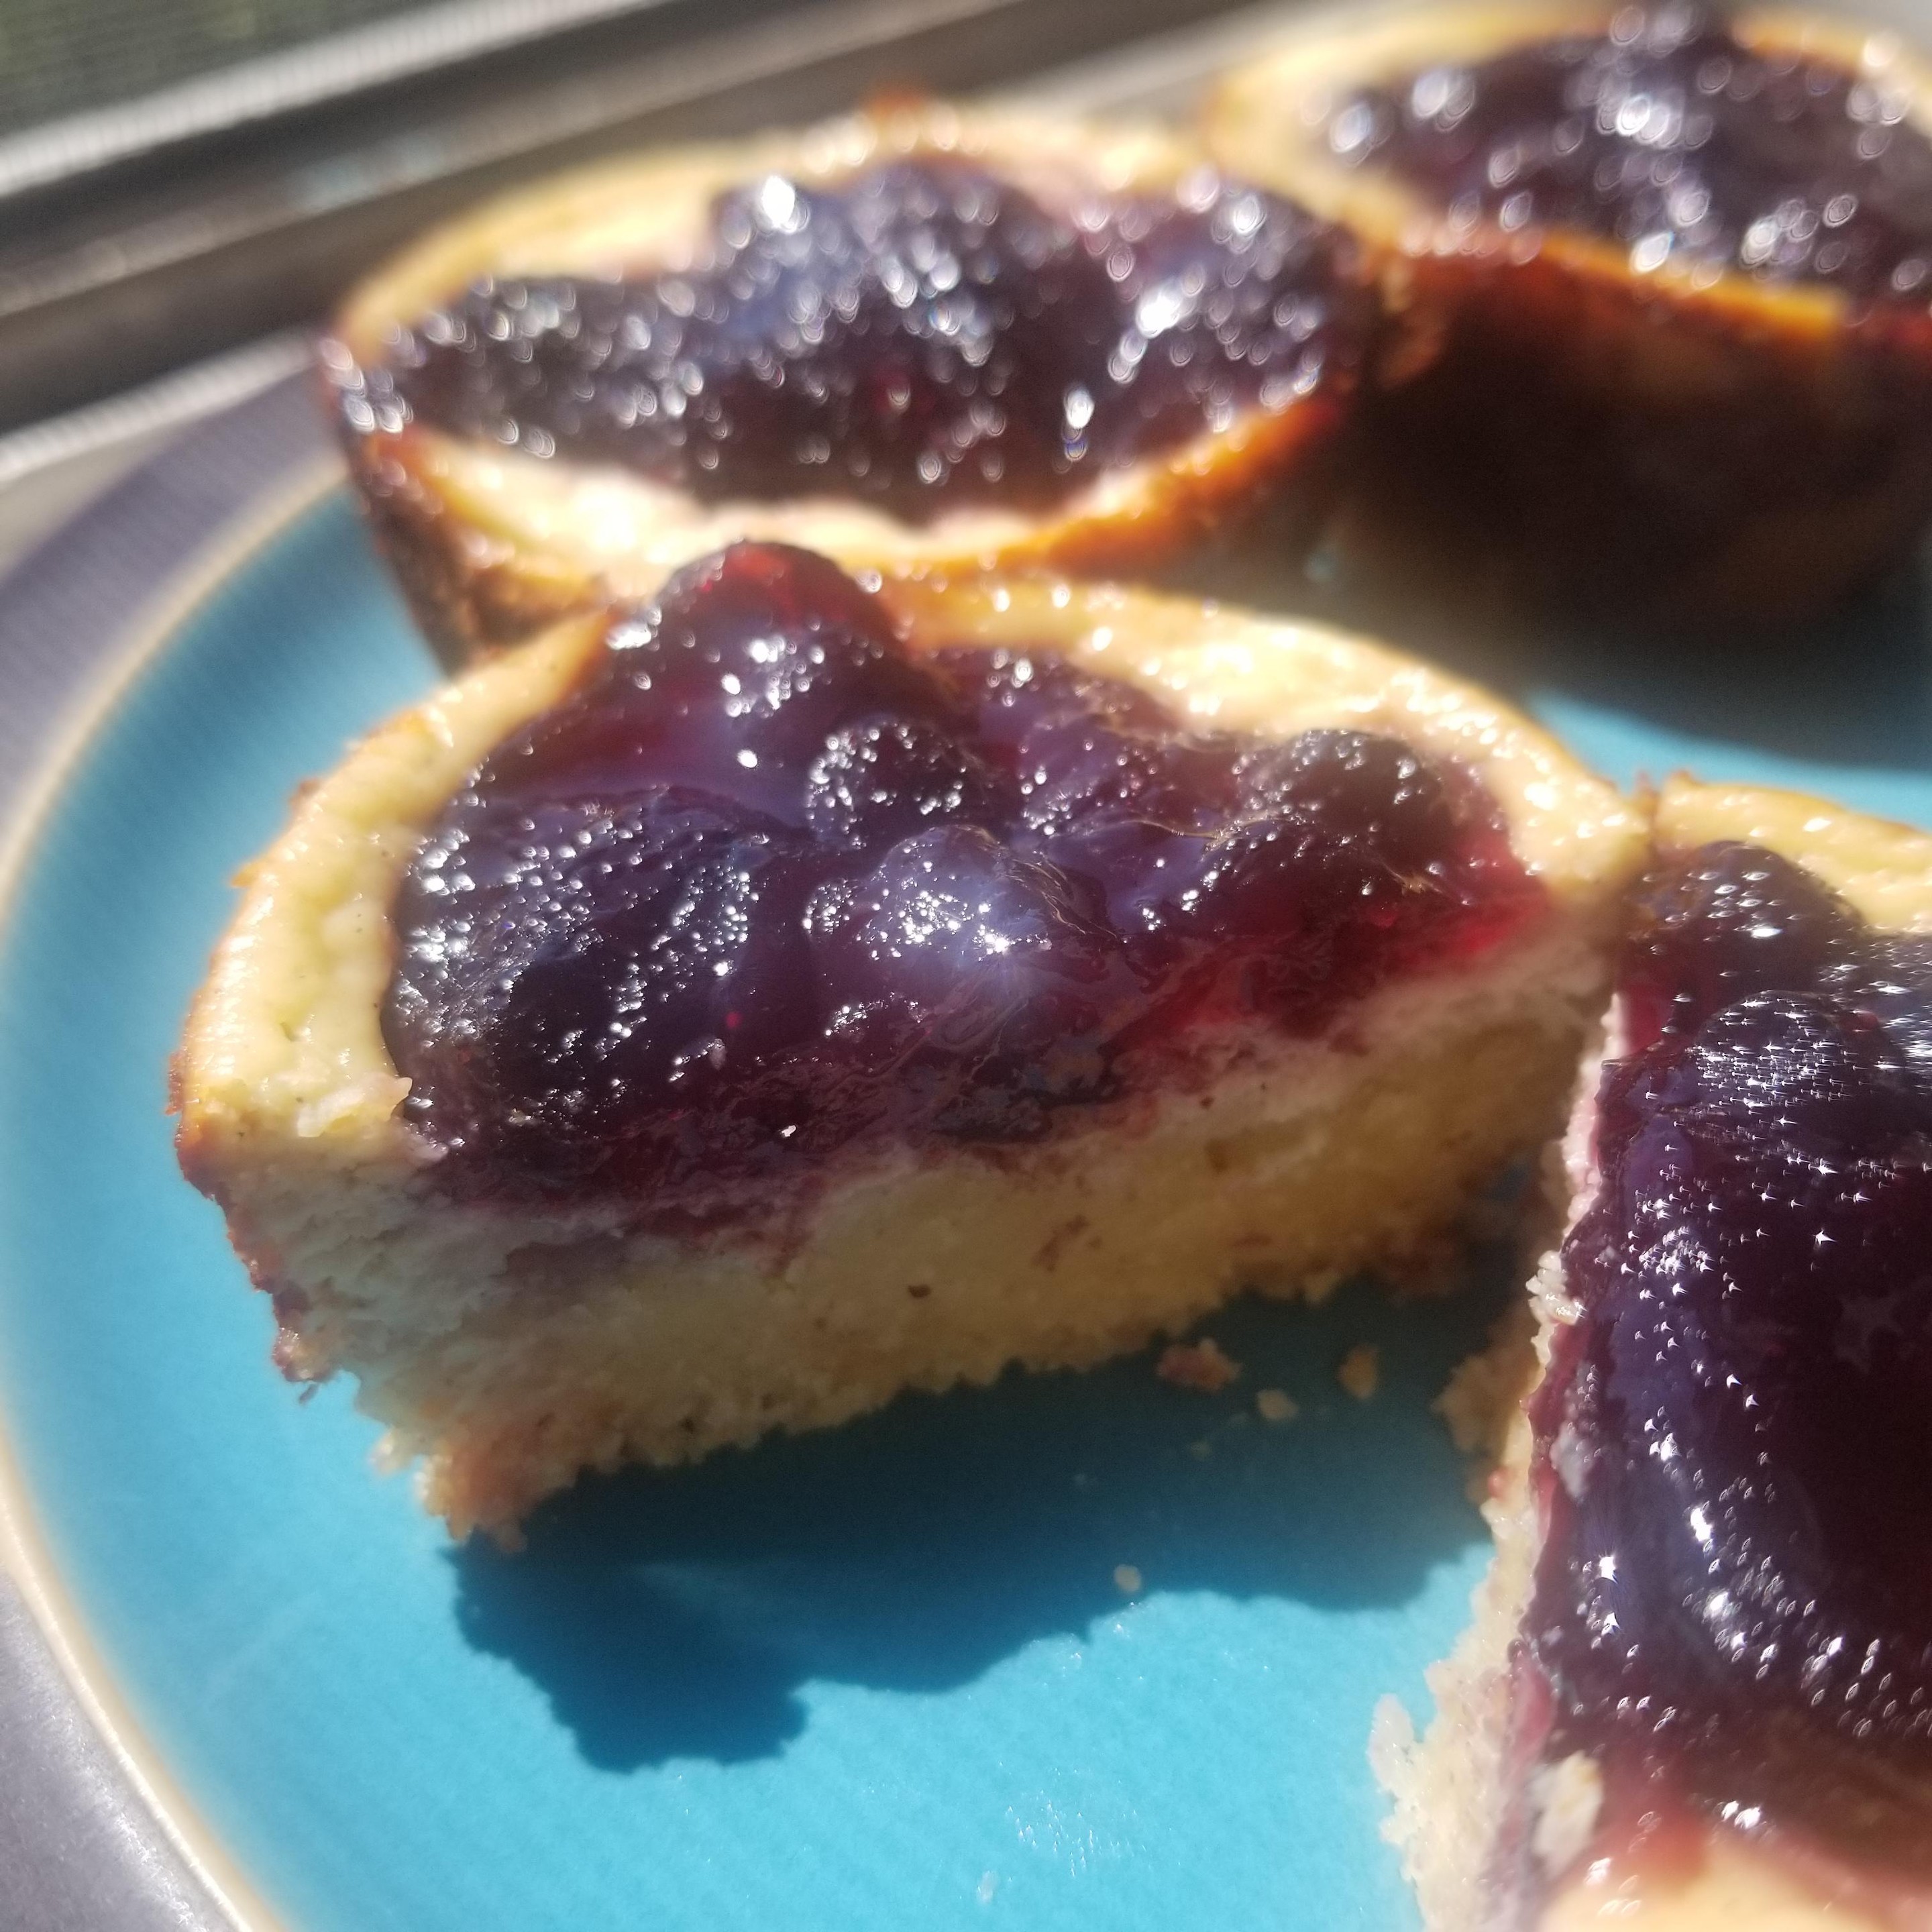
- Jam Tarts She Made Some Tarts
We’ll get back to talking about art next week. Is there an author or topic you want me to cover? Let me know on Mastodon or Ko-Fi! The #ArtABCs challenge is on! Join us for Letter B!
Get my art on mugs & vinyl stickers in my Shop!
Donate to support my works & get cool perks on Ko-Fi
Join us for #ArtABCs, the best art challenge on the internet!
- All pictures posted are my own work.
- All reviews are my own unpaid & unsolicited opinions.

 Ask me how I know
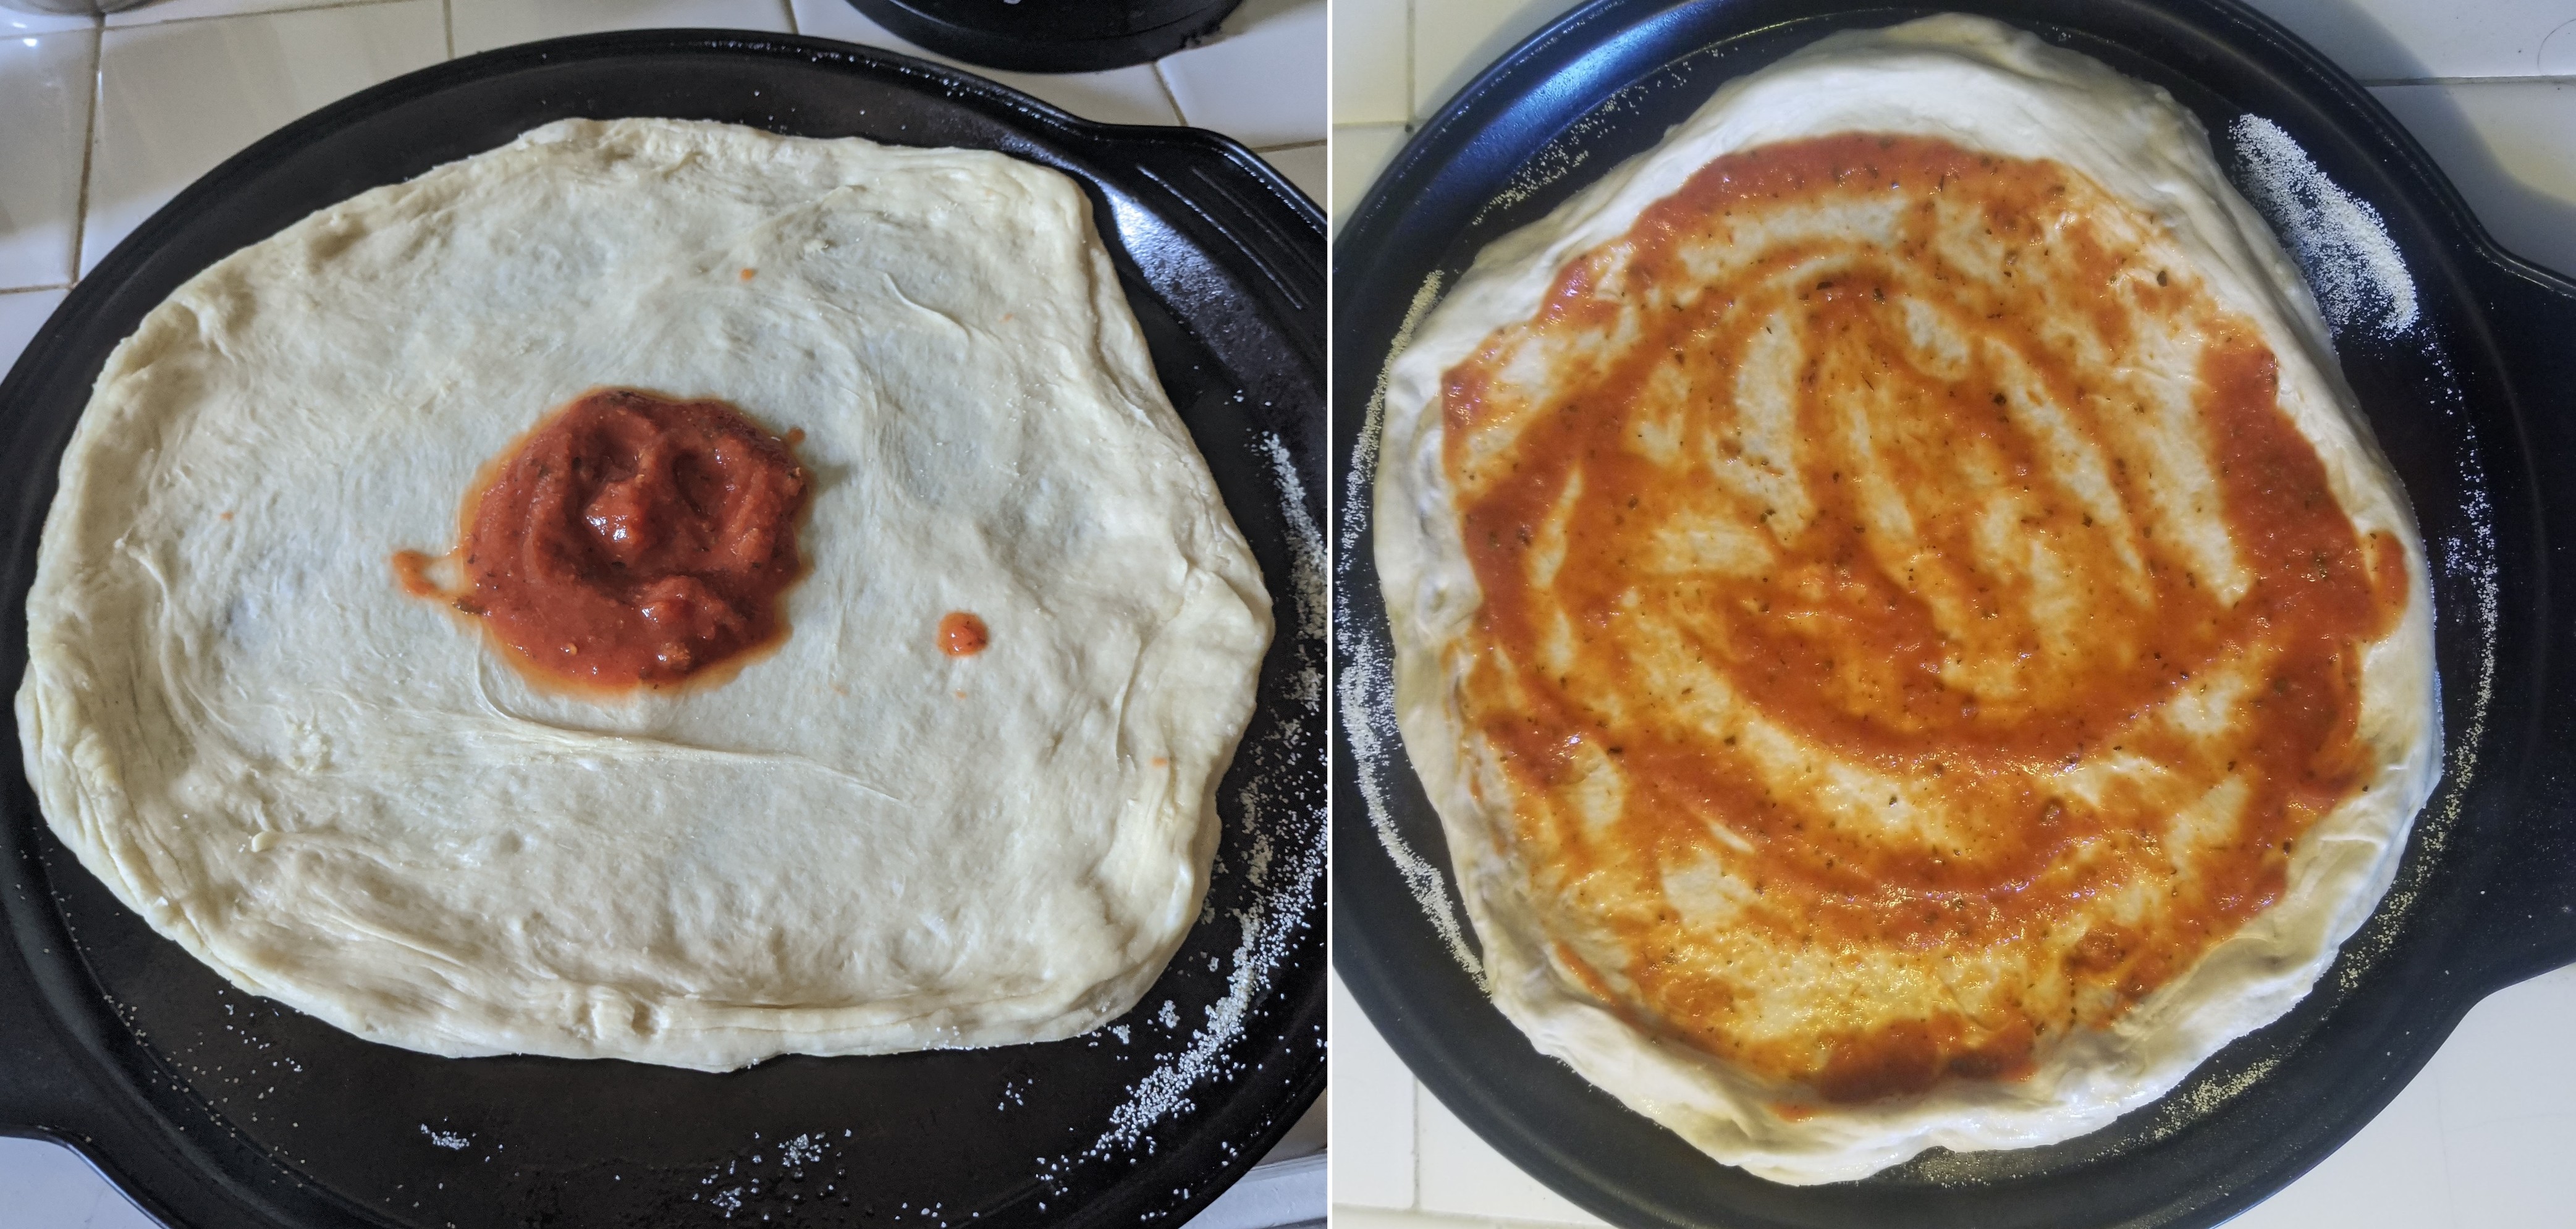
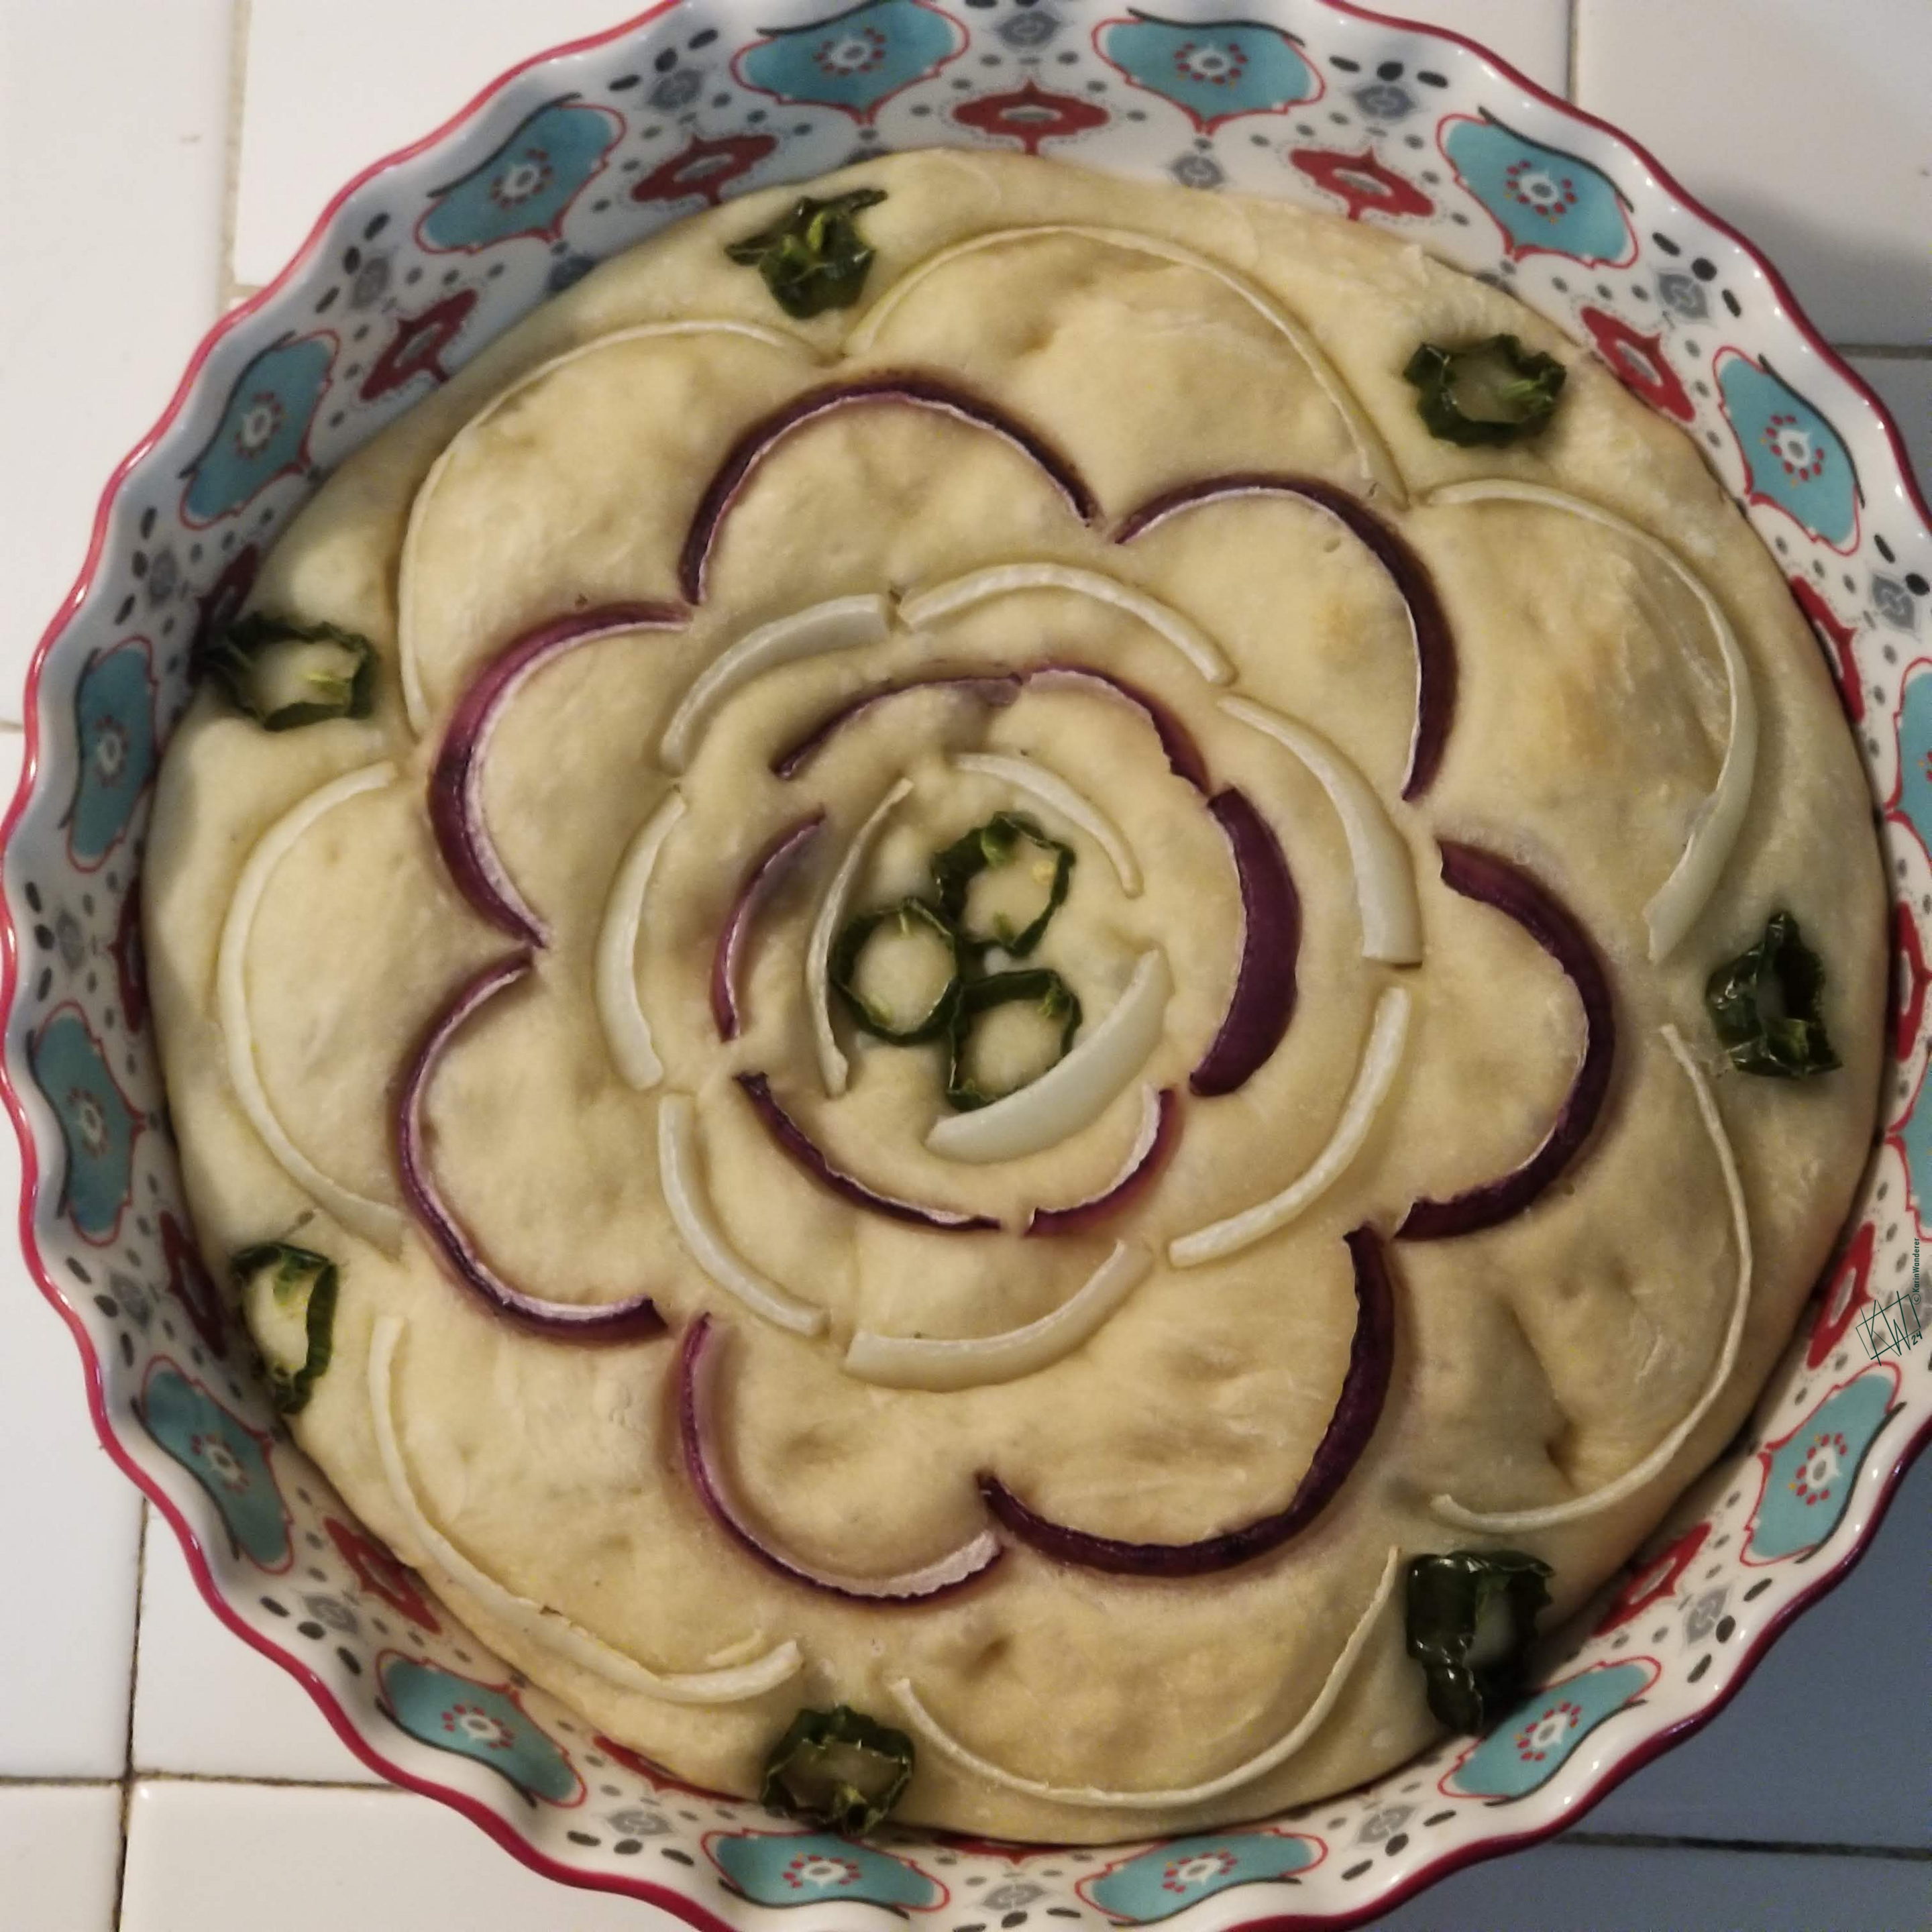 Red & white onions with shishito peppers
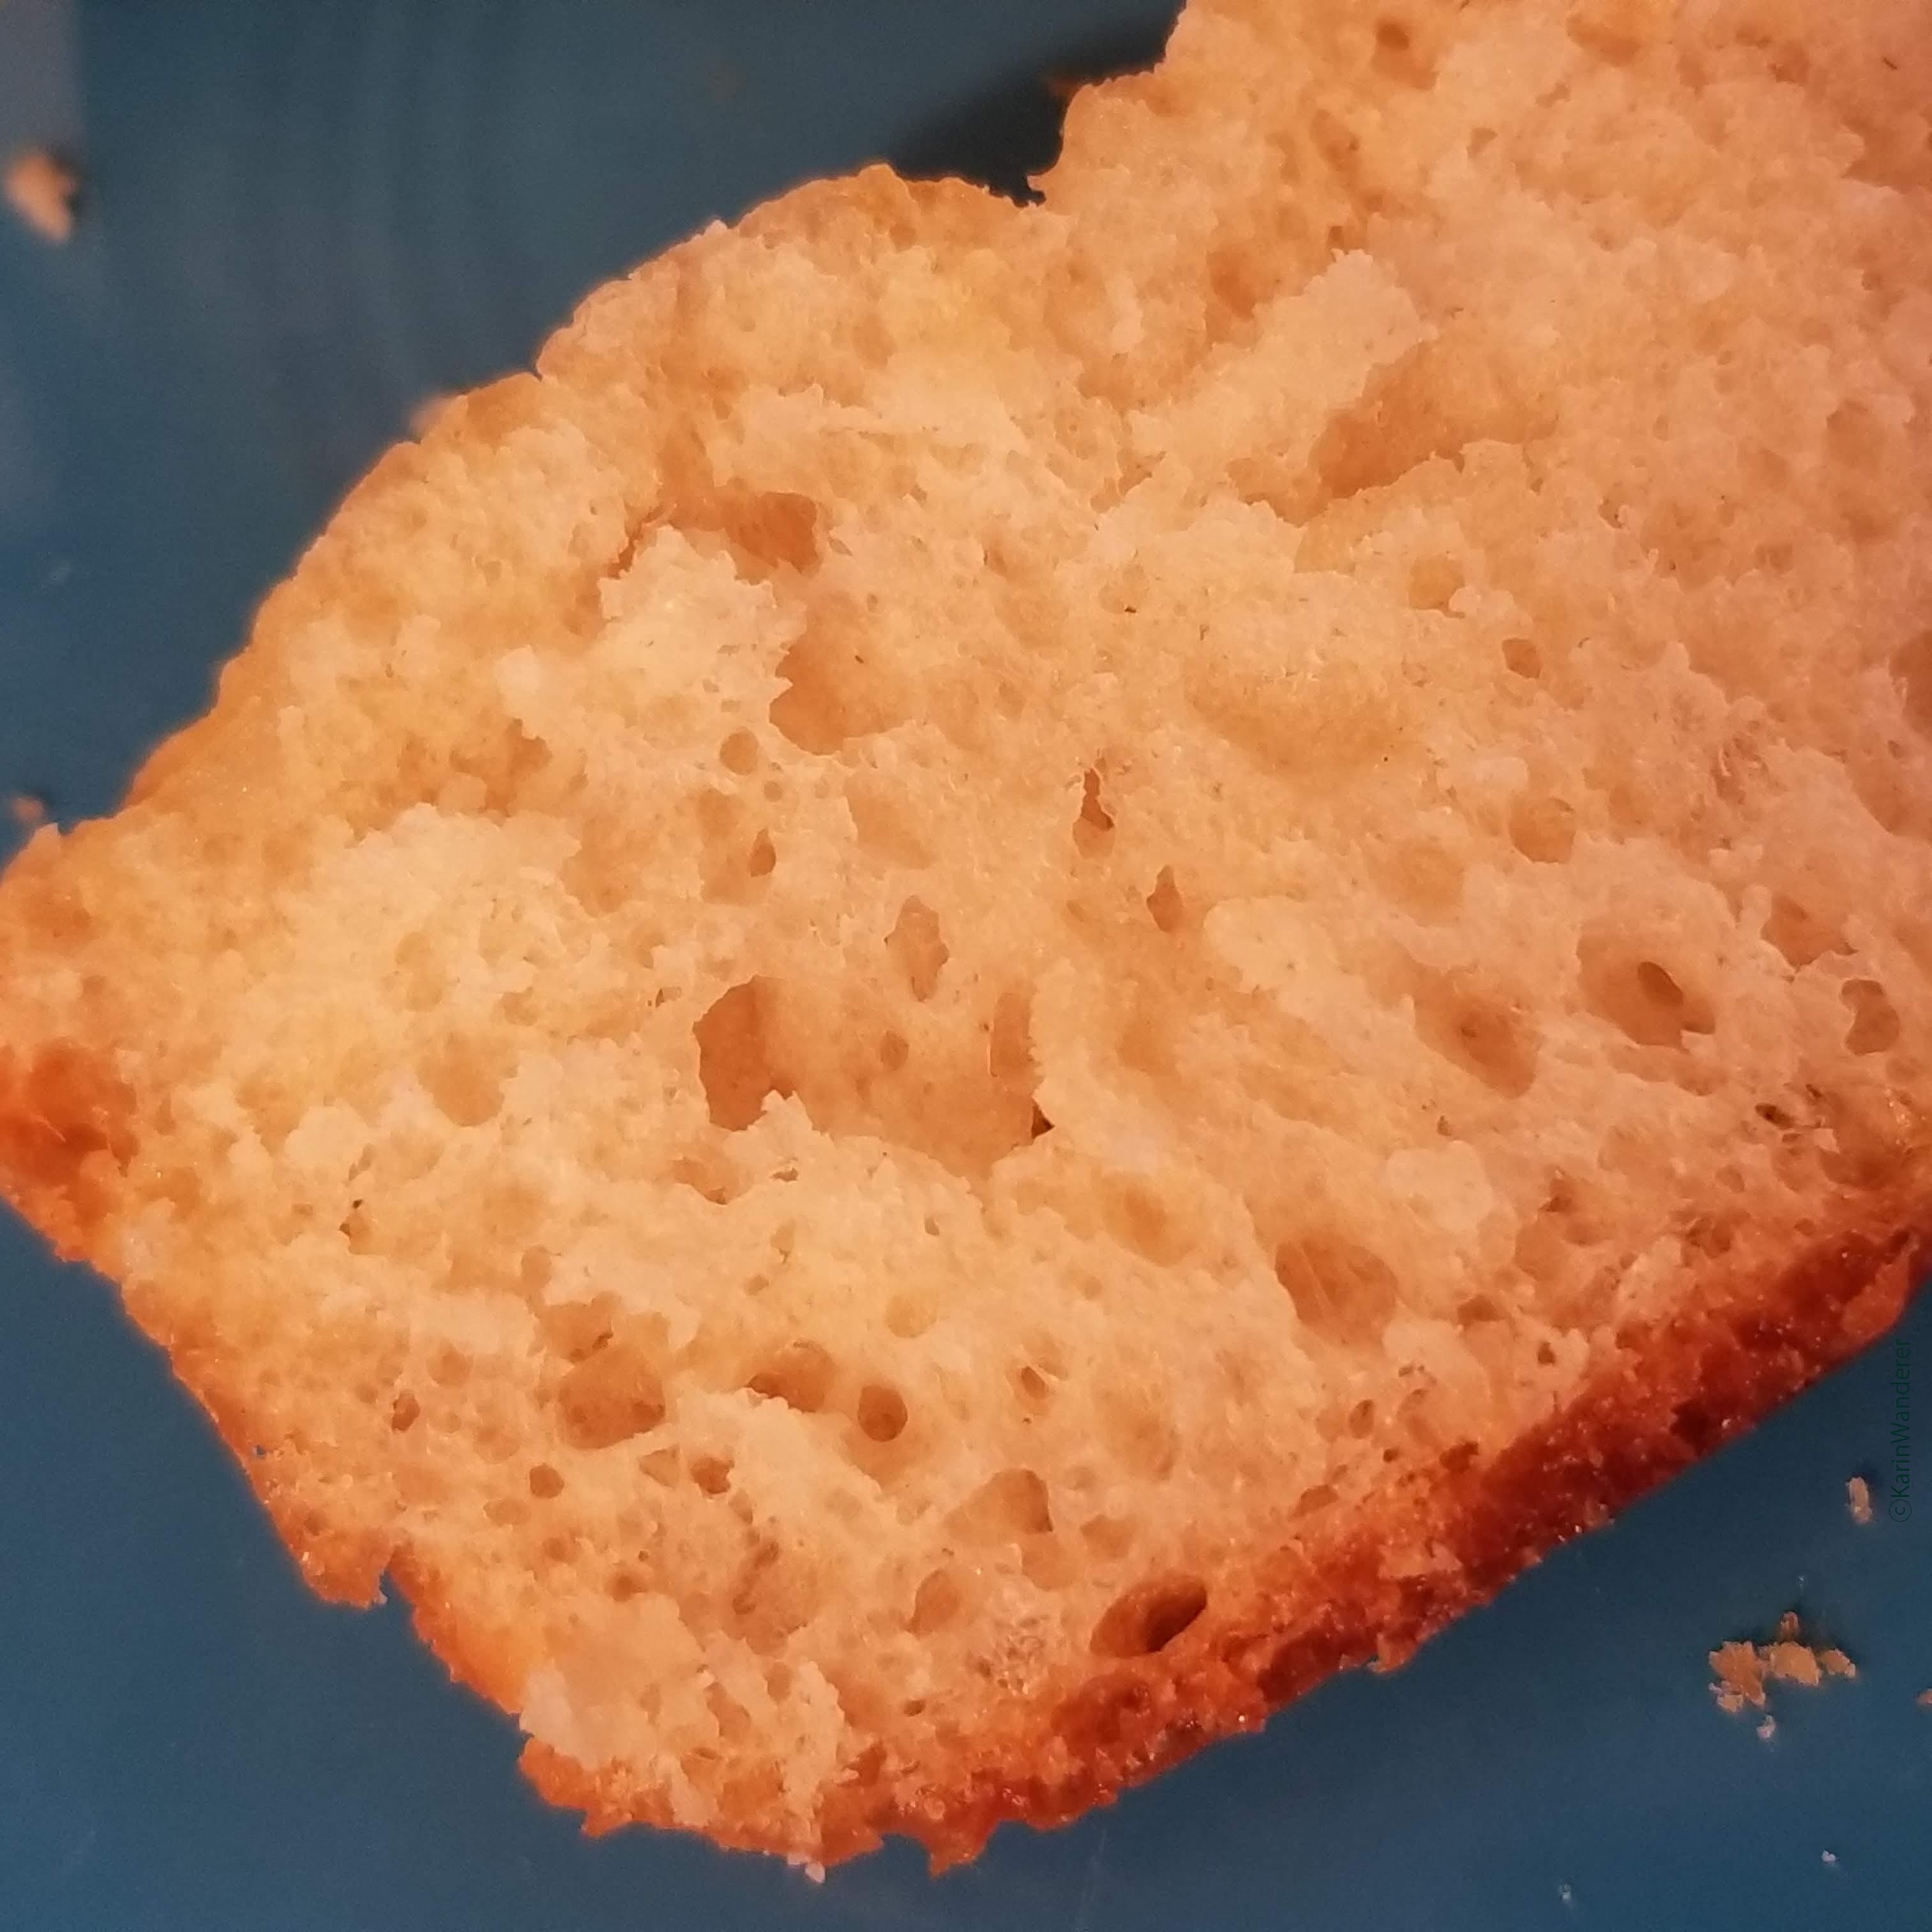 Focaccia dough makes great pizza & pizza dough makes great focaccia
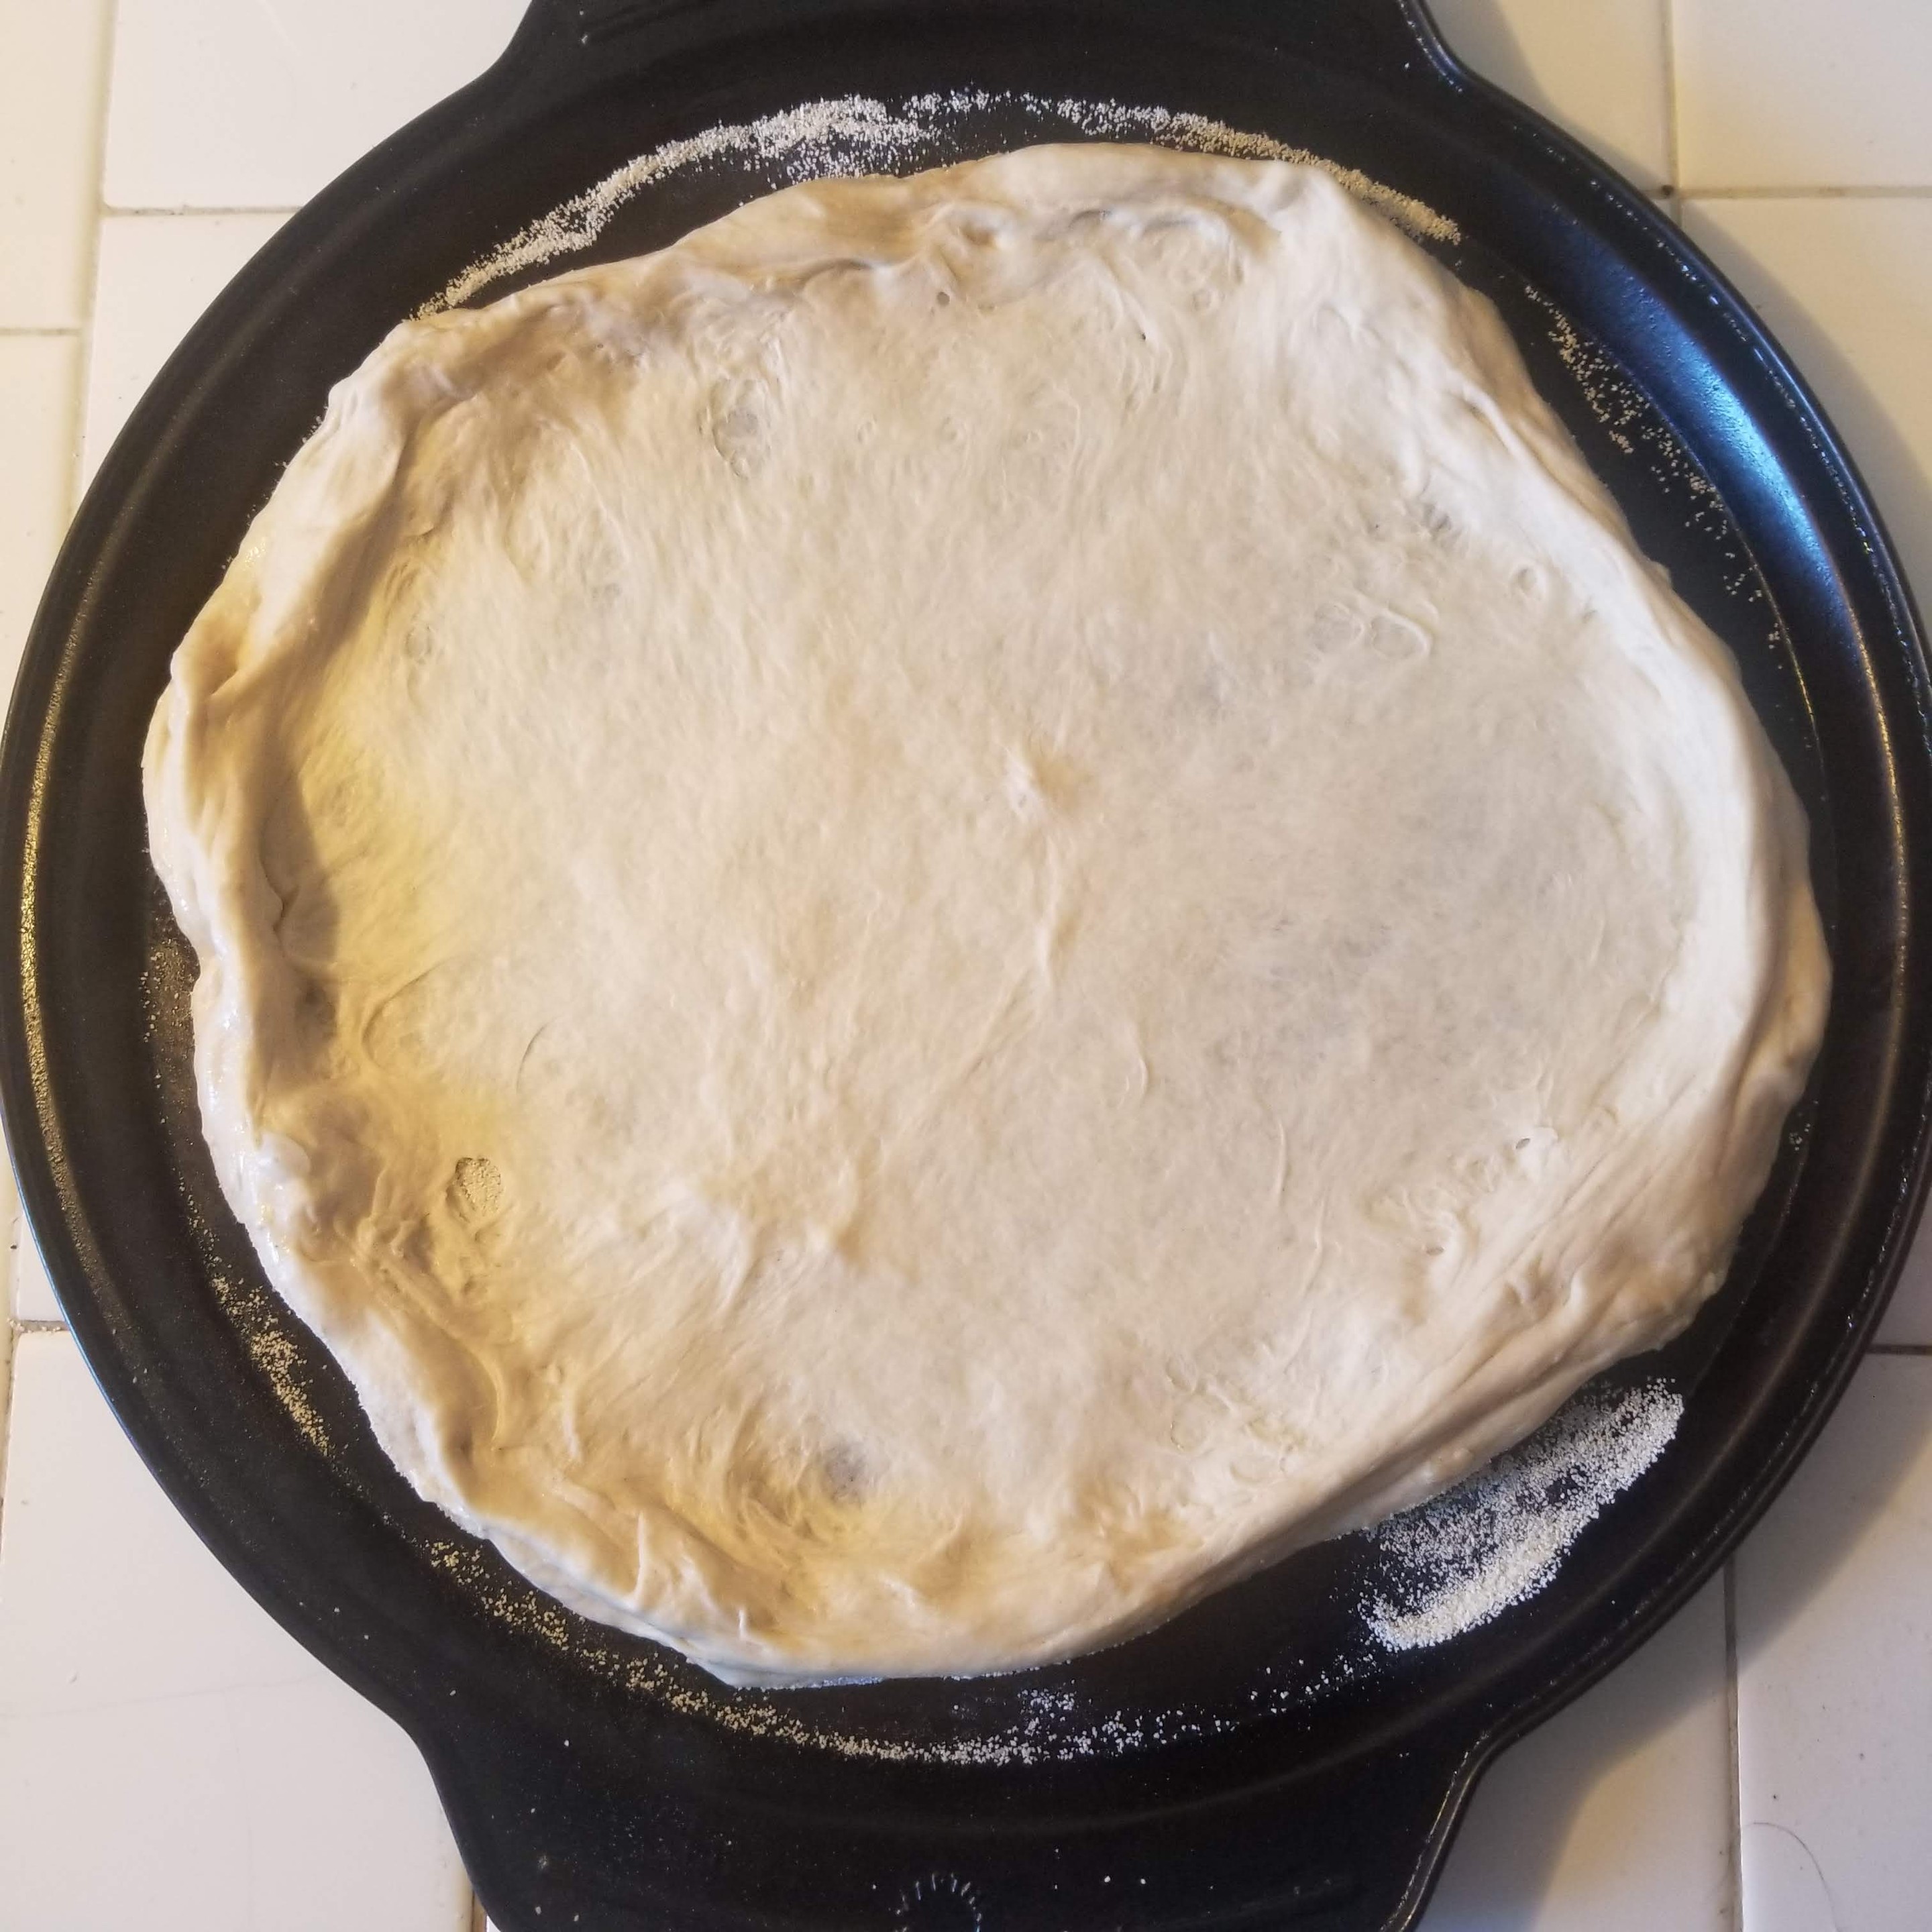
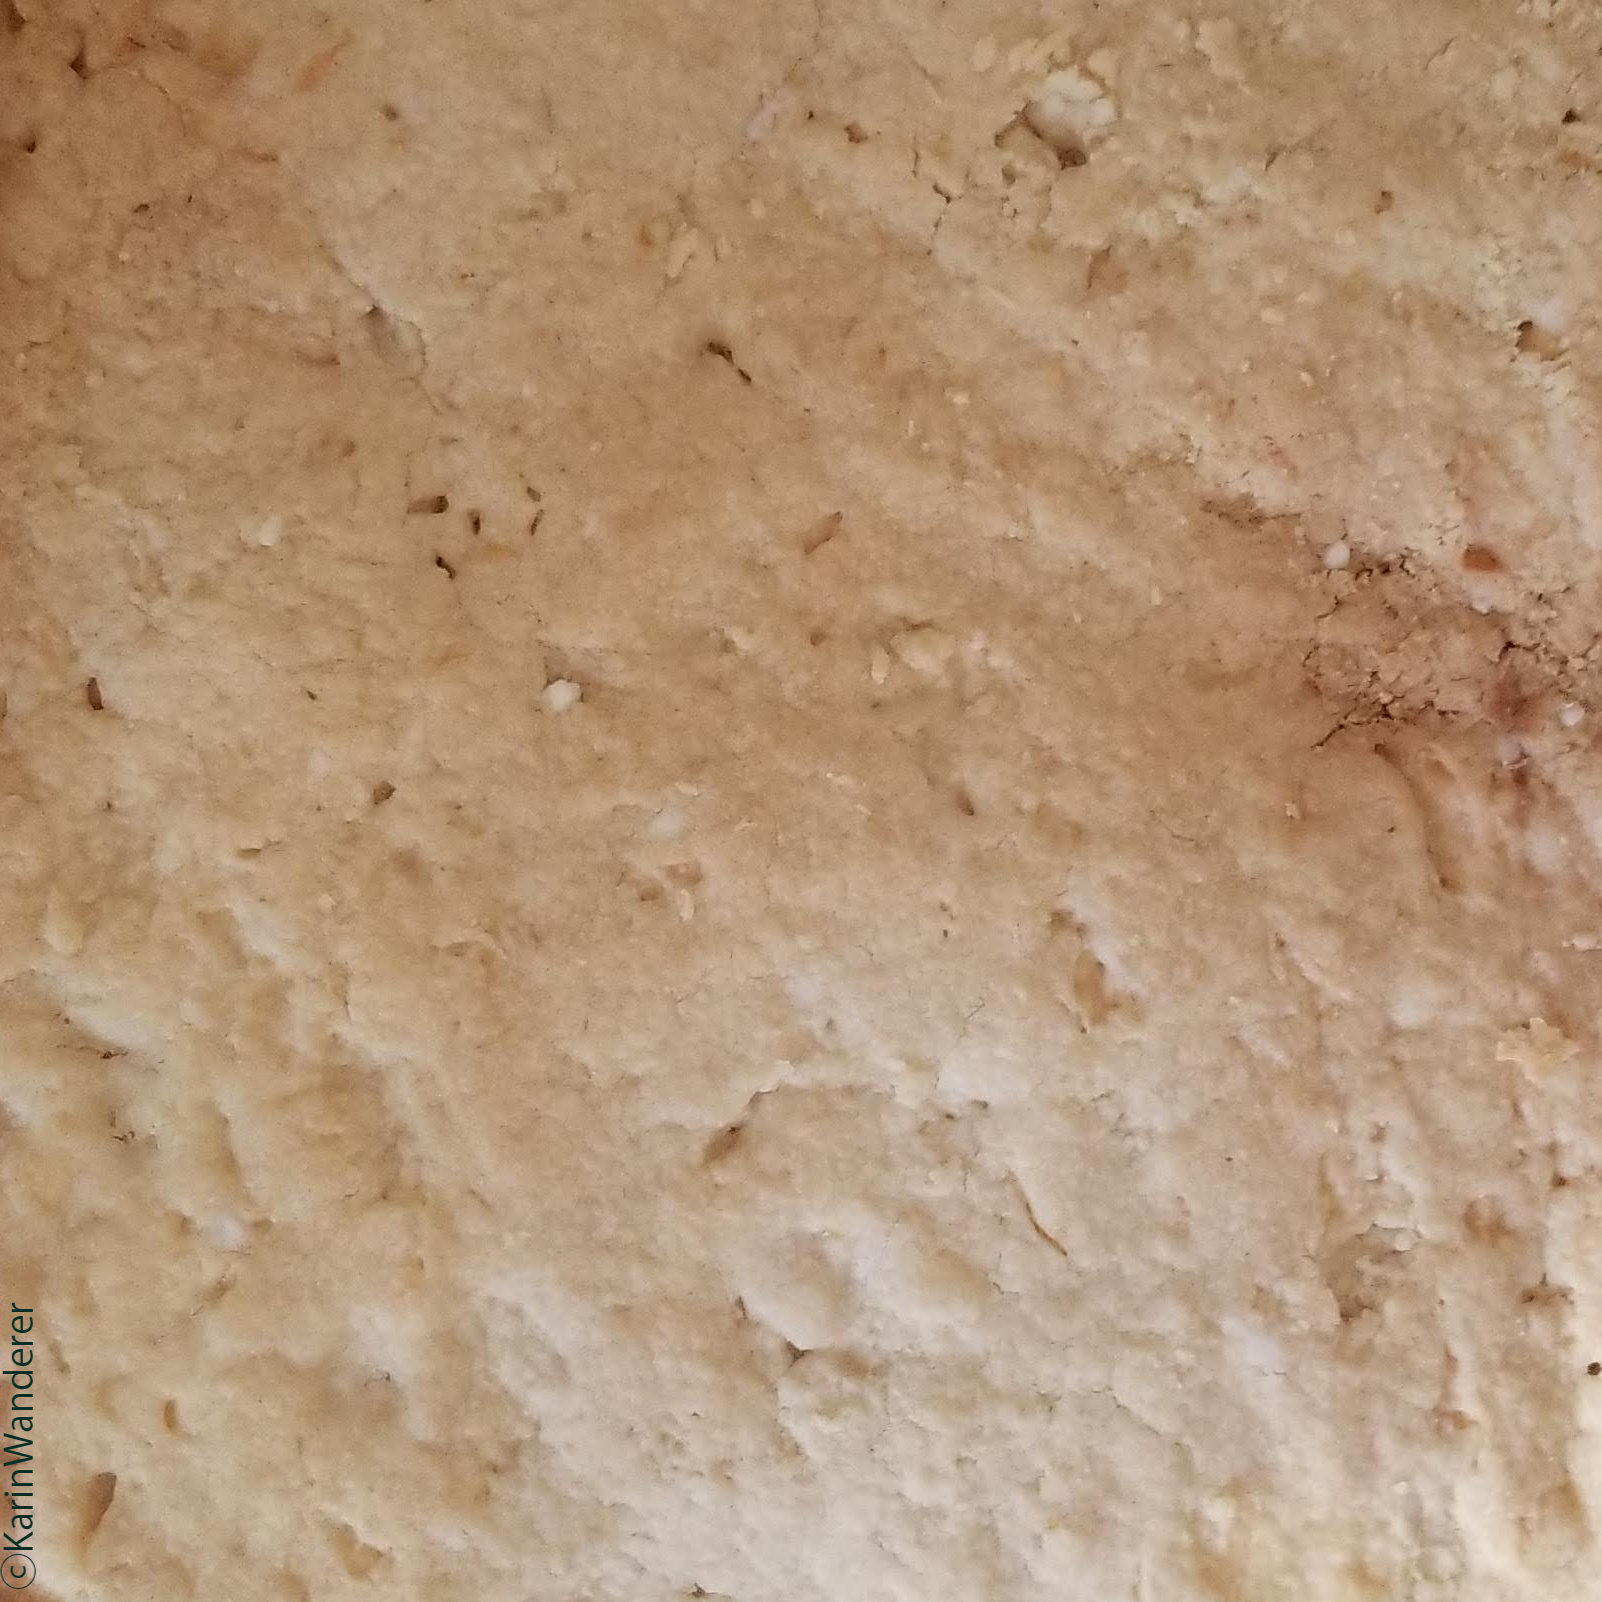
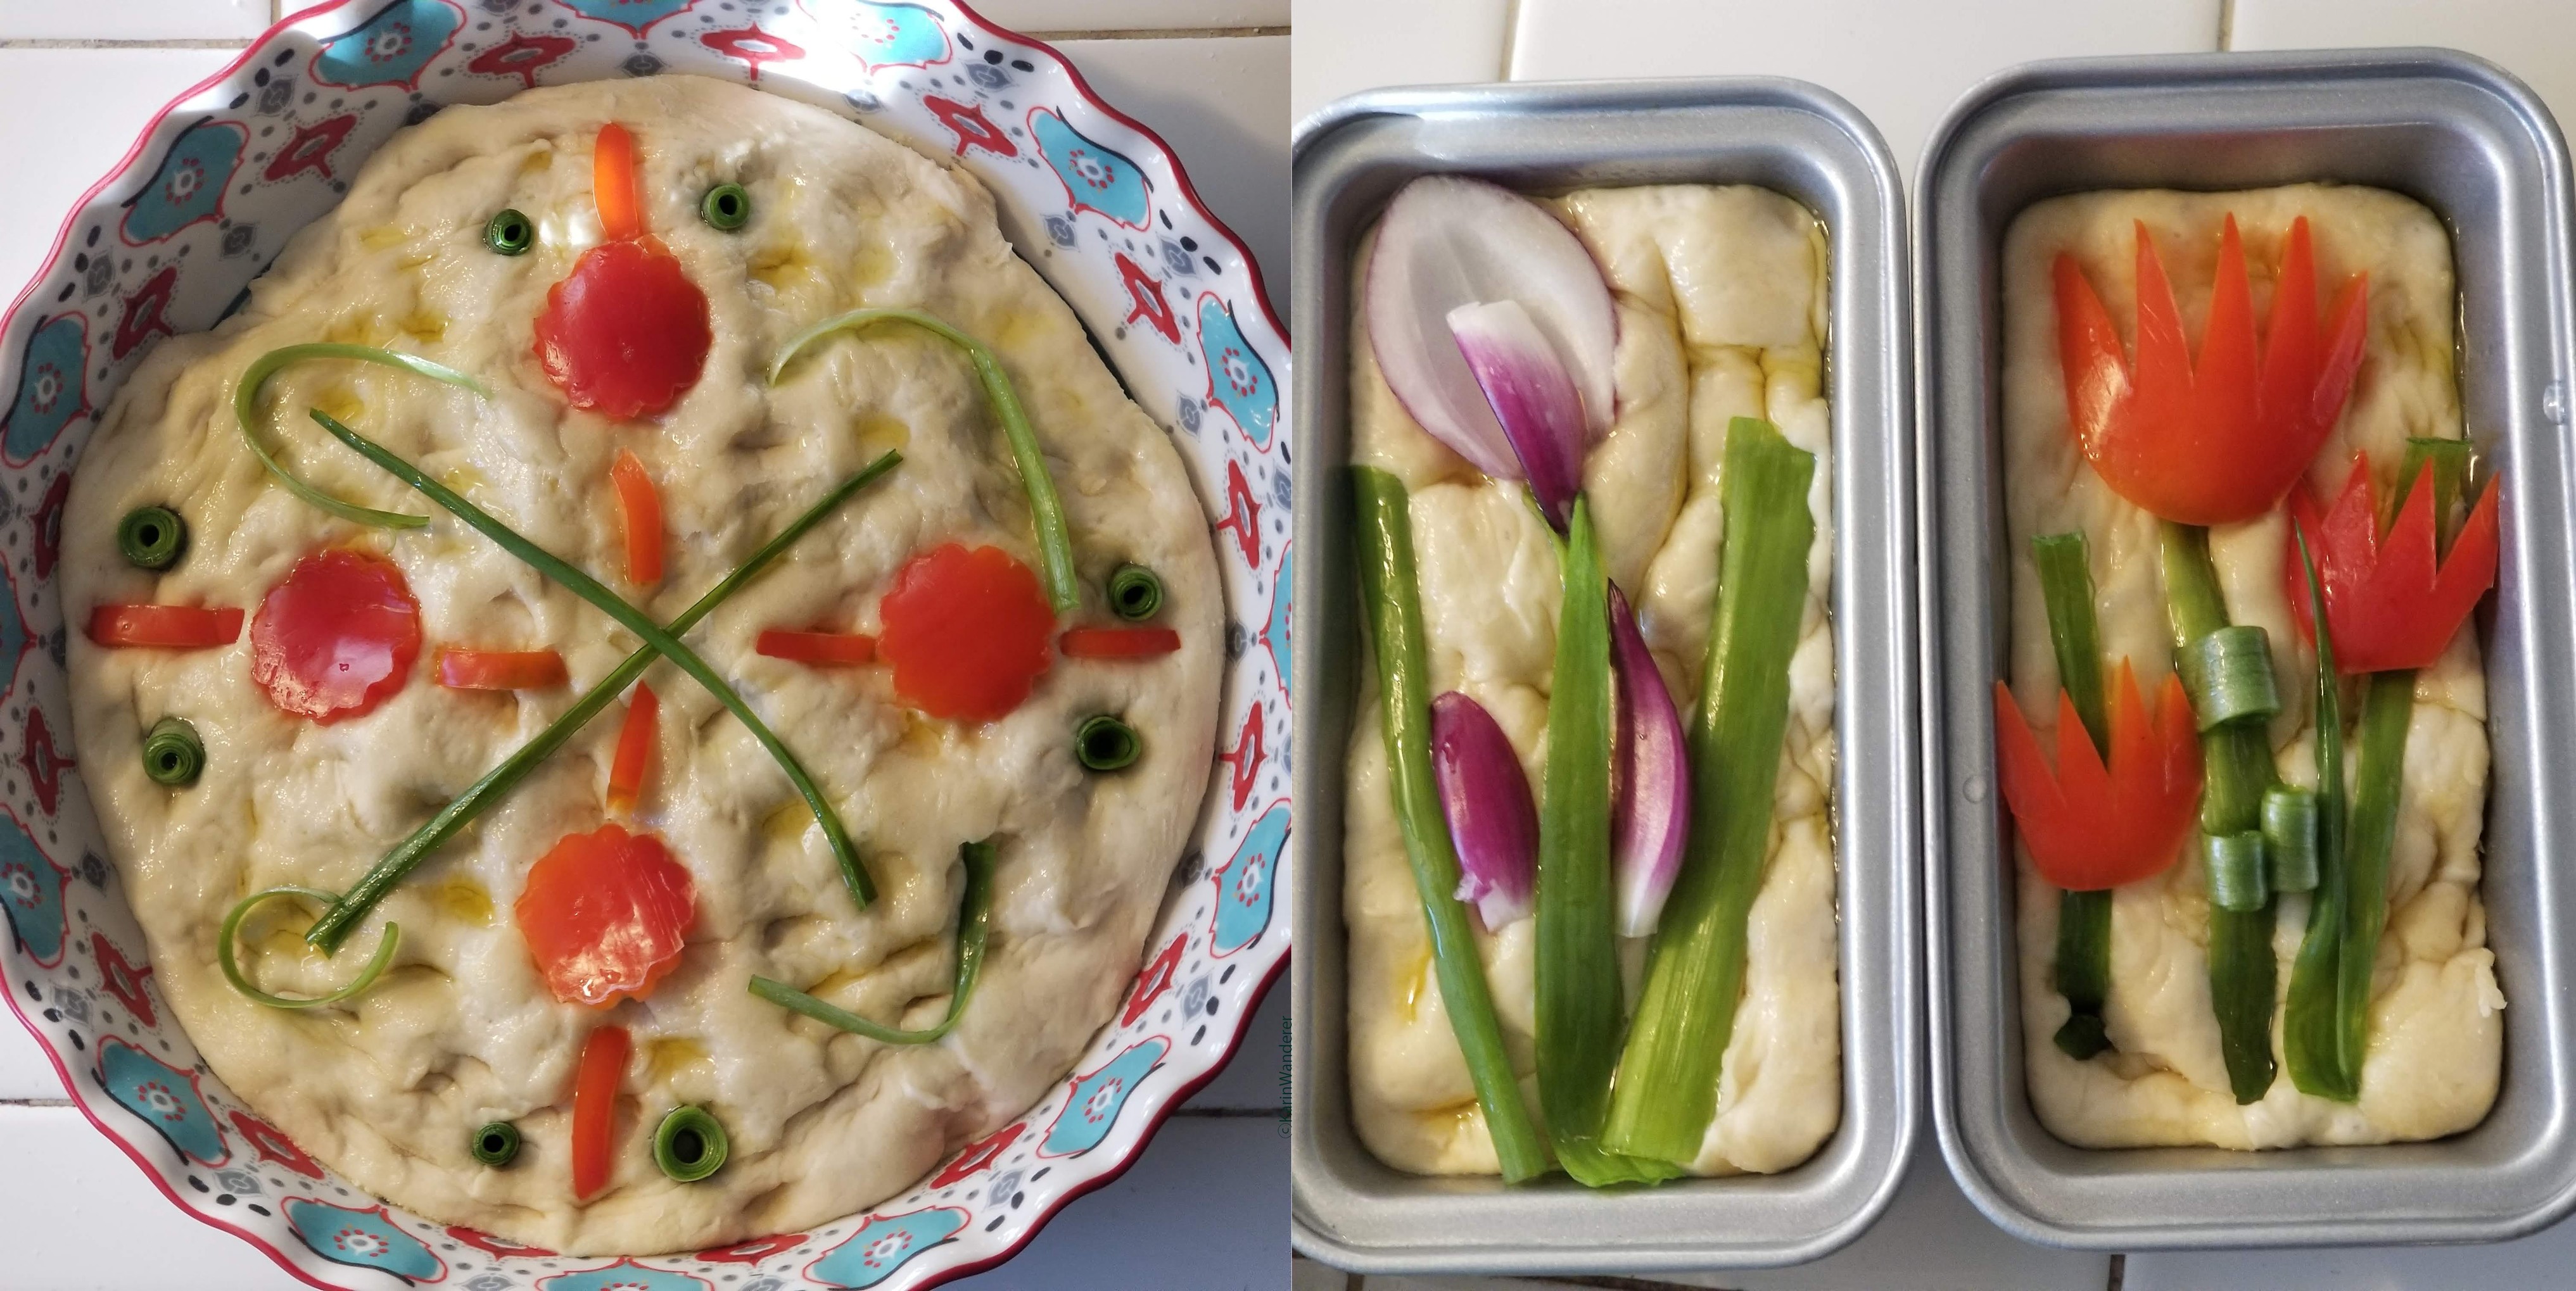 Test 1: Unbaked
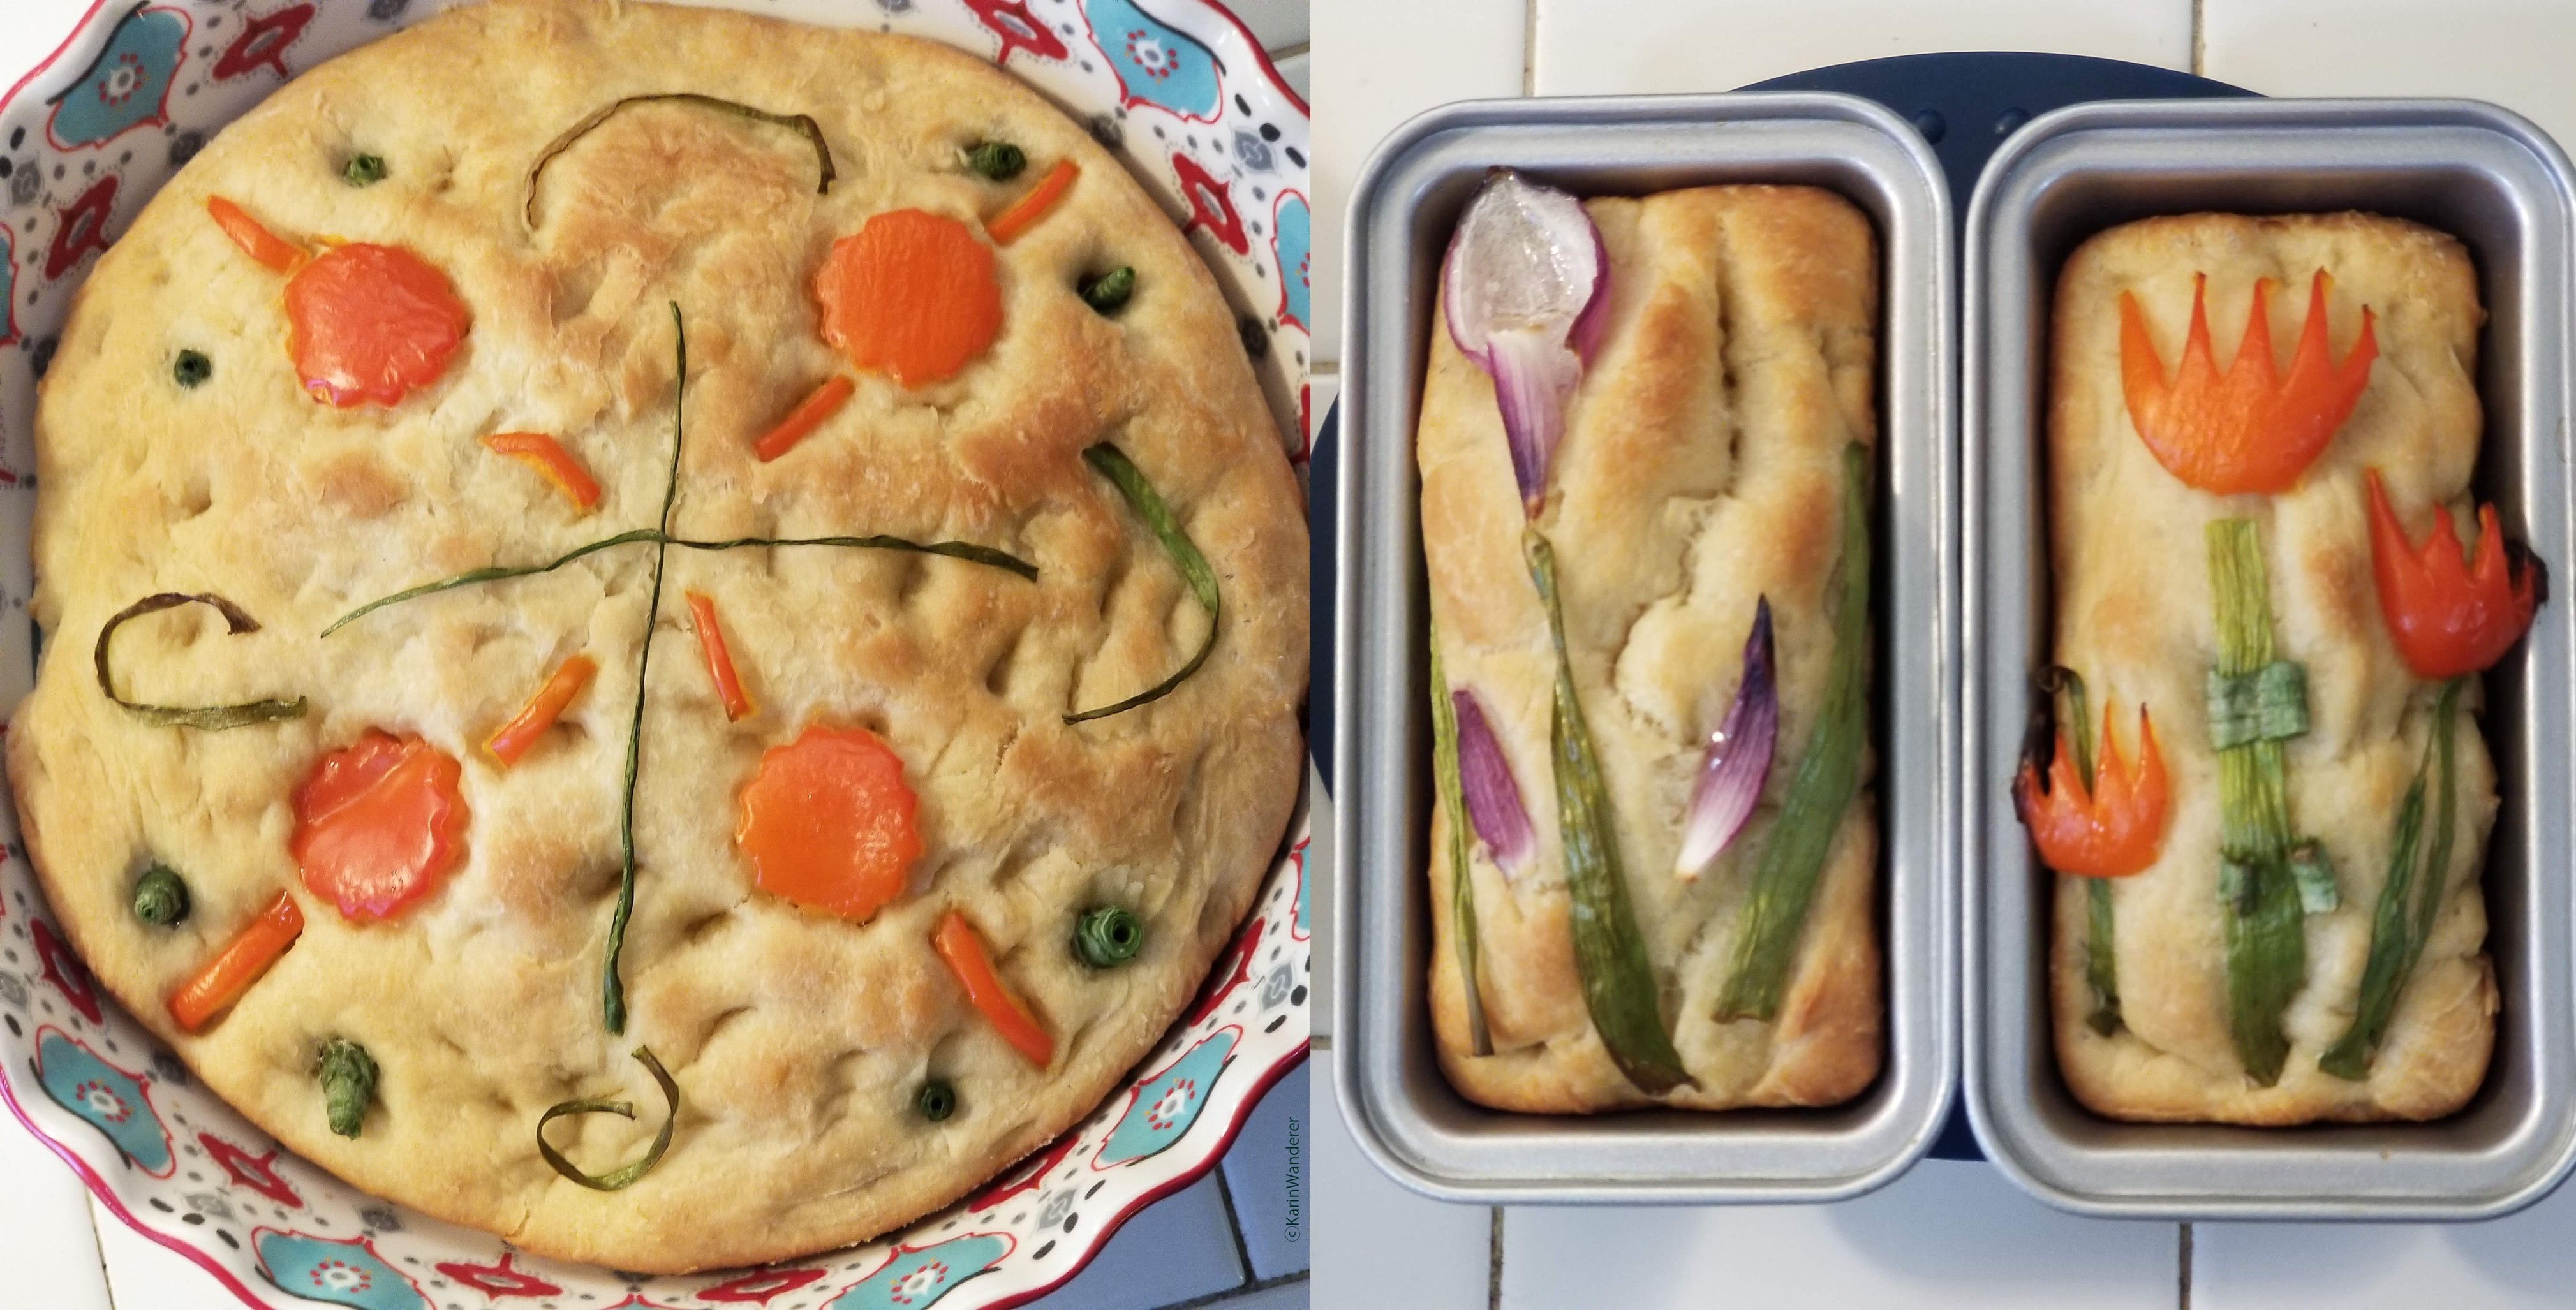 Test 1: Baked
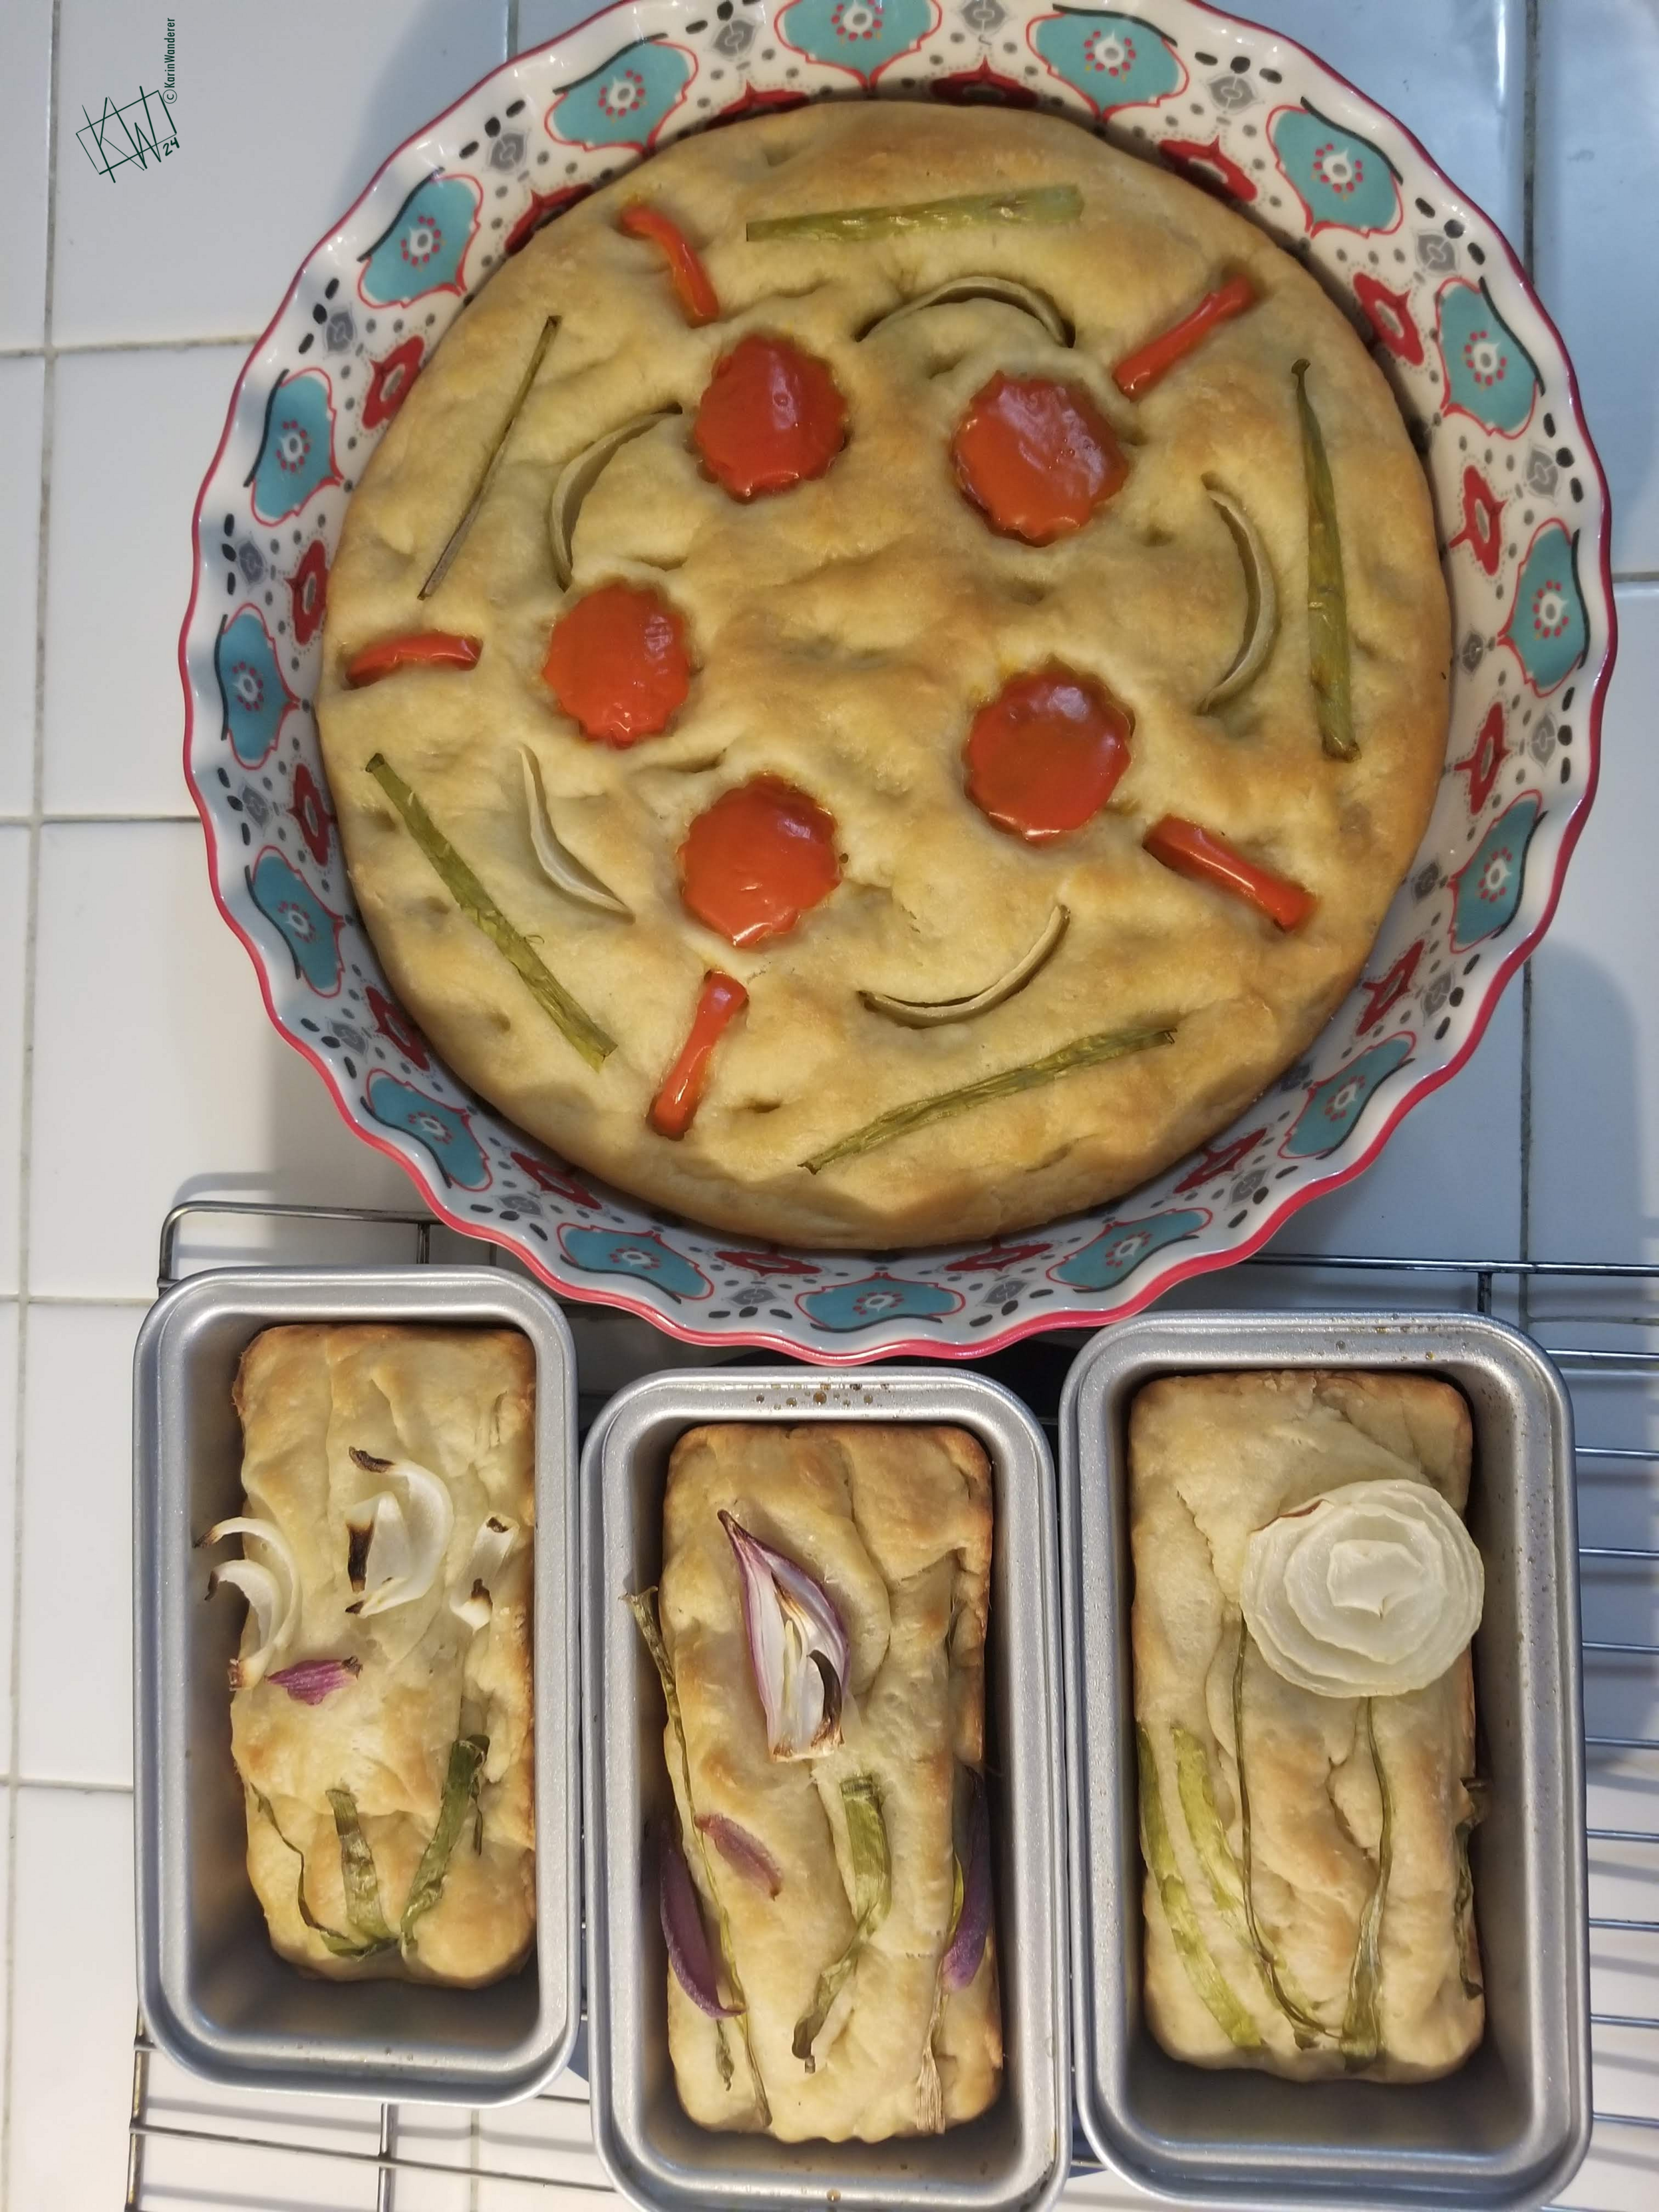 Ask me how I know!
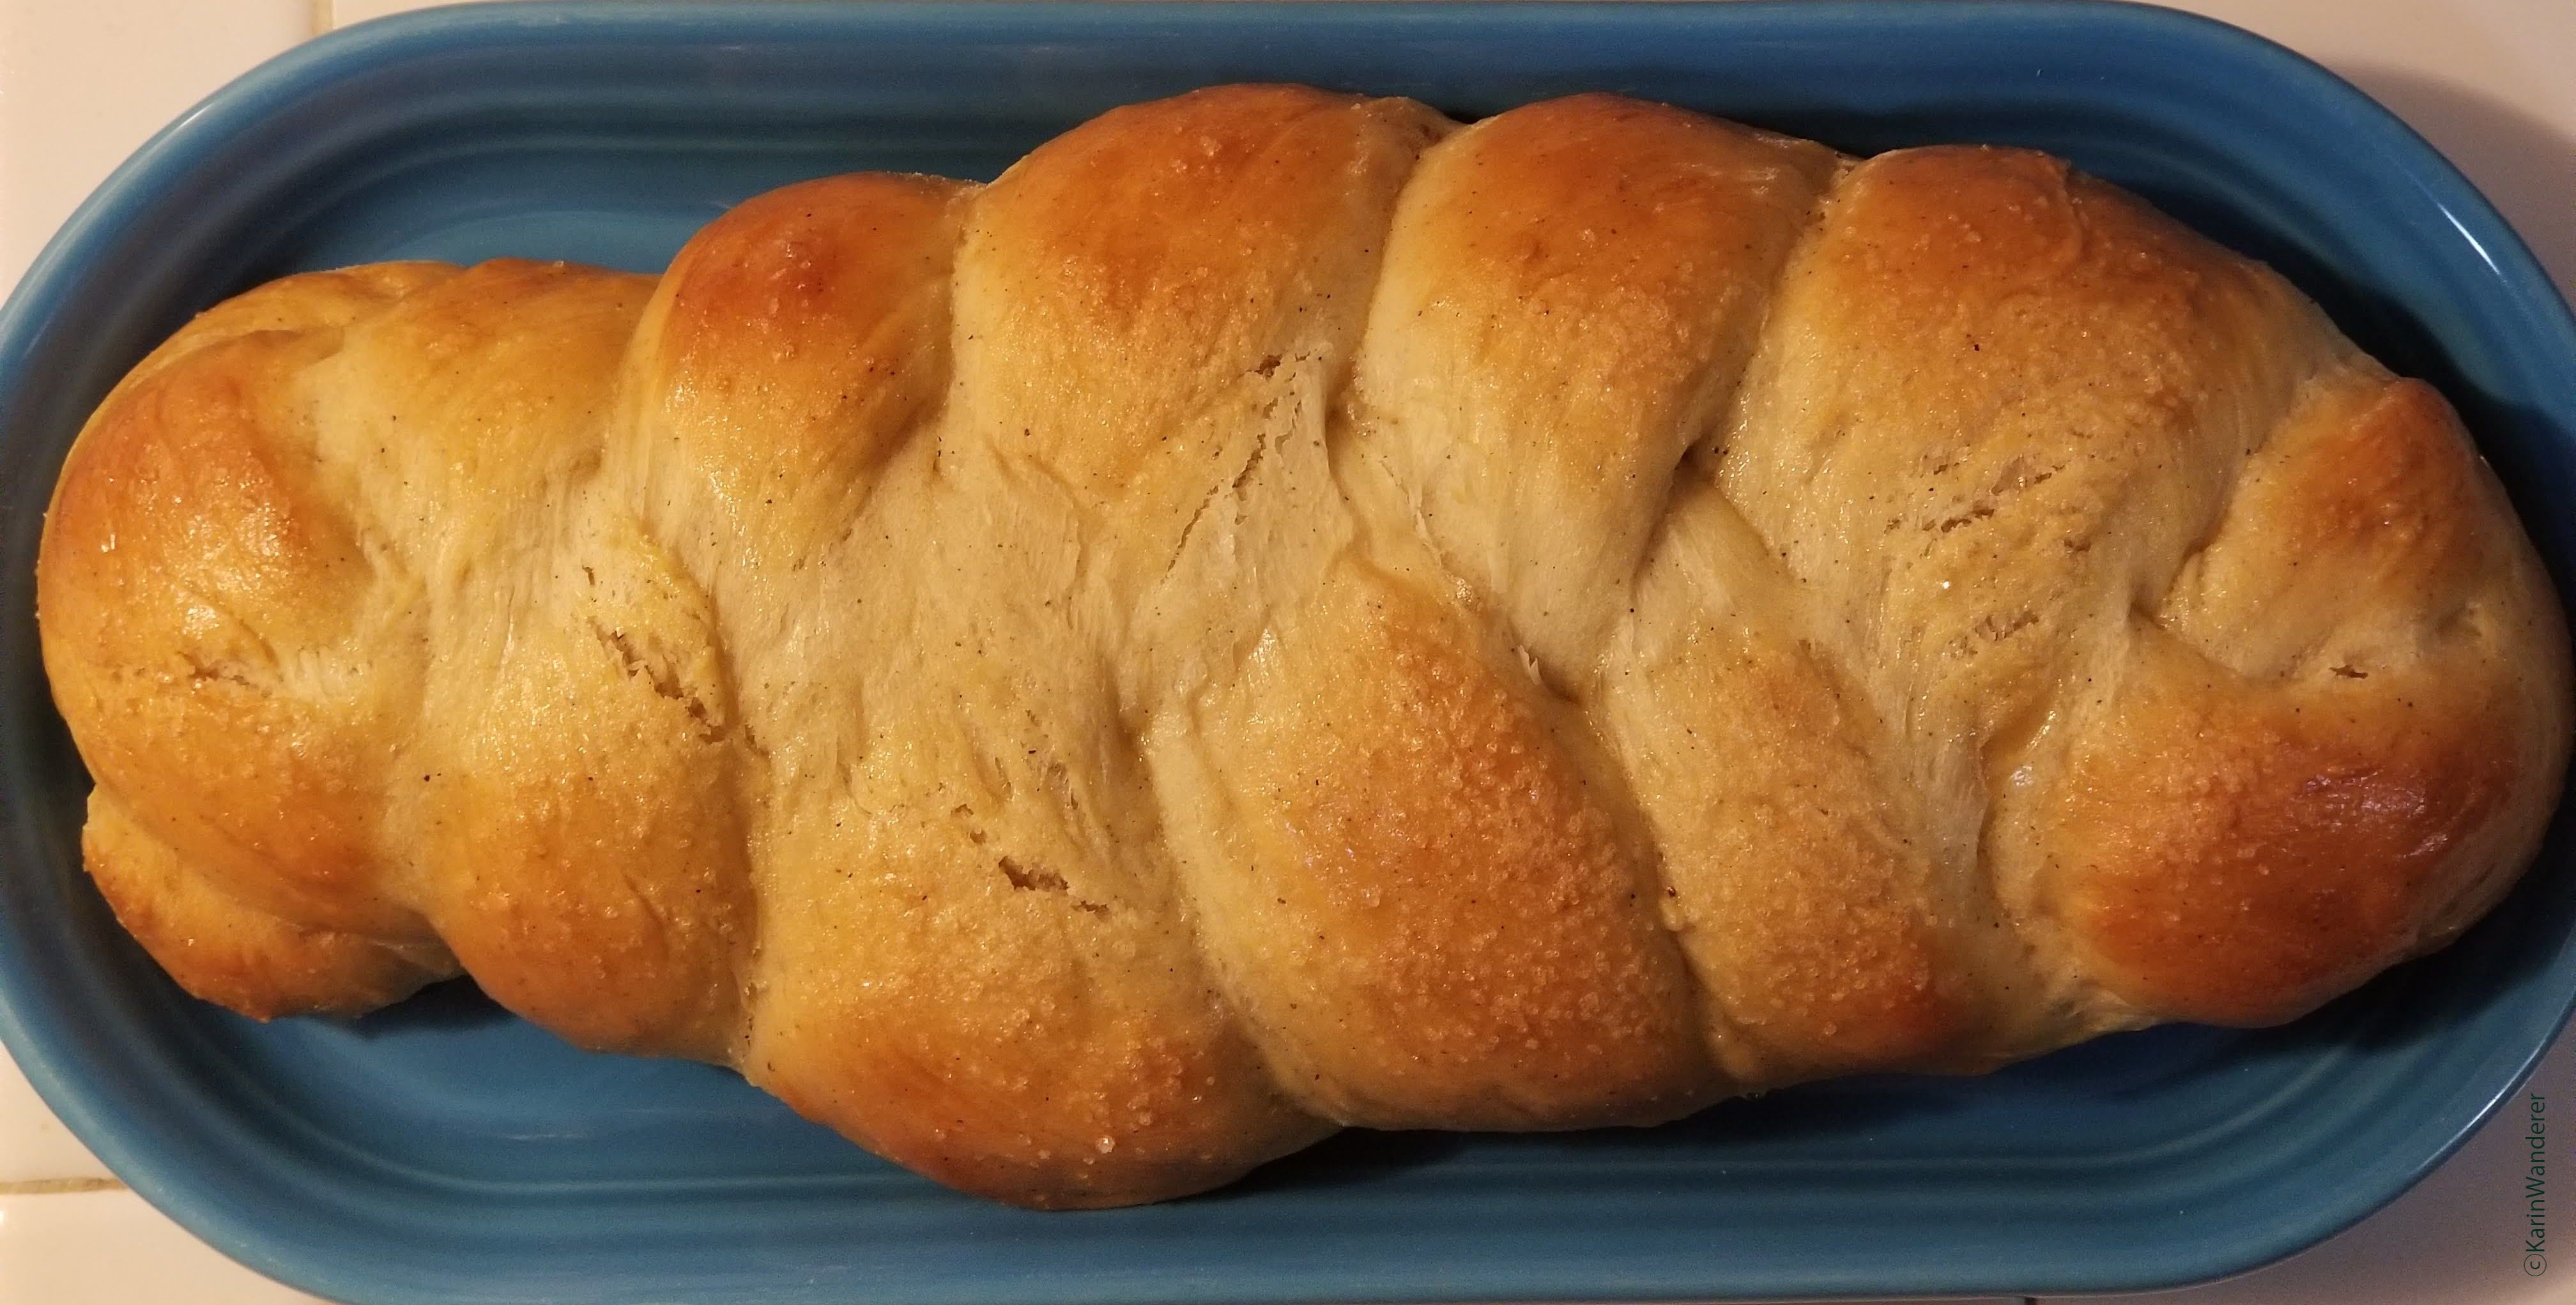 Recipe makes 3 loaves this size
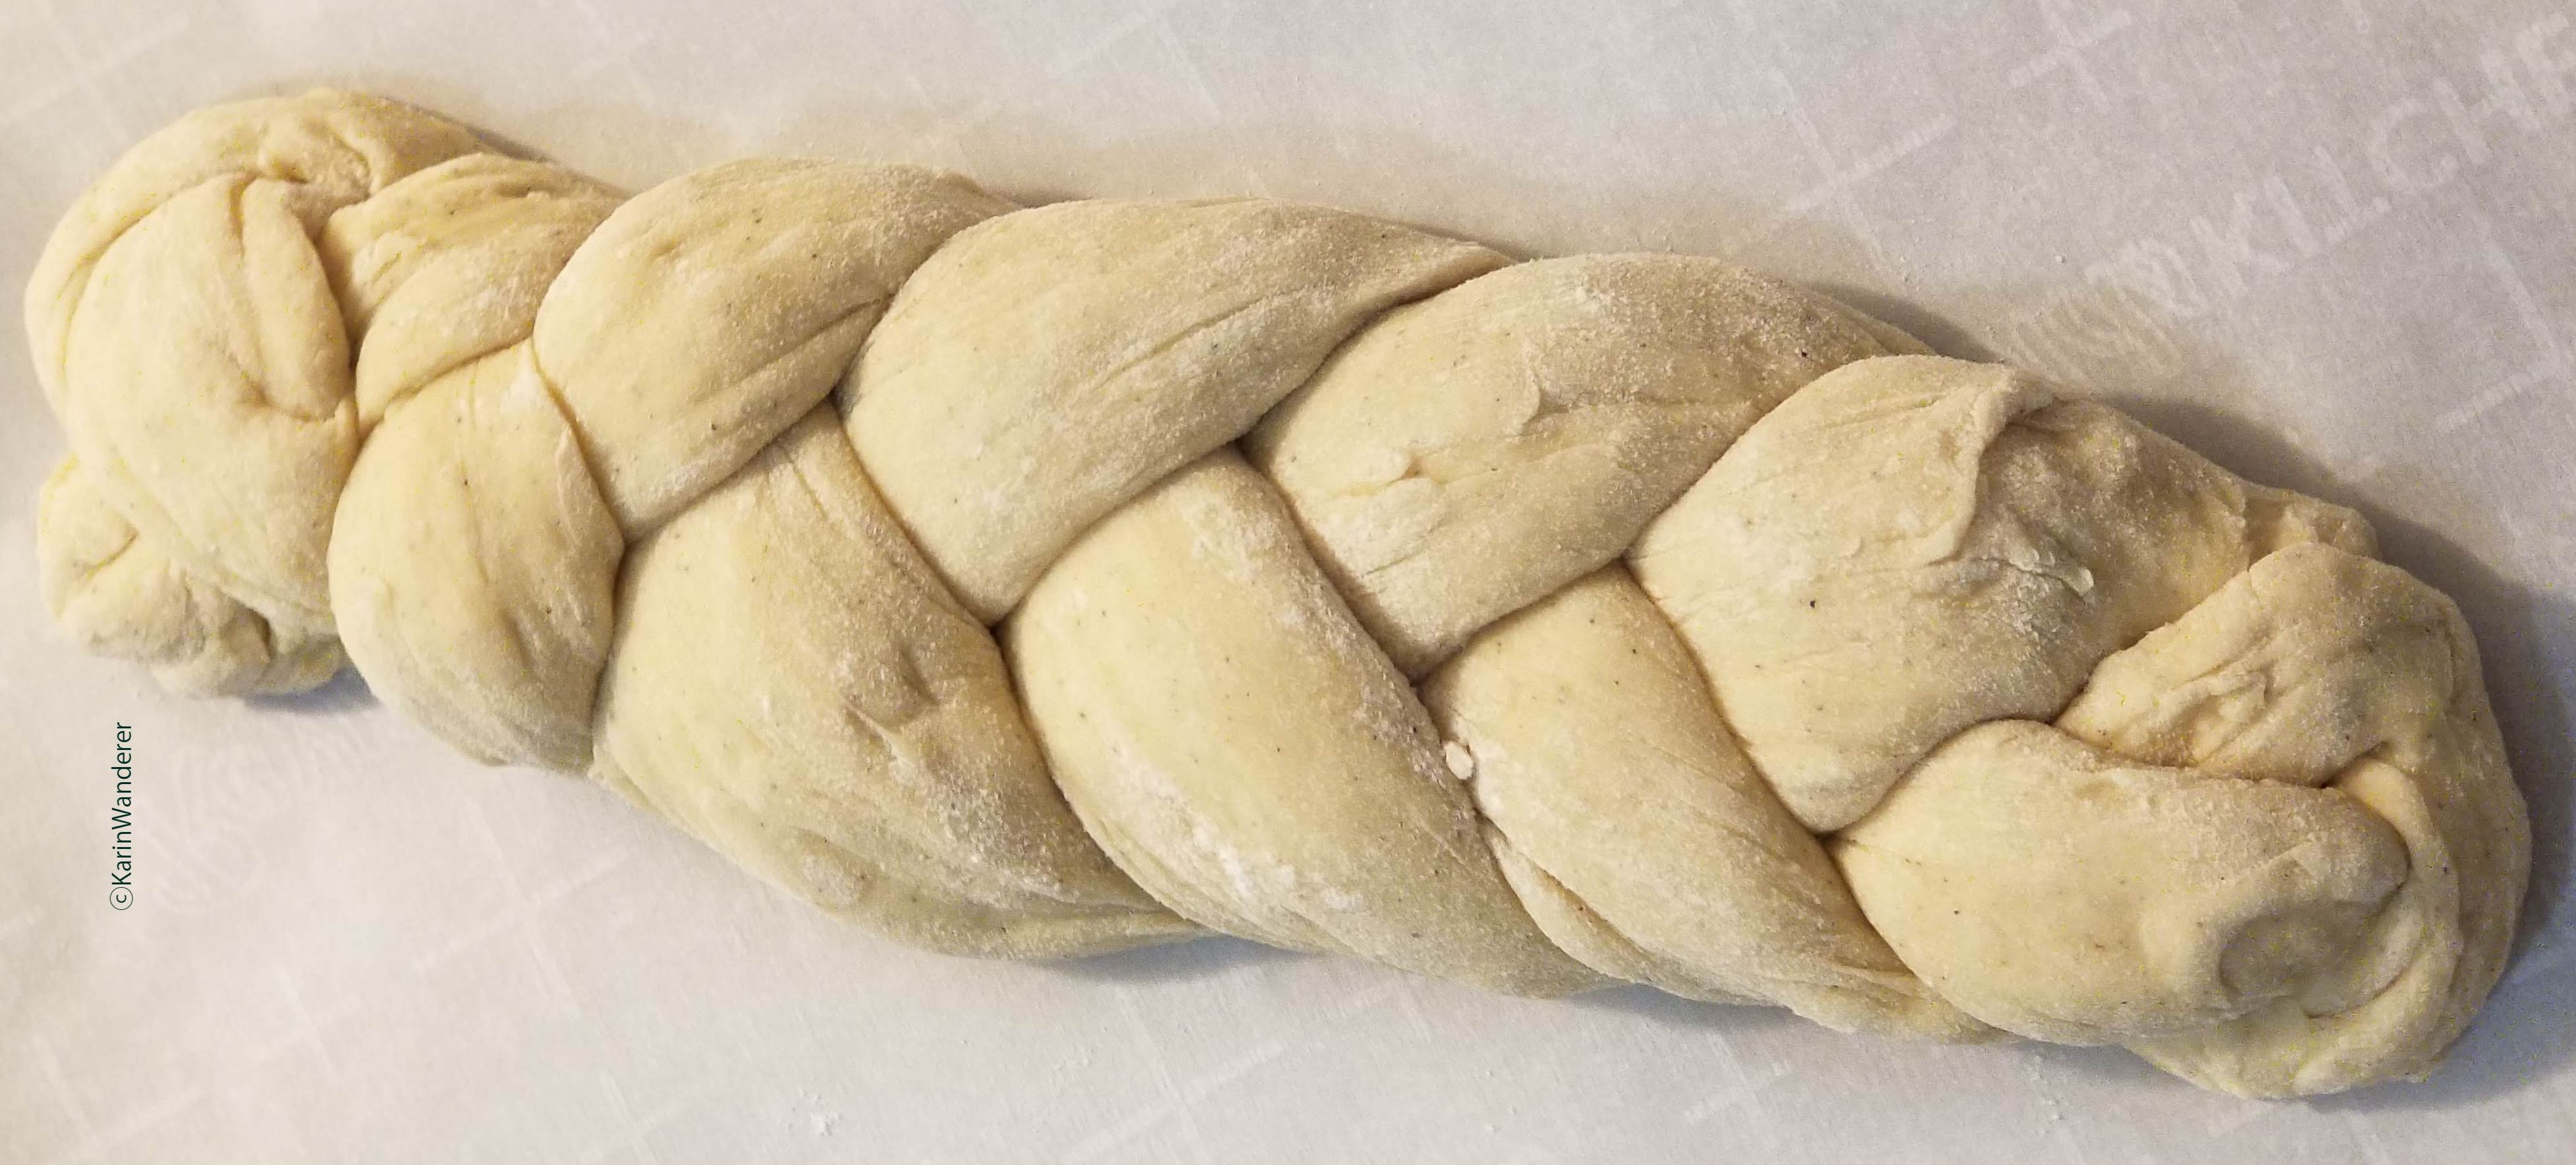
 Apologies for the bad pic, I was fighting off hungry people.
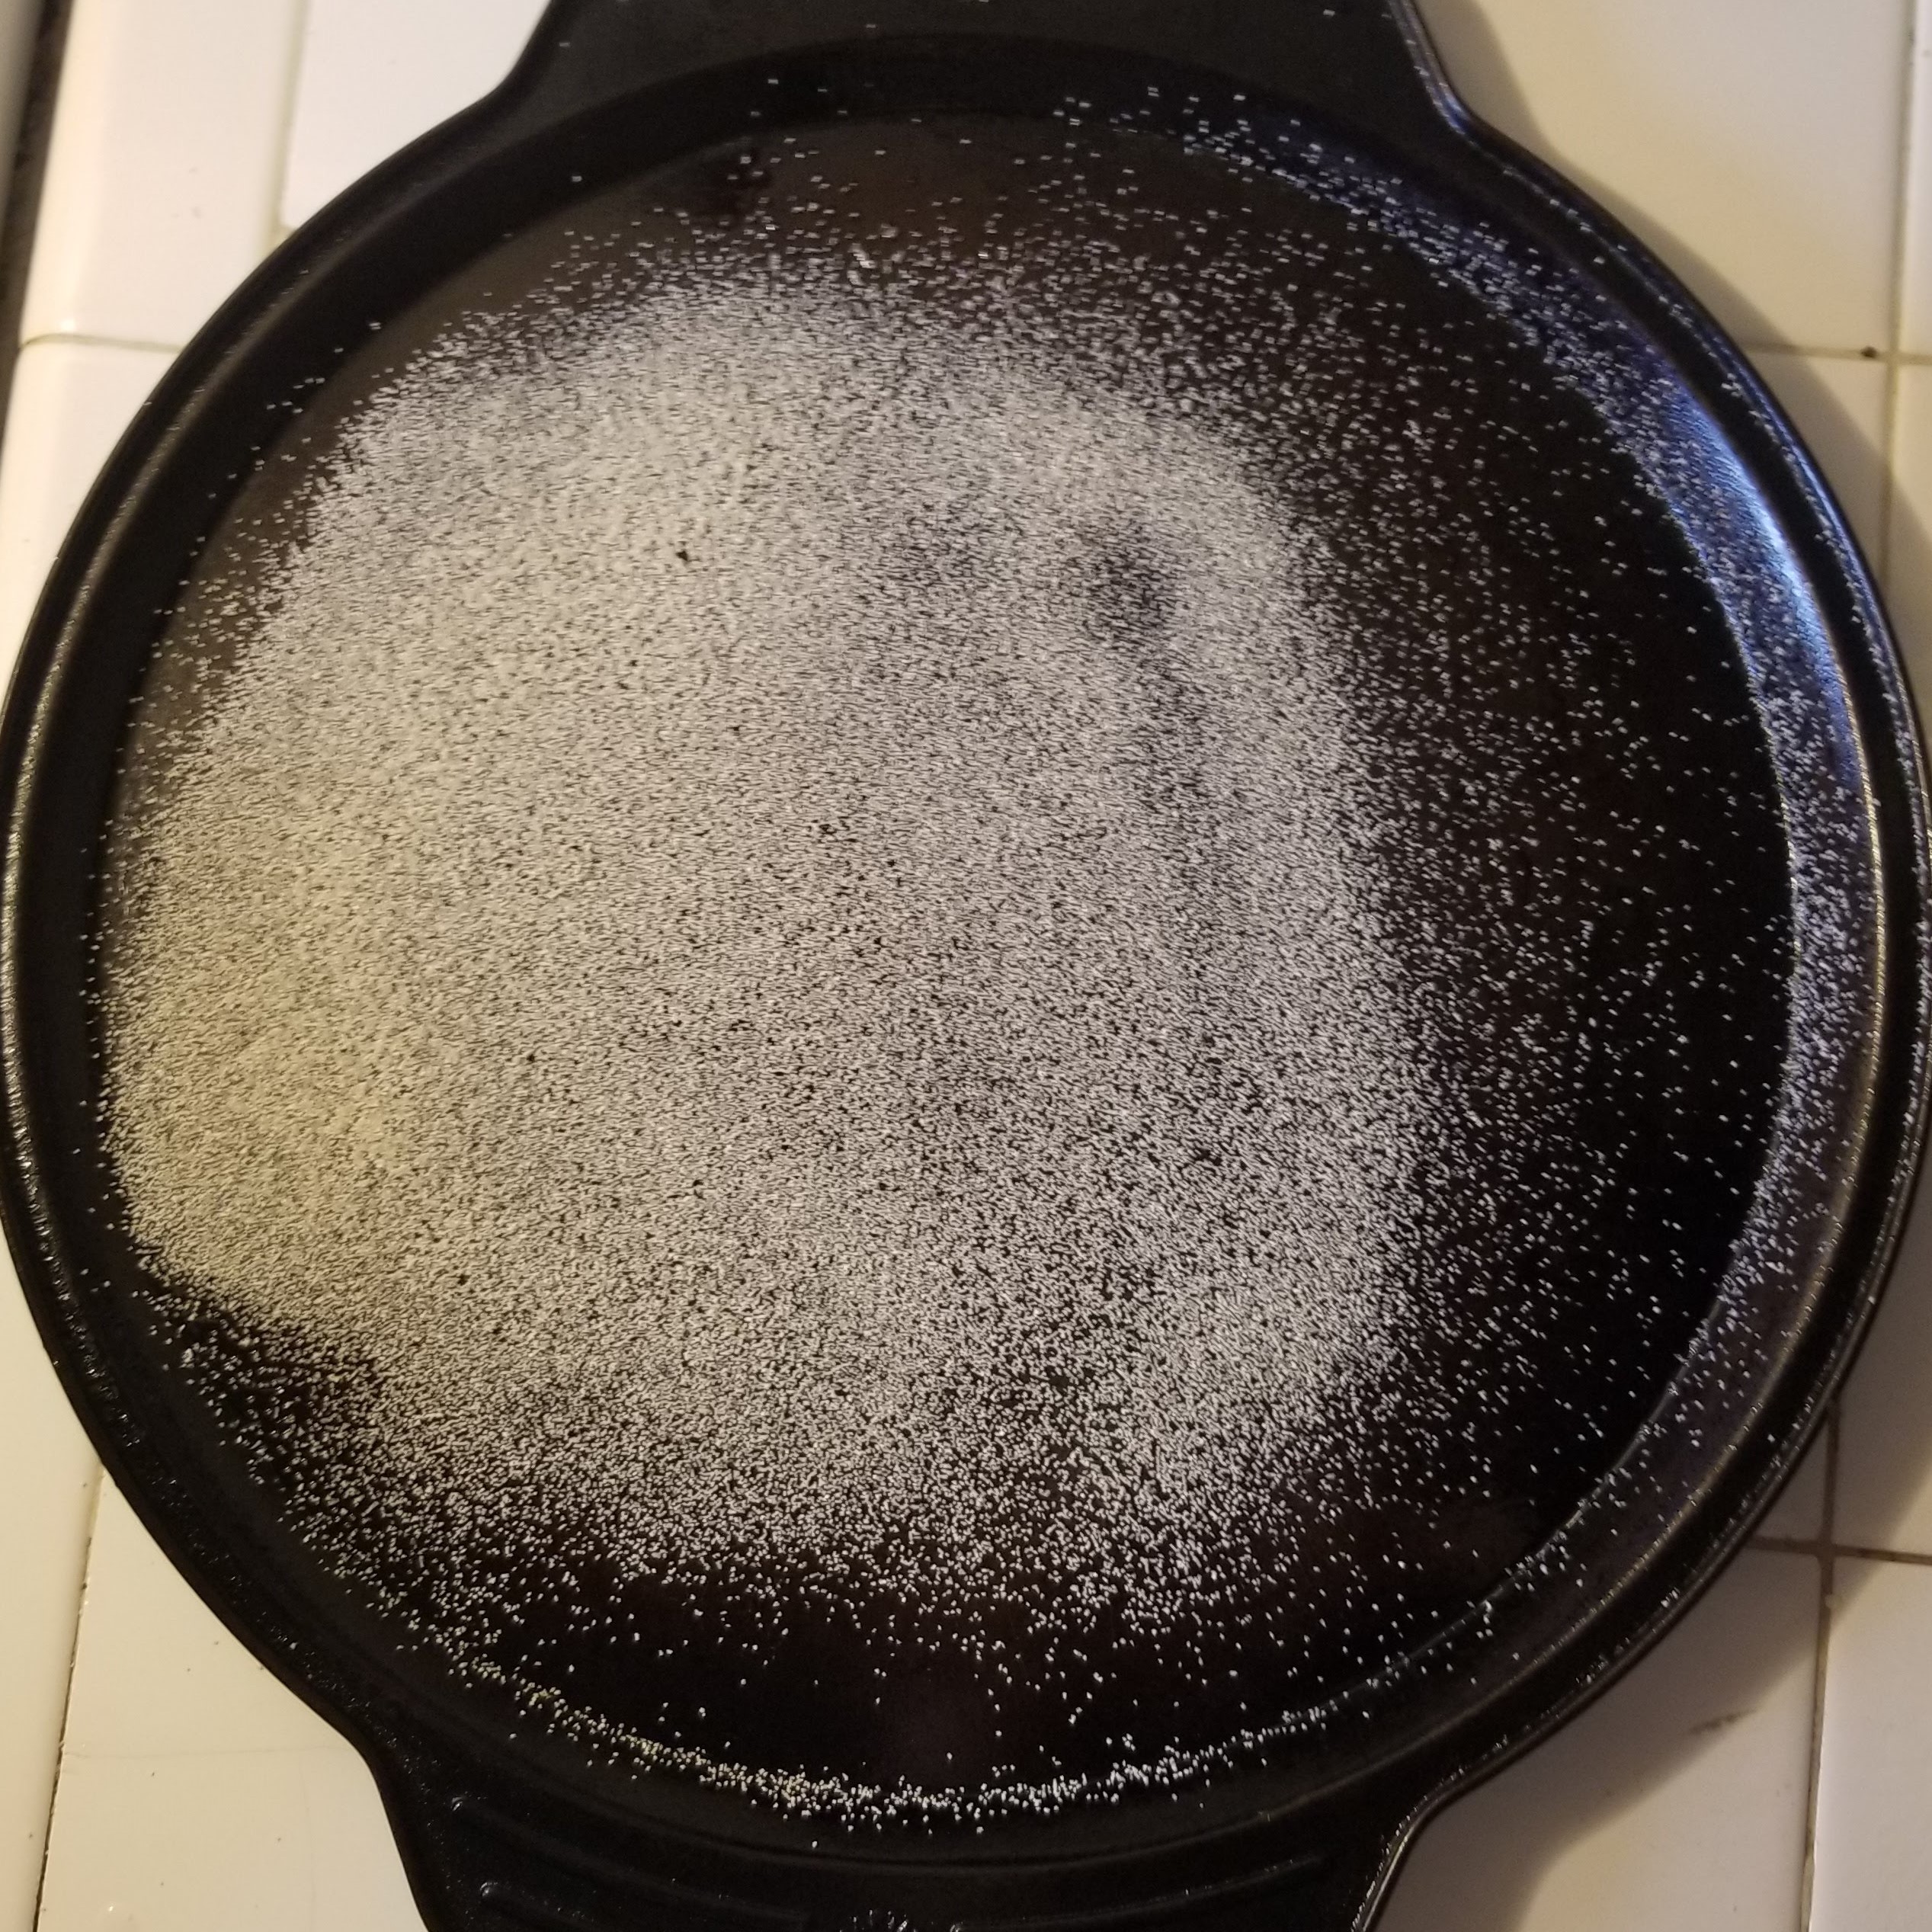
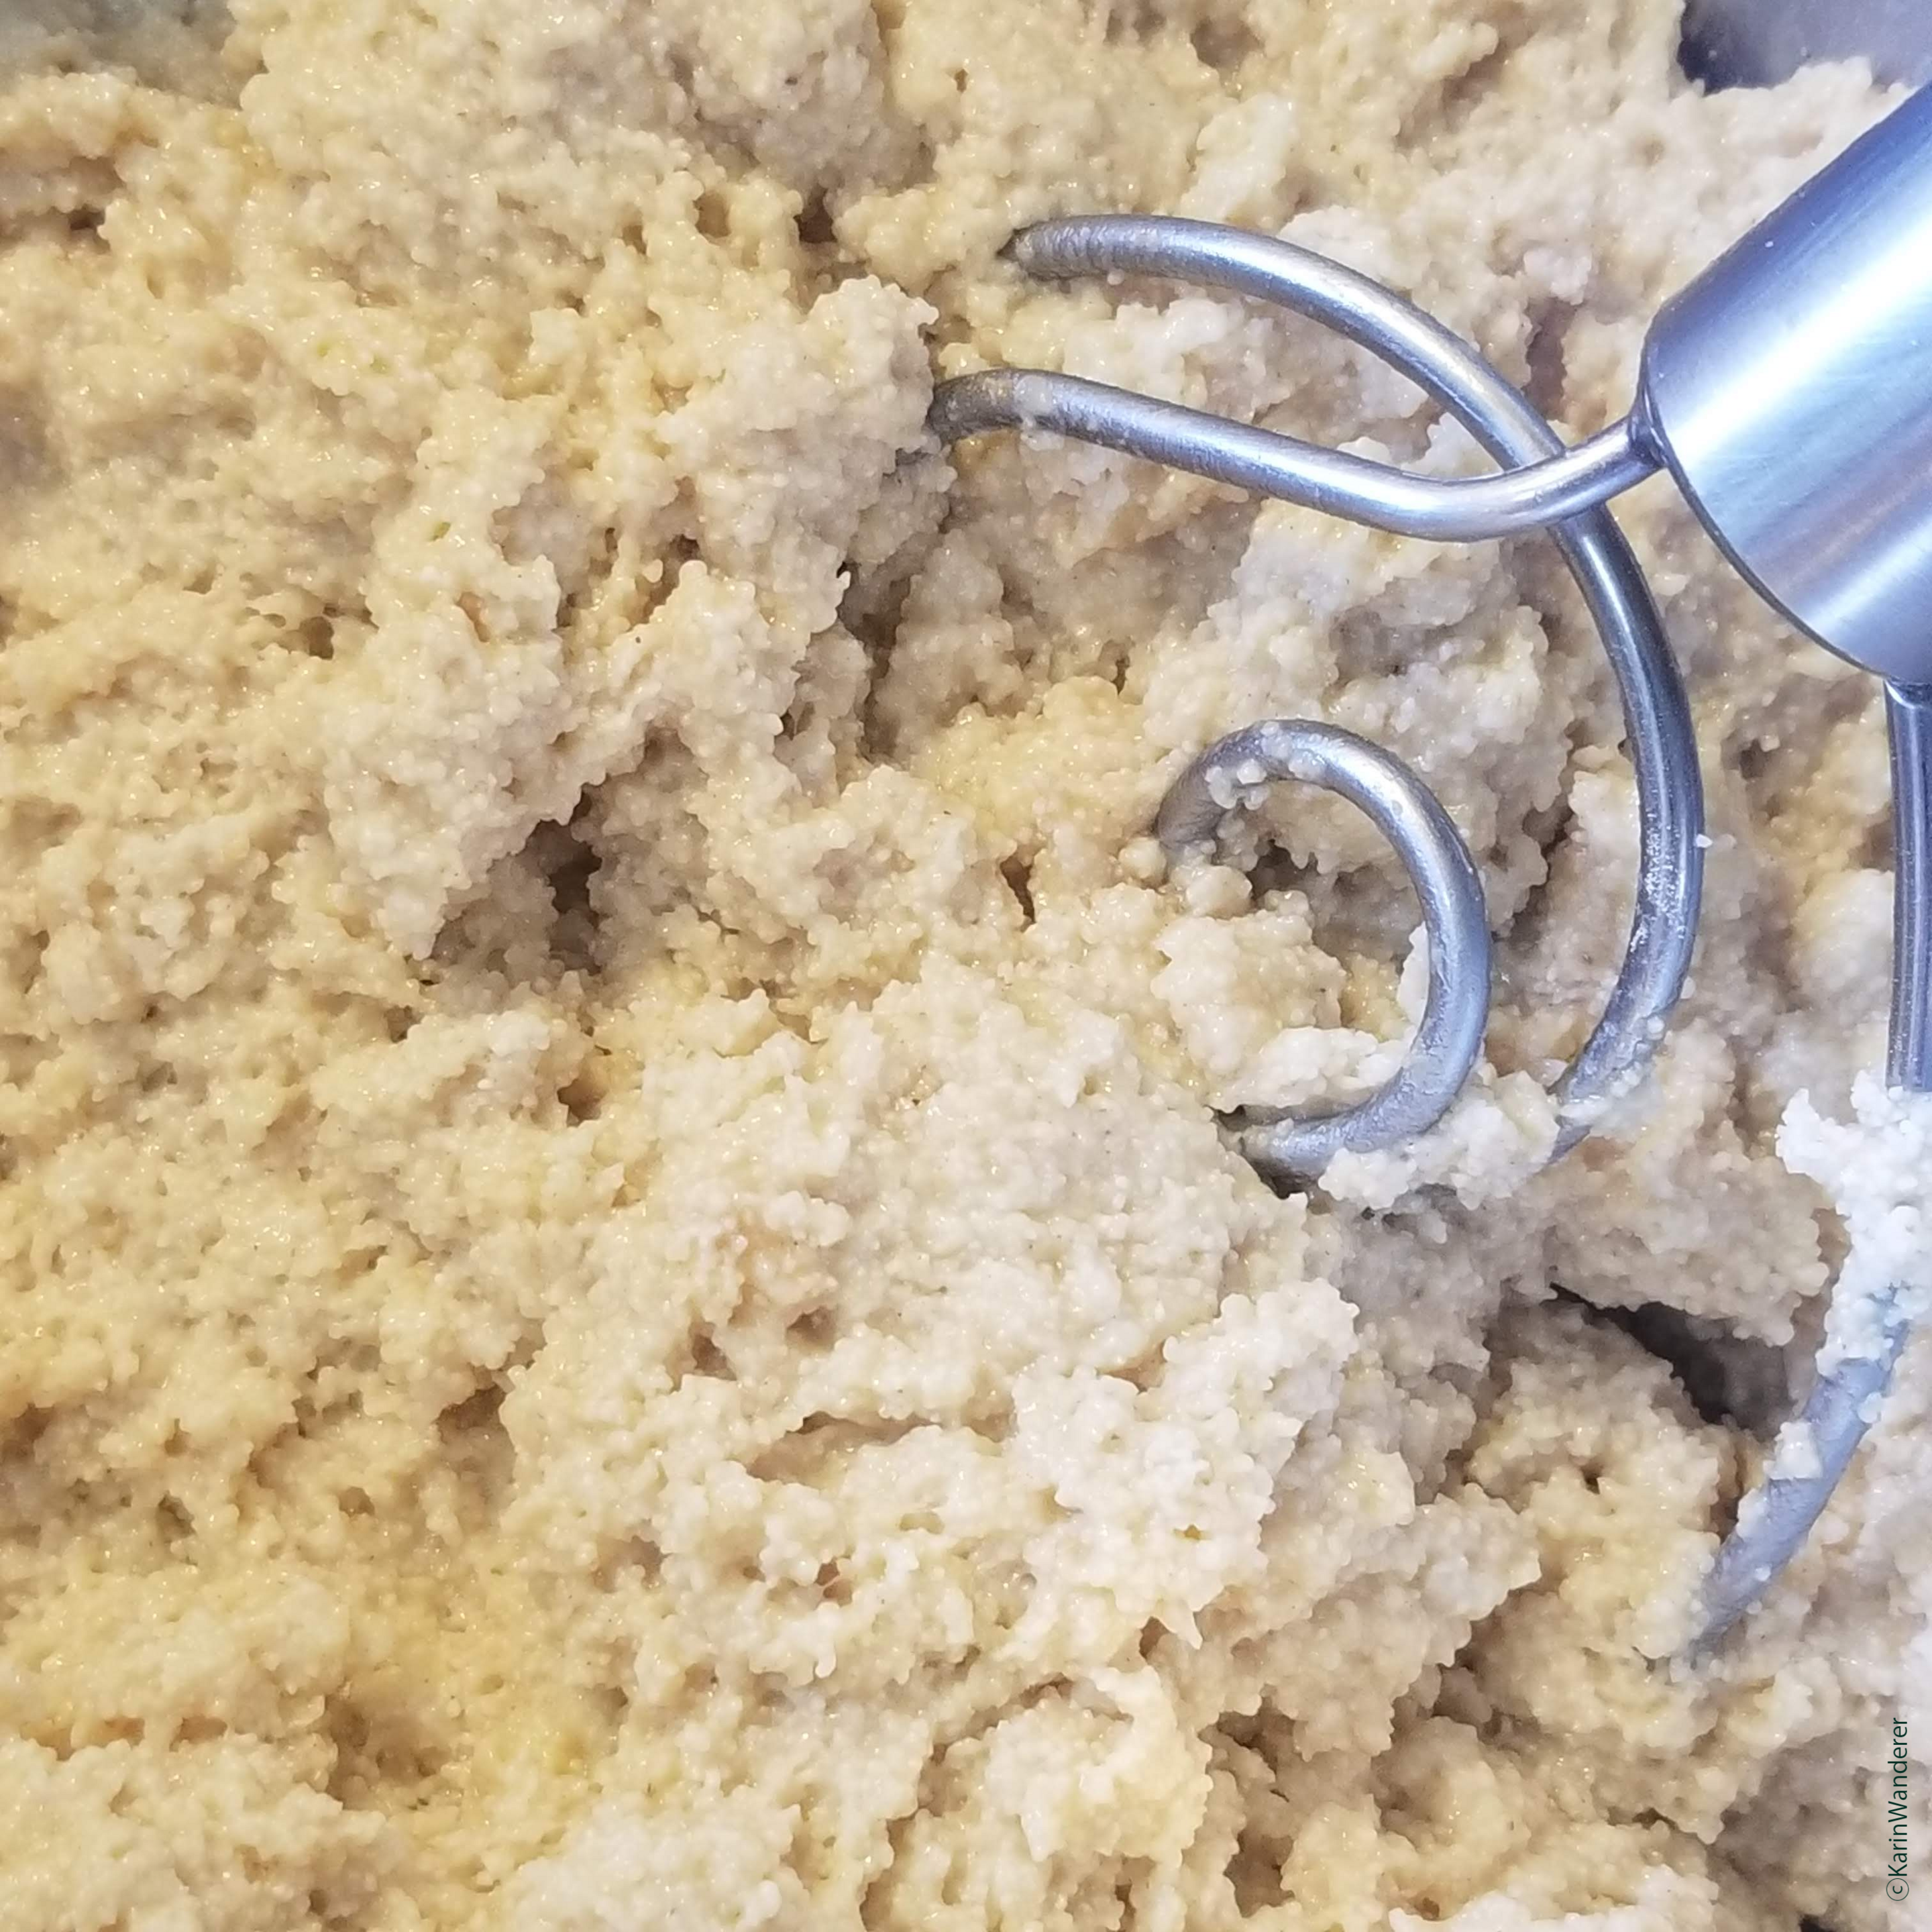 If you use semolina flour, your dough will look like wet sand. That’s ok!
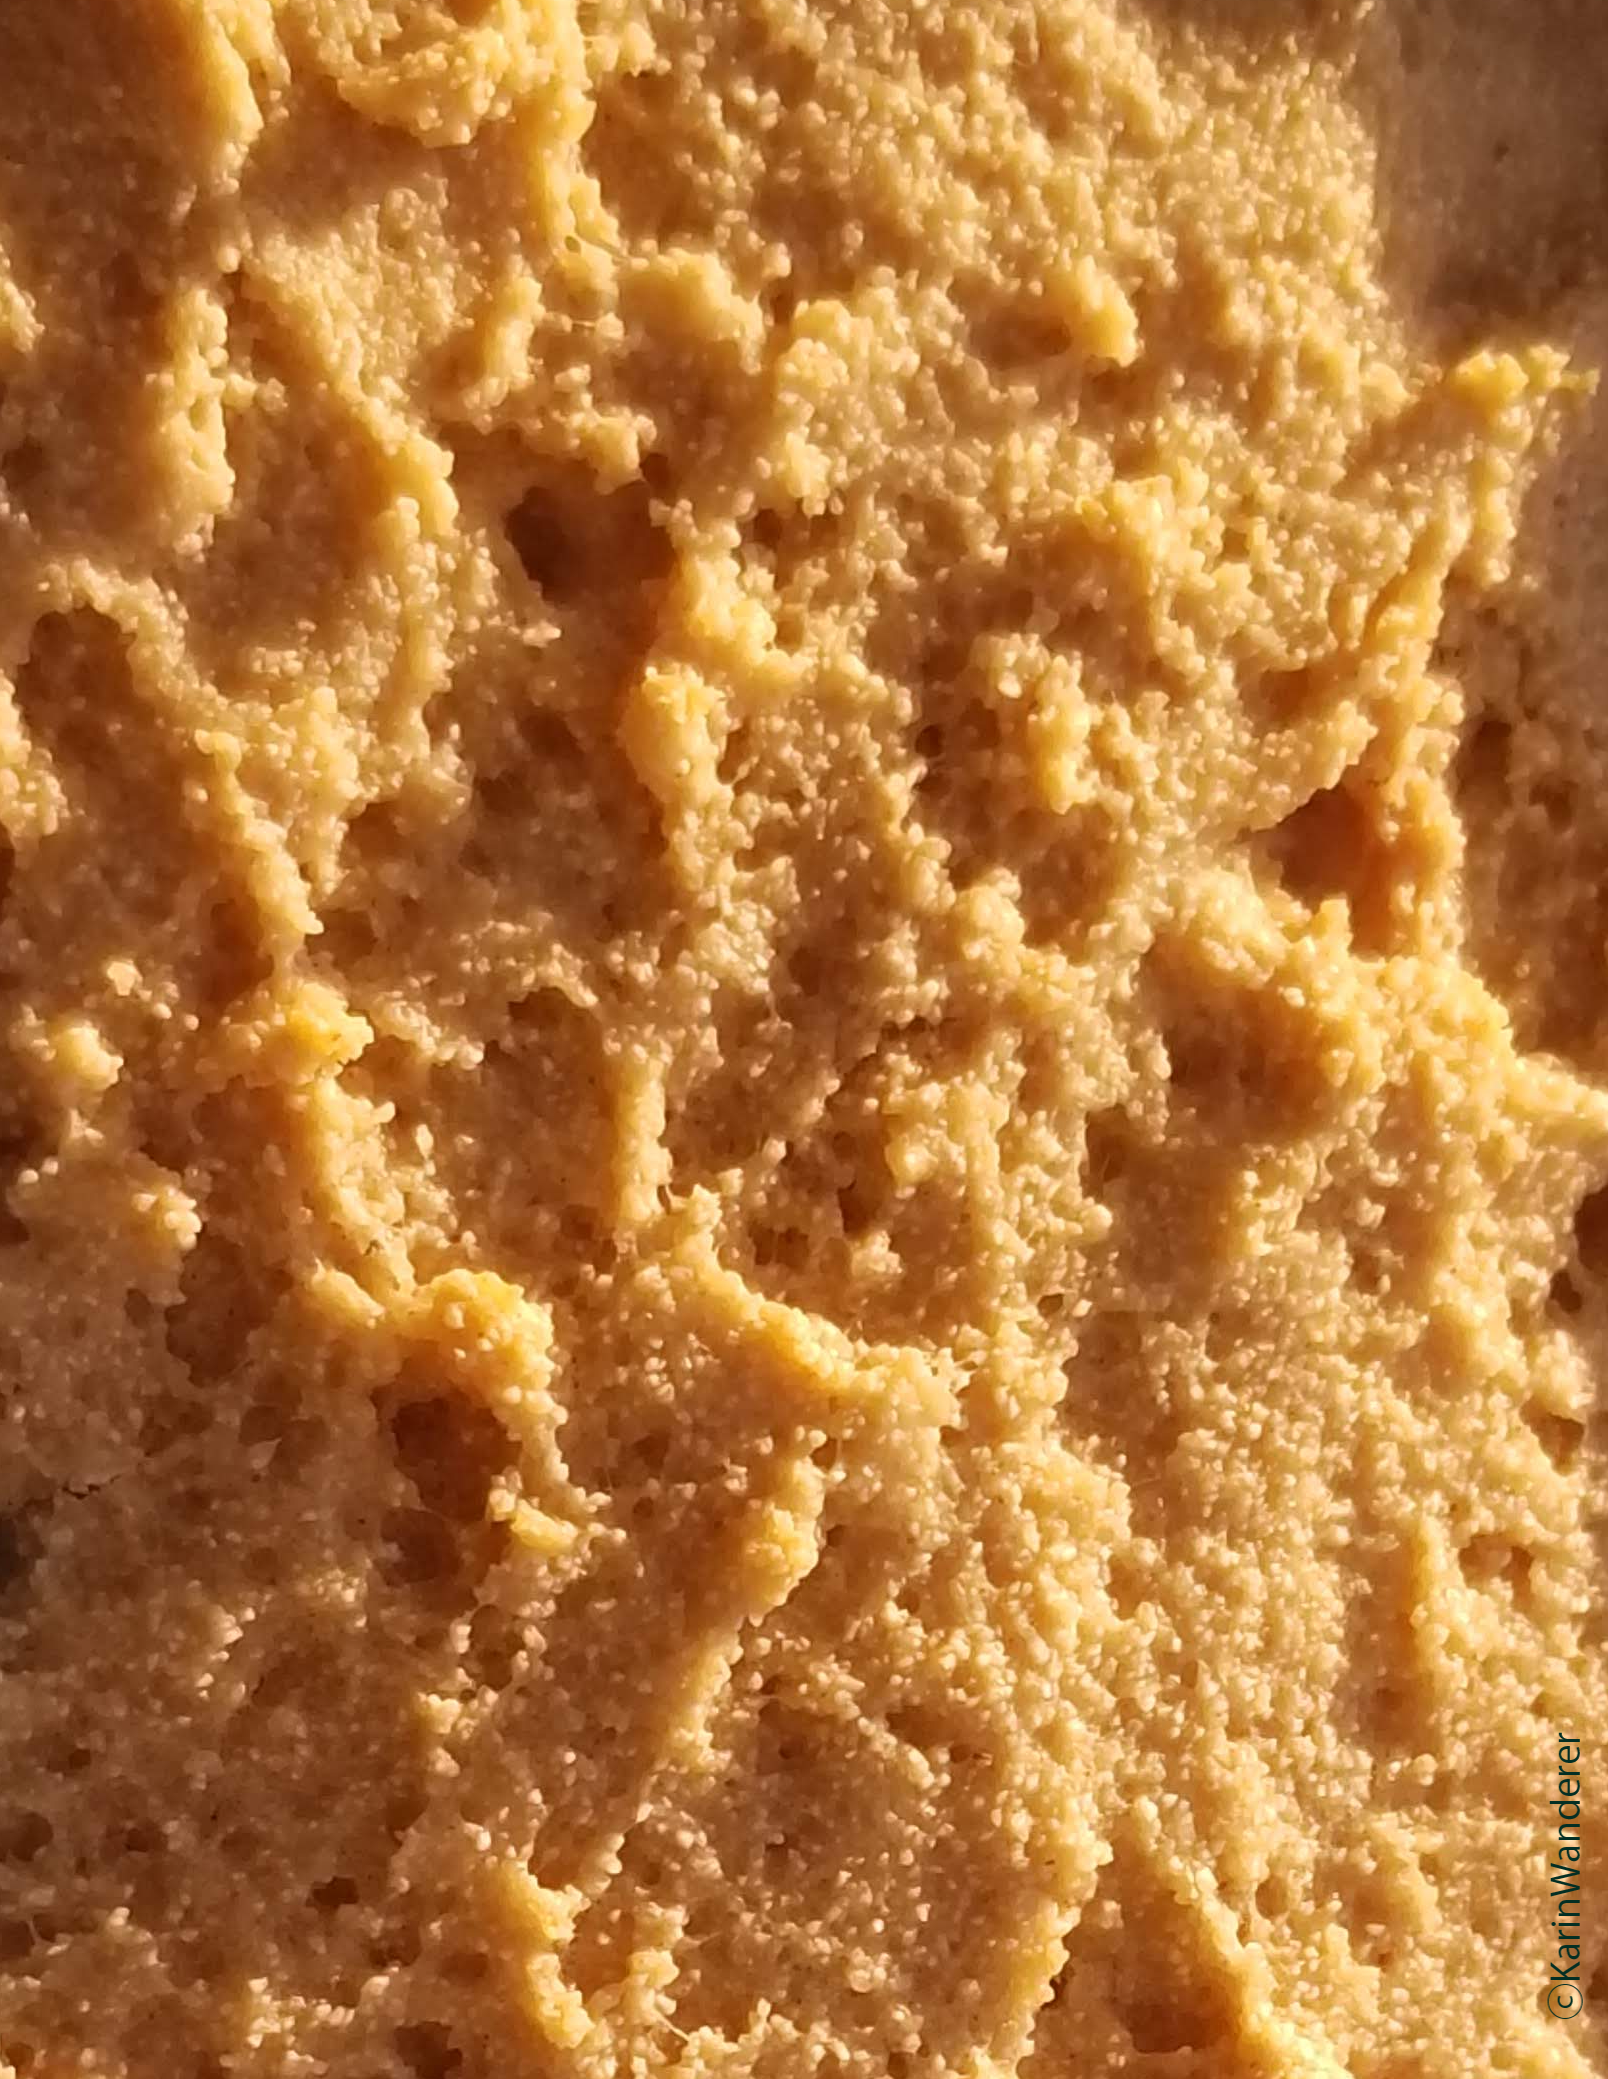

 Certified Pizza Expert