Karin Wanderer Learns

I use watercolors, Krita, & pixel art/animation to paint flora & fauna & fanart. Self-taught & still learning; no AI, no NFT, & no ads. New post on Tuesdays.

It’s Karin Wanderer Learns’ birthday!

KWL is 1 year old!

1 year! 52 whole weeks! When I started this blog, I didn’t even have a title card! Now I do – in fact, I just recently designed a new one! It is a self portrait in the style of Tomie dePaola, one of my favorite illustrators.

Watercolor & ink painting of a pale woman with short green hair smiling as she holds a paintbrush & a piece of paper nearly as big as herself. The table behind her is covered in art supplies & mysterious bottles.

I started this blog because I needed a place to archive all the arty things I learn. Explaining something to someone else is an easy way to reinforce your own knowledge while spotting areas that need to be explored more deeply. I chose to shout my explanations into the WriteFreely void rather than talking my friends’ & families' ears off, & I am so glad I did! (They probably are, too.) Originally I was writing articles about whatever amused me and the articles were pretty short. Things quickly grew until I was doing things like writing a whole series of longer articles about #WatercolorScience & the history of Sumi. I'm not complaining- I love learning & writing about art! I kind of have to love it to keep KWL going- no one is paying me to do this. (Though they could be!) It takes a lot of time to research things, process them, & then write about them. Part of that is definitely on me, though. I type slowly.

If you had told me a year ago that I would still be writing weekly art articles, I probably would have said “yeah, that sounds like me. This is fun & I am nothing if not a creature of habit.” Now if you had told me that I would use the 1 year anniversary to shake things up, I might not have believed you. I should have believed, though. Change is coming!

In fact, it’s already here…

Last week, I started a new art challenge: #KWPrompts, brought to you most places prompts are posted:

Mastodon Bluesky IG

The challenge is very laid-back, I’m only putting a new prompt out every other Tuesday, so you have a whole 2 weeks to participate. Or go ahead & draw something for an outdated prompt. If it makes you happy, it can’t be that bad!

“But Karin” you say “KWL comes out on Tuesdays! How will you handle writing a mind-blowingly stunning article AND a soul-rendingly heartfelt art prompt AT THE SAME TIME?!??” And that’s the best part- I don’t!

Going forward, I will be alternating between releasing either a new article or a new art prompt on Tuesdays. I’m going to have so much more time for activities! #KWPrompts was one of my New Year’s resolutions. Actually, it was 1 of 2 resolutions that related to KWL directly…

Calling All Artists!

You may have noticed that I have a nice, small section of articles on Featured Artists. I want that section to grow & grow! Lately I got sidetracked learning about brilliant author Tomie dePaola & trying to read all his books, which is a tall order- there are over 200! (Big thanks to my local library system, I could never have read dozens of dePaola books without their help!) I want to write about more artists, & maybe interview current artists instead of just researching & writing about people on my own? If there is an artist (or you are an artist) who you think should be featured, let me know on Mastodon, Ko-Fi, or BlueSky!

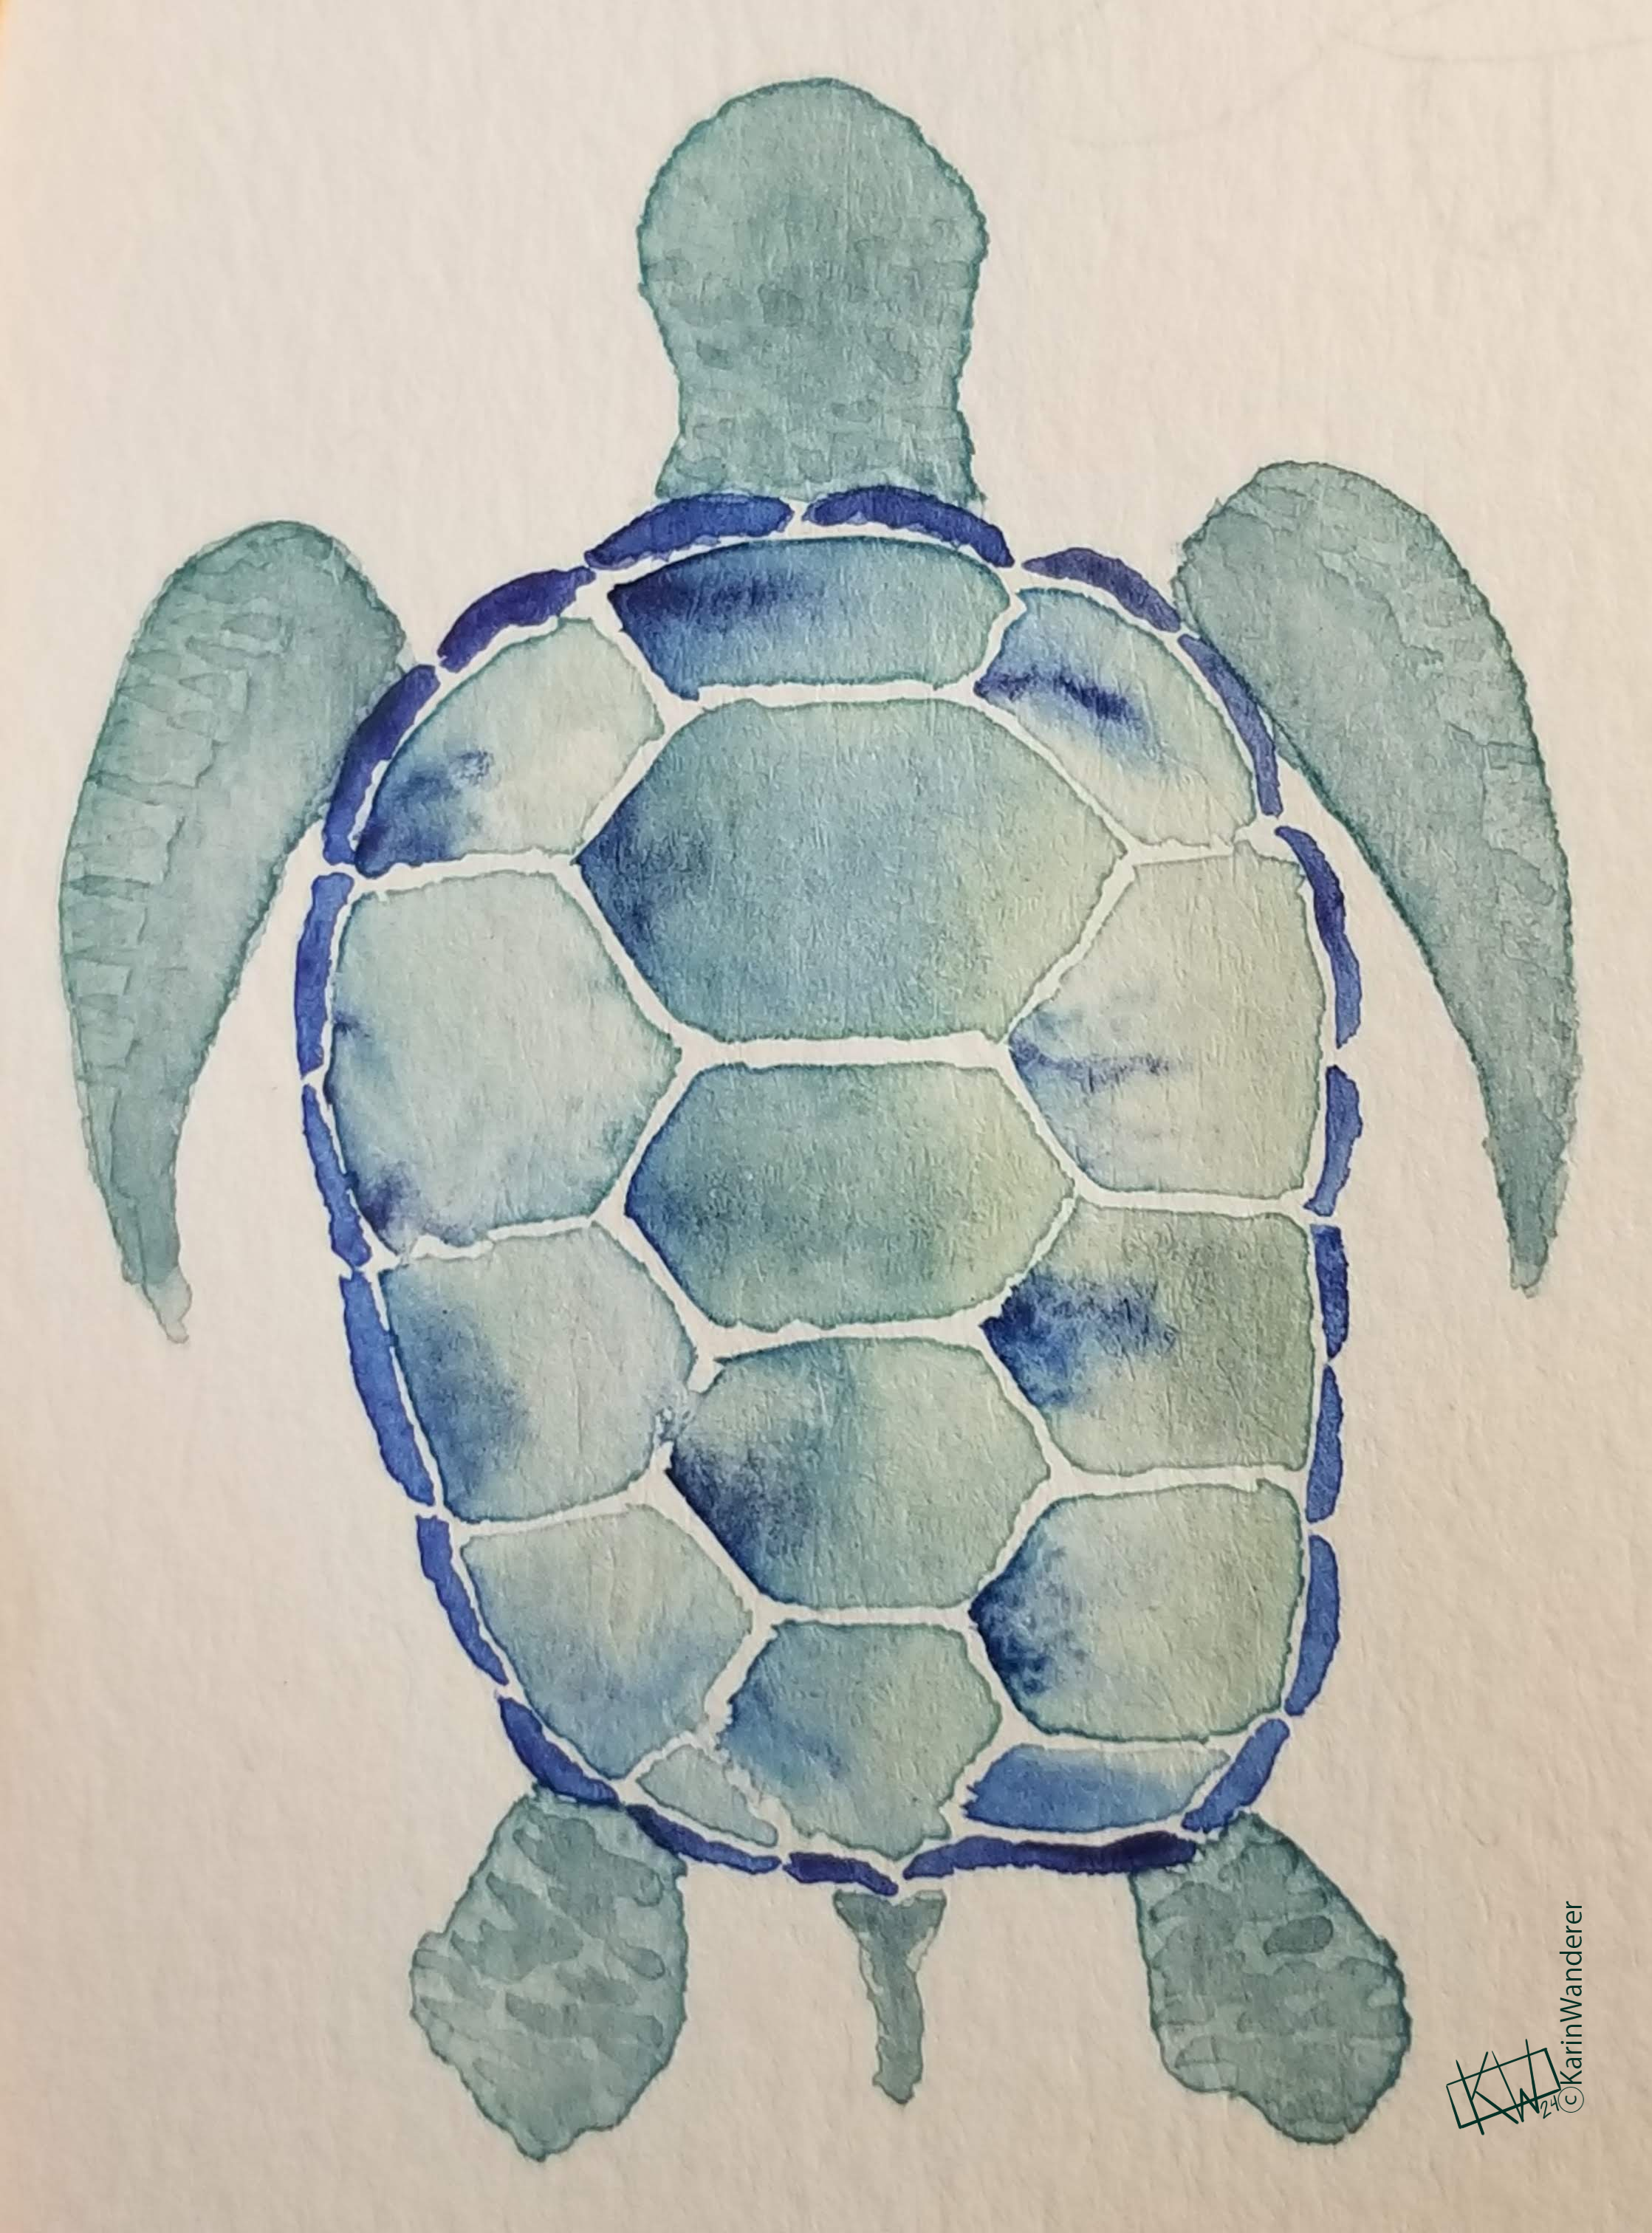
Watercolor purple sea turtle whose blue-green shell has a bronze edge. I posted this turtle painting a year ago, the same week I started my blog.

The last year has been fantastic! I am so happy with everything I’ve learned & I’m thrilled how many of you have come along for the ride with me. I think these changes are going to make things even more fun! I’ll be here every Tuesday to talk more about art (& sometimes cooking) or to post links to each #KWPrompts art challenge. I hope you’ll be here, too!

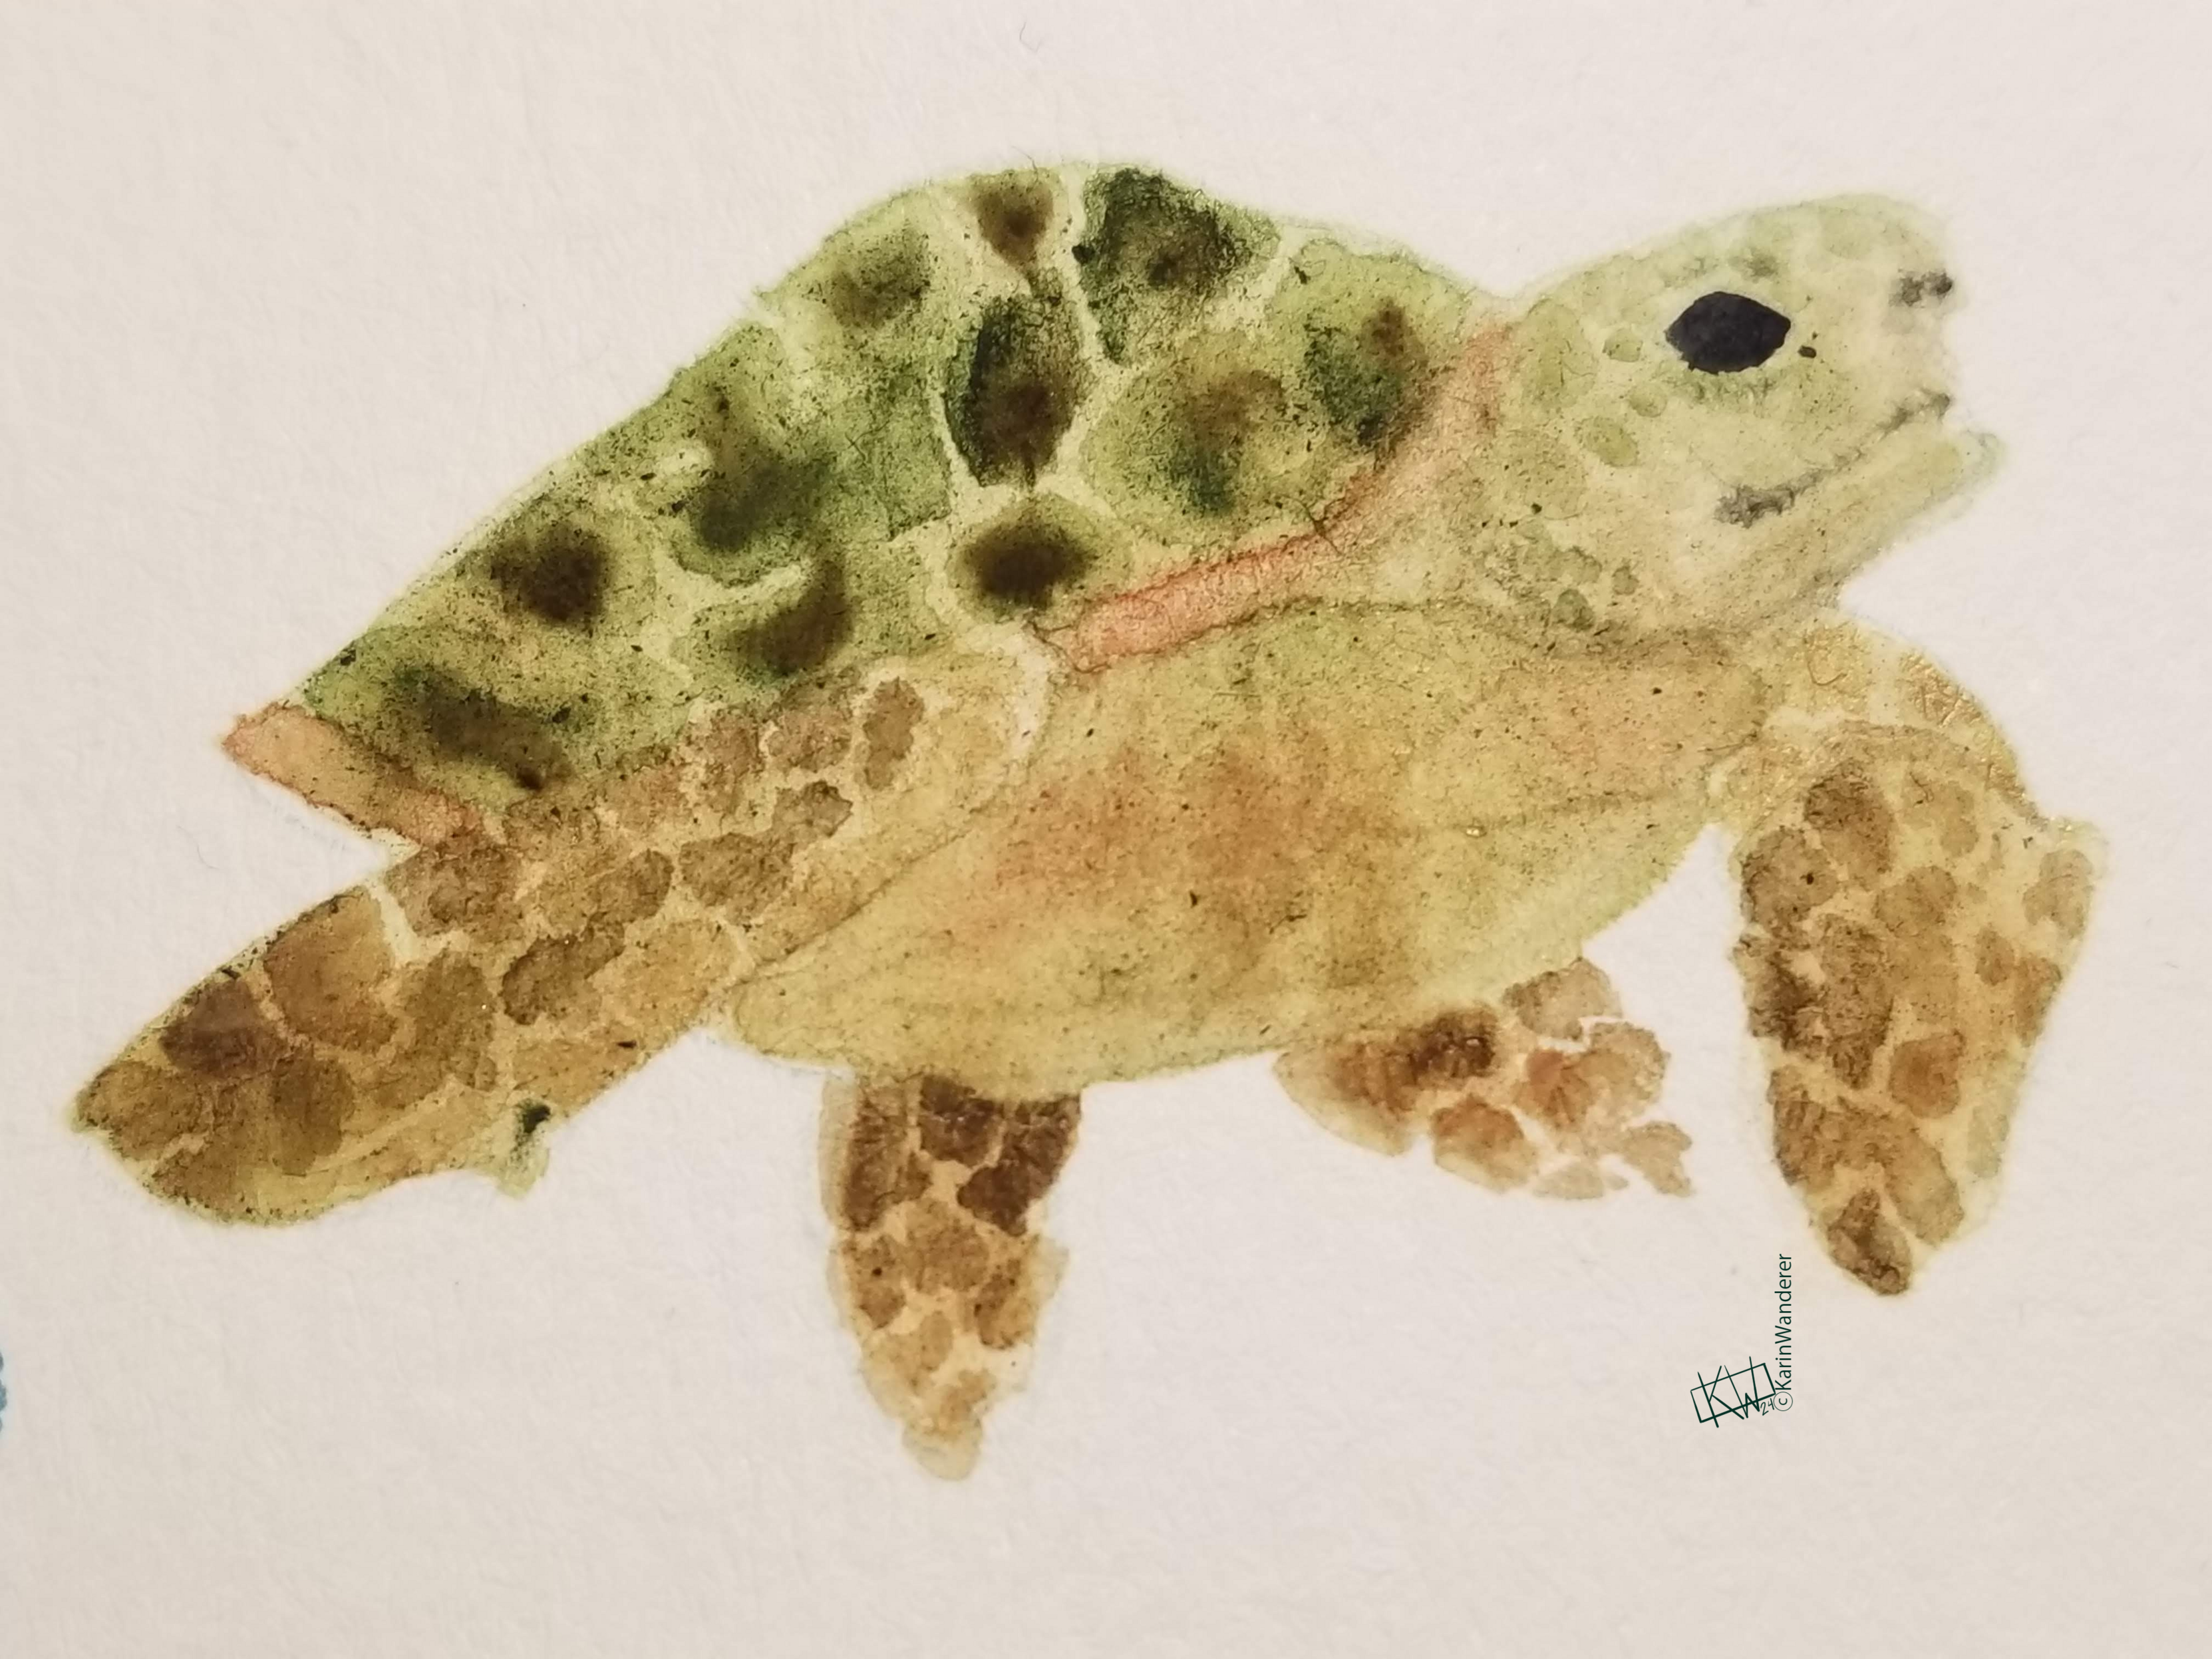
Watercolor sea turtle with green shell, brown carapace, & greenish brown body swimming happily. I posted this turtle recently. What a difference a year makes!

Get my art on mugs & vinyl stickers in my Shop!

Join us for #KWPrompts, a biweekly art challenge!

Find me on Linktree

  • All pictures posted are my own work.
  • All reviews are my own unpaid & unsolicited opinions.
One of my New year’s resolutions is to start a biweekly art challenge: #KWPrompts. I love a good art challenge. Finding a fun art prompt can result in me casting my painting plans to the wind & spending all my free time on whatever ridiculousness some word wizard on the internet came up with. Enough is enough! I want to be that wizard! Get ready to play…

This is my very first prompt! All art styles & skill levels are welcome- beginner to expert, renaissance painting to rough sketch. I’ll be posting new prompts on this blog & the sites listed below every other Tuesday. I can’t wait to see what you make!

Art Prompt: A Movie You’ve Loved Since You First Saw It

Tag me &/or #KWPrompts so I see your art!

Show me how you think! No AI, Yes alt text, CW as needed.

#KWPrompts posted here: Mastodon Bluesky IG

Here is mine Line art of a moderately-sized boat being chased by a shark that must be very large, judging by the fin that sticks out of the water. The boat's name, "Orca", is written on the side. A Movie I’ve Loved Since I First Saw It

Here’s a list of other art challenges I want to participate in this year: #FebruaryFaces 28 (or 29) Days of Faces! #AuGHOST (August) 31 Days of Ghosts! #Slowvember (November) Taking your time with your art! #FolktaleWeek (December) 1 week of folktale themed prompts! Last but not least: Krita is a free/open source art program that I use for most of my digital art. The Krita community is lovely, & has monthly art challenges with a new theme every month

Have a fantastic day! Draw something for my art challenge! See you next week!

Get my art on mugs & vinyl stickers in my Shop!

Join us for #KWPrompts, a biweekly art challenge!

Find me on Linktree

  • All pictures posted are my own work.
  • All reviews are my own unpaid & unsolicited opinions.
What Is Line Art?

Line art, as the name might hint, is art that is focused on lines. I know what you’re thinking; “isn’t lots of art focused on lines?” and, yes, you do have a point. Lines are one of the seven elements of art, along with shape, texture, form, space, color and, & value. Lines are the sort of thing most art & artists focus on, in one way or another. Richard Long has a series of pieces focused on lines, starting with A Line Made By Walking, but it is not line art. This van Gough portrait has a heavy emphasis on lines, but it is not line art. This van Gough portrait has a heavy emphasis on lines, & it is line art. What’s the difference?

Line art of a cactus wren resting in a hole in a saguaro cactus. Is this line art, or line-y art?

Line art is pretty minimalist. It doesn’t have shading or color graduation. In most cases the lines don’t even have any color, they are just black #ink on white paper. The drawing can be exact or abstract. It can be sketchy or a more polished work. As you can see, in spite of only being a line or lines, this form of art can represent a whole spectrum of subjects! It’s not perfectly black & white- even though it often is.

Line art of a boat being tossed about in enormous ocean waves.

When Did It Start?

This sort of depends on who you ask, & how tightly you define line art. I think that the oldest art we have found- rock paintings & engravings fits the description of line art. This means line art is over 45,000 years old! Line art shows up again & again throughout human history. A mandala can be geometric line art. Line art was used in many printed illustrations before photographs, as it translates easily to a carved block of wood such as in sumizuri-e.

Line art of a birch forest. One tree has a heart & initials carved into it.

Who Does It?

Pablo Picasso is famous largely for his paintings. In recent years, however, his amazing line art has become exceedingly popular! Picasso drew each of these pictures with one continuous line, which is called lineography. Prints of his single-line animal drawings are available all over the internet, as much of his work is in the public domain at this point. I’ve talked about Andy Warhol’s printed art at length, but slightly less well-known is a blotted line technique that is a lot of fun! Henri Matisse also did some lovely line pieces. Paul Klee’s Burdened Children has lived rent-free in my head since I first saw it, along with a quote of his; “a line is a dot that went for a walk.”

Minimalist ink drawing: a thicket of reeds growing on the bank of a river.

Why I Love It

Line art is a flexible style that can be just about anything you want it to be. It can be a painstaking, detail-focused work. It can also embrace imperfections like shaky lines. For me, drawing line art is very relaxing. A major challenge I face is falling into a groove & drawing more lines than I initially intended.

Ink line drawing of a tree-lined road cutting through rolling hills under a clear sky. Did this need so many lines? Heck no. Did I enjoy drawing so many lines? Heck yes!

Line Art Exercises

By now you are no doubt vibrating with excitement, abuzz with the very idea of creating your very own line art! Why not? You only need a pen & some paper to get started! Below are 2 easy Line Art exercises you can try:

Blind Contour Drawing

  1. Pick a familiar object: pens, scissors, & coffee mugs are all popular choices.
  2. You need a space larger than your paper so your arm can move freely without knocking into things, especially for this exercise. Clear anything you may bump into out of reach.
  3. Place the object you’ve chosen a few inches away from your paper. You want to be able to look at it without having the paper in your eye line. It can help, if you are a lefty, to put the object slightly to the right (& vice versa) instead of straight ahead of you, so that when you look at the object you are looking away from your drawing hand.
  4. Position your pen near the middle of the paper. This makes it less likely you will draw off the edge by mistake.
  5. Look carefully at the object you have chosen. Without looking at your paper, draw the object. You can use many separate lines, or one continuous line. You can add as much detail as you like.

That’s it! I love drawing these. They always come out so differently than what I’m expecting! The example of blind contour drawing below was made with one continuous line. I thought it would help me stay a little more on track? Maybe it did.

Messy ink drawing of 2 Jagged lines, like how children draw monster teeth, overlapping in different directions over an oval shape. A long, thin oval shape stretches from it on one side. Feast your eyes on this wire mesh strainer, ye mighty, & despair!

Contour Drawing

  1. Pick a familiar object: pens, scissors, & coffee mugs are all popular choices. If you did the Blind Contour Drawing, above, it can be interesting to use the same object for this exercise.
  2. Place the object you’ve chosen a few inches away from your paper.
  3. Look carefully at the object you have chosen.
  4. Draw the object. You can use many separate lines, or one continuous line. You can add as much detail as you like.

Ink drawing of a dented mesh wire kitchen strainer with a long handle. Now feast your eyes on this wire mesh strainer, ye mighty, & despair!

If you try either of these drawing exercises, share it with me or tag me! I’d love to see what you draw on Mastodon, Ko-Fi, or BlueSky!

Get my art on mugs & vinyl stickers in my Shop!

Join us for #KWPrompts, a biweekly art challenge!

Find me on Linktree

  • All pictures posted are my own work.
  • All reviews are my own unpaid & unsolicited opinions.

Happy Julian New Year!

Have you made any resolutions for 2024? Every year since 2015 I have made the same New Years’ resolution: to make better choices than last year. It’s pretty easy to stick to while allowing for slow, incremental change that I can sustain over time. I want more concrete, specific goals when it comes to art & so I have picked five. Here they are, listed from least to most challenging:

Goal 1: New Art Challenge Approaching!

I love a good art challenge. Finding a fun art prompt can result in me casting my painting plans to the wind & spending all my free time on whatever ridiculousness some word wizard on the internet came up with. Enough is enough! I want to be that wizard! I’m going to give it a week or so to let everyone recover from the holidays & get ready to play… Keep an eye out for #KWPrompts, coming soon to a Tuesday near you!

Watercolor of many pumpkins sitting in a line. A bucket & brush with orange paint on them is pushed to the side. One of the pumpkins is actually a bat, painted orange! ”PumpkinBat!” cries the wizard, & what can I do but oblige them?

Goal 2: Feature More Artists!

You may have noticed that I have a nice selection of articles on Featured Artists. I want that section to grow & grow! Lately I got sidetracked learning about brilliant author Tomie de Paola & trying to read all his books, which is a tall order- there are over 200! (Big thanks to my local library system, I could never have read dozens of de Paola books without their help!) I want to write about more current artists, & maybe interview them instead of just researching & writing about them on my own? If there is an artist (or you are an artist) who you think should be featured, let me know on Mastodon, Ko-Fi, or BlueSky!

Watercolor little girl in a blue dress & bunny slippers smiling as she looks at a red lantern. My version of Xingling from “The Nian Monster” by Andrea Wang & Alina Chau

Goal 3: Expand My Shop

That’s right, I have my very own shop where you can get my art on mugs, notebooks, or lovely vinyl stickers for your laptop or water bottle! It’s wonderful! The only problem is me: I hate uploading my new art because the website is slow enough that I get bored, but not so slow that I can actually multitask while doing it. I am very behind on uploading pictures, & this whole entry is me blogshaming myself into actually getting caught up. I wonder if it will work?

Line art of a boat being tossed about in enormous ocean waves. It worked!

If there is a piece you wish I sold in my shop, let me know! I will add it & send you a coupon code!

Goal 4: Tell Everyone How Awesome Animals Are

News flash: Animals are fantastically wonderfully great, folks. As a human I am filled with appreciation for animals. As a preschool teacher I am filled with a million facts about animals. As my second-hardest goal for 2024, I am going to get the picture book I have been writing about Marine Animals to the “dummy” stage! A picture book “dummy” is an odd bit of jargon, it essentially means a “mock-up” of the book! This is a daunting goal, but let’s face it- there can never be enough age-appropriate non-fiction books to slake a toddler’s thirst for knowledge!

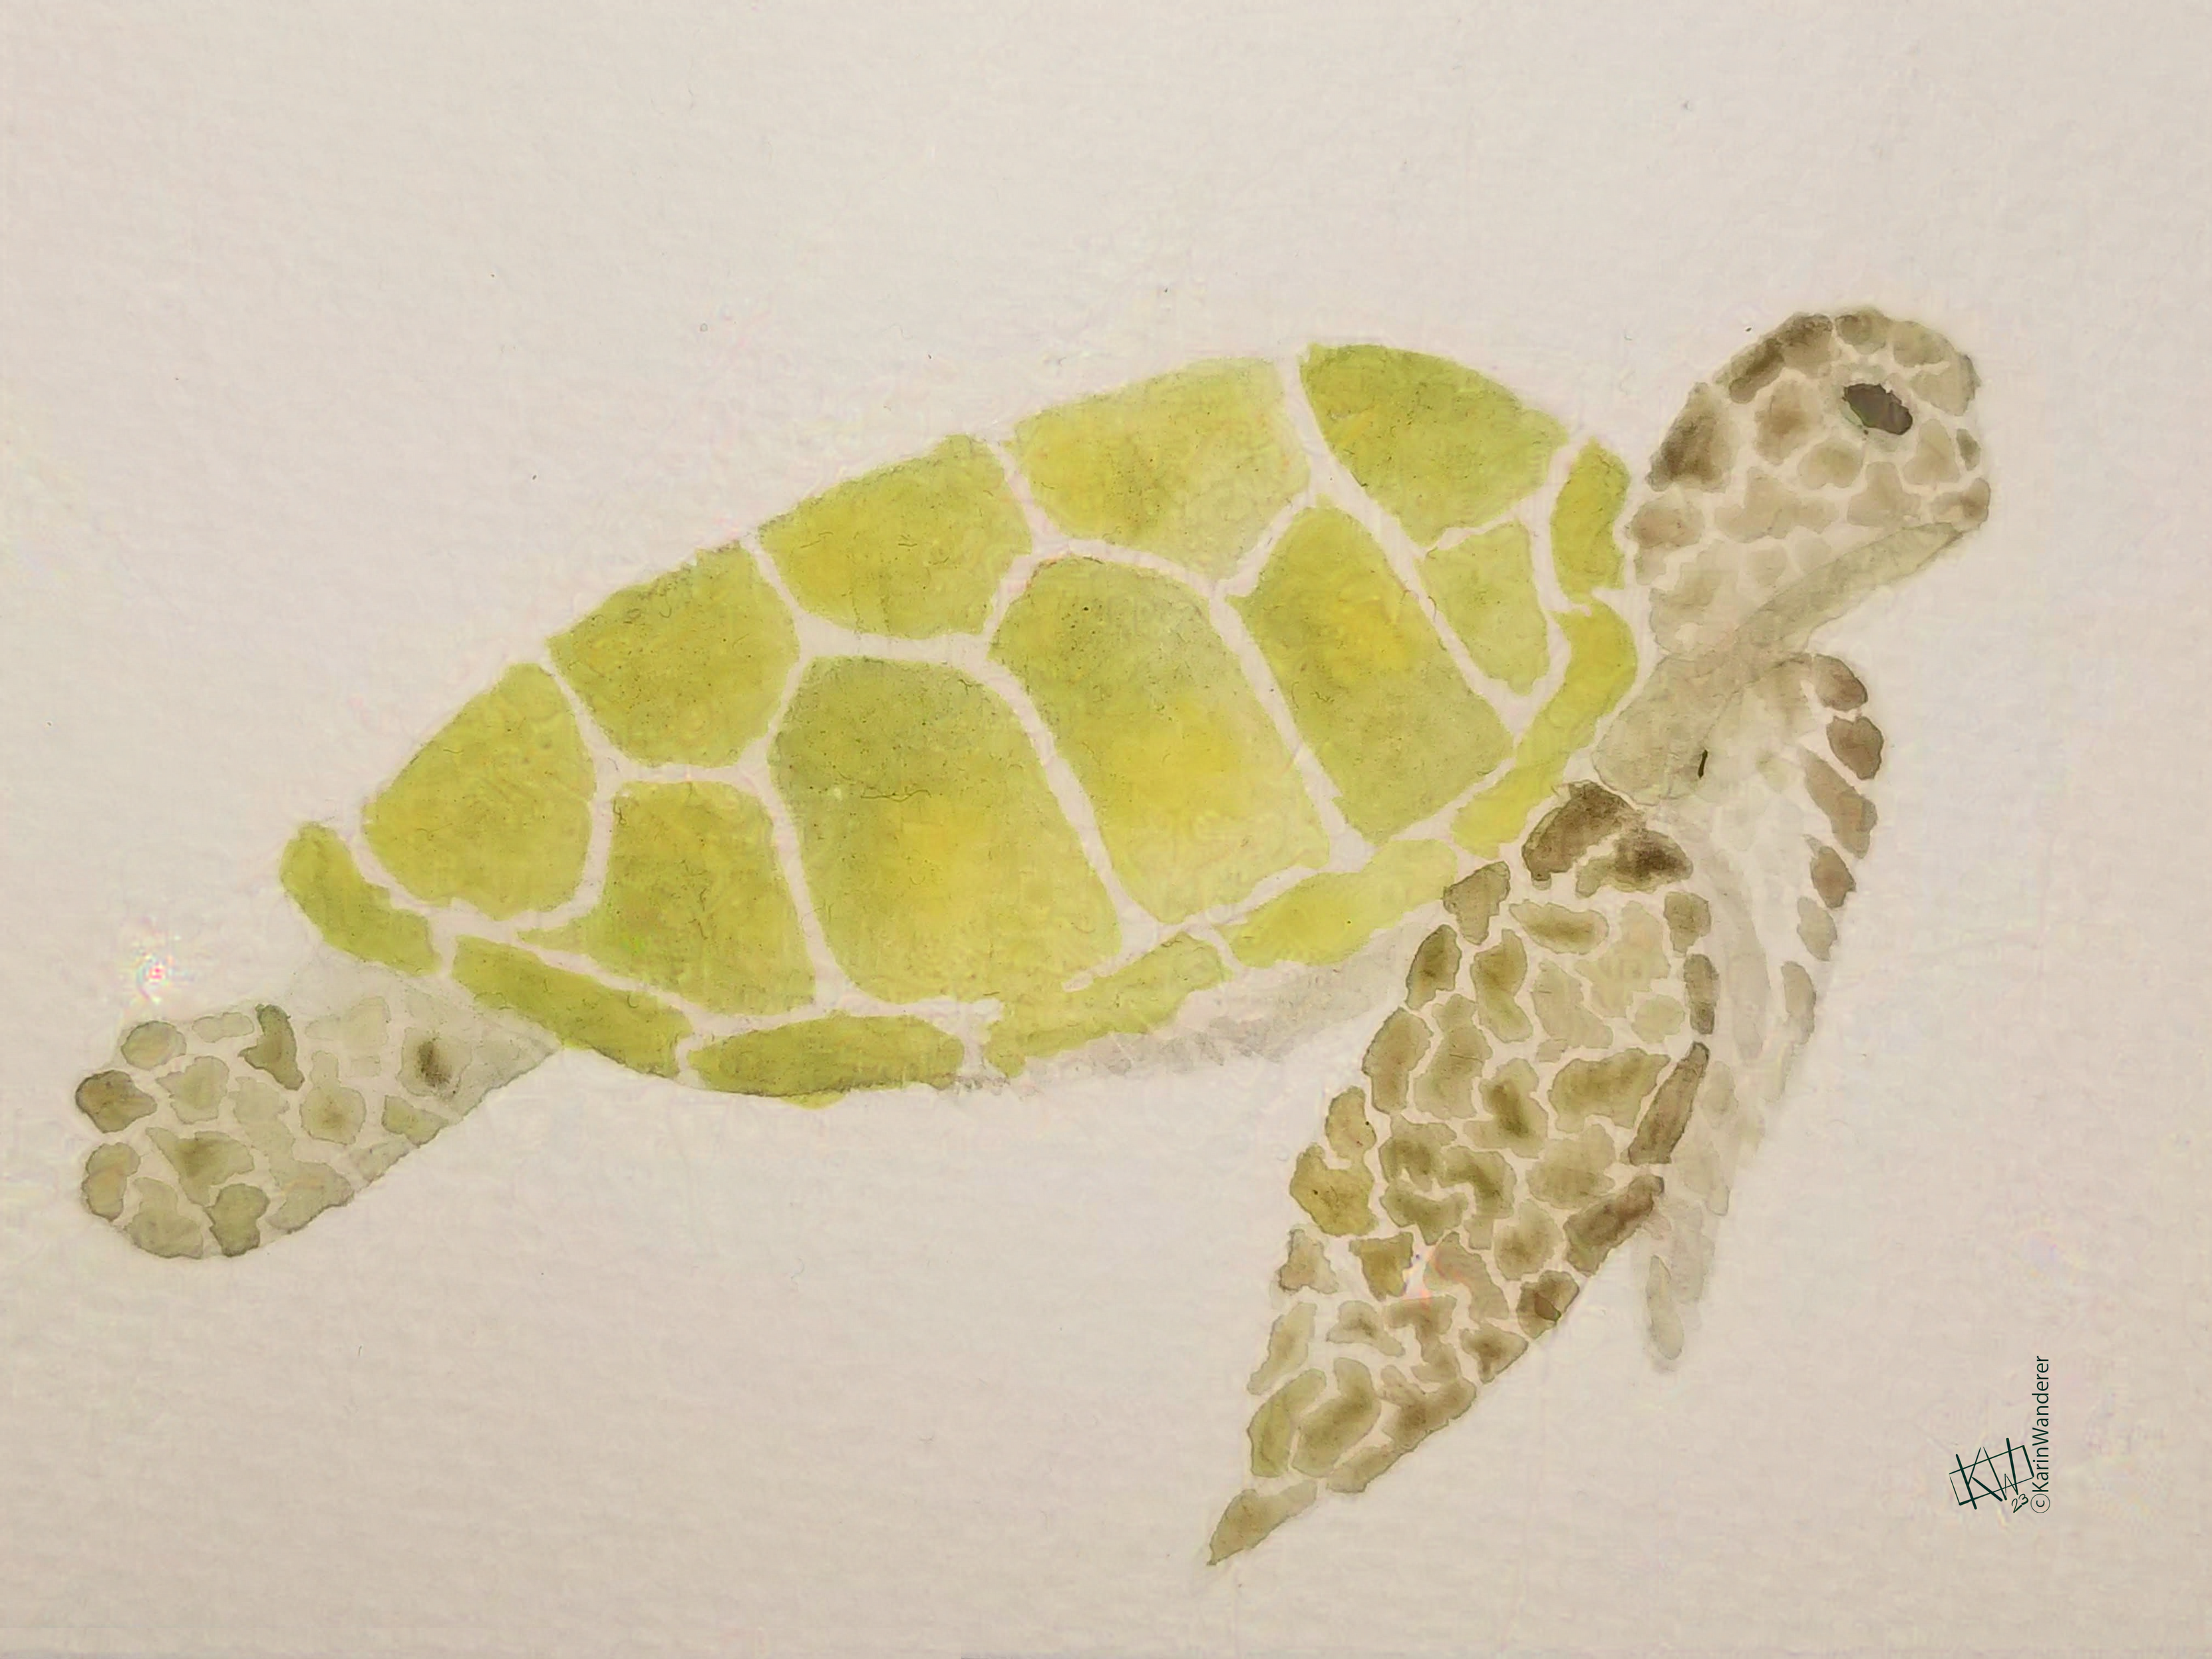
Watercolor green sea turtle swimming by tranquilly. The Green Sea Turtle is the largest of all the hard-shelled sea turtles.

Goal 5: Touch Grass, Seek Inspiration

This is the hardest goal I’ve set. I want to spend this year going to Museums, Galleries, Art Fairs, etc., to experience a wider range of art. Another facet of this goal would include just walking around outside taking pictures. Why is this the hardest? Because I have agoraphobia. Maybe art will help me bribe myself into going out more? I am willing to try it!

What are your art goals for 2024? What strategies are you using to achieve them? Let me know on Mastodon, Ko-Fi, or BlueSky!

Get my art on mugs & vinyl stickers in my Shop!

Join us for #KWPrompts, a biweekly art challenge!

Find me on Linktree

  • All pictures posted are my own work.
  • All reviews are my own unpaid & unsolicited opinions.

Hello & Hello Again!

Every so often on this blog, we take a break & share a #recipe instead of talking about art. You can find a complete list of the recipes at the end of this article. Would you like to share a recipe in a future blog post? Let me know!

We’re making Bulle- Swedish braided sweet bread!

This recipe takes time, but it is worth it! I love this amazing bread so much when it is freshly baked, either plain or with jam.

Braided loaf of bulle baked golden brown & ready to eat. Recipe makes 3 loaves this size

Ingredients

  • 1 cup milk
  • 6 tablespoons butter
  • 2 ¼ teaspoons (1 package) yeast, dissolved in a small amount of warm water
  • 2 eggs
  • 1 teaspoon salt
  • ¾ cup sugar (I use raw sugar, but brown works too)
  • 1 tablespoon ground cardamom
  • 4 ½ cups AP flour Also:
  • 1 egg, beaten well
  • ¼ cup sugar, optional

Instructions

  • Warm the milk enough to melt the butter in it. Set aside to cool.
  • Whisk 2 eggs & sugar together thoroughly in a large bowl, then whisk in salt
  • Gently mix the milk/butter mixture into the eggs/sugar/salt. (Warning: If the mixture is too warm, it will cook the eggs!)
  • Gradually mix in 2 cups of flour
  • Mix in the yeast & cardamom
  • Keep adding flour to the dough until it reaches a good handling texture. This is how you test for a “good handling texture”: Press the dough gently with a clean finger. The dough should stick to your finger as you start to pull it away, stretching a little, but then snap back to the dough ball instead of staying on your finger.
  • Cover the bowl of dough with a clean cloth, & set it somewhere warm to rise until it is double in size, usually 2-3 hours.
  • Remove the cloth from the bowl & punch down the dough. This means punching in the middle of the risen dough, releasing some of the air
  • Working on a floured surface, separate the dough into 3 equal sections.

Each section will make 1 loaf of bread. Repeat the following with each section:

  • Cut into 3 equal pieces.
  • Roll each piece out into a “rope” of dough, try to keep all 3 as close in length/diameter as possible
  • Braid the 3 ropes into a loaf. It’s just like braiding hair: if you don’t know how, there are a billion tutorials online. If you want to get fancy, you can braid more strands. This will affect your cooking times- my instructions are for a 3-strand braid. If you try a more complicated braid, let me know how it goes!
  • Grease 3 baking sheets or put parchment paper on them.
  • Put each loaf on its own baking sheet, covered by a clean cloth, & set to rise in a warm place until it is double in size, usually 1 hour.

Unbaked braided loaf of bulle.

  • Heat the oven to 350°F (177°C).
  • This is where the ingredients from the “Also” section come into play. Just before they go into the oven, brush the beaten egg over the risen loaves & sprinkle with sugar. Brown sugar burns if used in this step, so use raw/white sugar. If you have no raw/white sugar, just use the beaten egg for this last bit.
  • Bake loaves for 20 minutes, until golden brown. If your oven is too small to bake them all at once, put in unbaked loaves in your fridge while waiting so they don’t rise too much.
  • Let cool completely before cutting

Finish Them!

My favorite ways to eat this bread are plain or with a bit of lingonberry jam, alongside a cup of coffee.

Past Recipes

We’ll get back to talking about art next week. Is there an author or topic you want me to cover? Let me know on Mastodon or Ko-Fi!

Get my art on mugs & vinyl stickers in my Shop!

Join us for #KWPrompts, a biweekly art challenge!

Find me on Linktree

  • All pictures posted are my own work.
  • All reviews are my own unpaid & unsolicited opinions.

Hello & Hello Again!

Every so often on this blog, we take a break & share a #recipe instead of talking about art. You can find a complete list of the recipes at the end of this article. Would you like to share a recipe in a future blog post? Let me know!

This week, we’re making Peanut Butter Bread!

This recipe is so tasty, easy, & flexible! I love this amazing bread so much when it is freshly baked, either plain or with jam, honey, or apple butter. I love it even more the next day as peanut butter french toast!

Photo of a full loaf of peanut butter bread. Apologies for the bad pic, I was fighting off hungry people.

Ingredients

  • 1 cup warm water
  • 2 ¼ teaspoons (1 package) yeast
  • 1 tablespoon sugar
  • 1 tablespoon brown sugar
  • 2 tablespoons honey
  • ½ teaspoon salt
  • 1 tablespoon oil
  • 3 tablespoon peanut butter
  • 1 egg
  • 3 cups of flour (see below) Flour is flexible in this recipe! You can use All-Purpose &/or Bread flour, & you can substitute a little semolina flour to make it even better. You can use up to 1 ½ cups of semolina flour. My favorite ratio is 2 cups AP flour with 1 cup Semolina flour. Let me know what you try, I love hearing about your baking!

Photo of just-mixed bread dough; it almost looks like very wet sand. If you use semolina flour, your dough will look like wet sand. That’s ok!

Instructions

  • Combine the warm water, yeast, sugars, & honey. Let the yeast proof.
  • Add the rest of the ingredients. If you measure the oil before the peanut butter, it will grease the measuring spoon so the peanut butter doesn’t stick. Mix well.
  • Grease a bread pan (9x5inch pan) well. Add the bread dough, cover with a dish cloth, & let rise in a warm area for 1 hour. If you use most/all AP/Bread flour, your bread will have a nice rounded top that may rise a bit higher than the top of your bread pan. If you use a lot of semolina, like I did, it will probably not rise past the top of the bread pan.

  • Heat the oven to 325°F (163°C).

  • Bake for about 30 minutes, until the top is golden brown. Photo of the golden brown delicious top of a loaf of peanut butter bread.

  • Cool the bread in the pan. The best way to do this is to lay the bread pan on its side. This allows more steam to escape, cooling the loaf faster & not allowing the bottom to get all soggy. Let the bread cool completely before slicing!

Finish Them!

My favorite ways to eat this bread are simply, with a bit of jam, or complicatedly, as french toast! A slice of delicious peanut butter bread french toast with maple syrup.

Past Recipes

We’ll get back to talking about art next week. Is there an author or topic you want me to cover? Let me know on Mastodon or Ko-Fi!

Get my art on mugs & vinyl stickers in my Shop!

Join us for #KWPrompts, a biweekly art challenge!

Find me on Linktree

  • All pictures posted are my own work.
  • All reviews are my own unpaid & unsolicited opinions.

Hello & Hello Again!

Every so often on this blog, we take a break & share a #recipe instead of talking about art. You can find a complete list of the recipes at the end of this article. Would you like to share a recipe in a future blog post? Let me know!

This week, we’re making Gold Bars!

This is my absolute favorite citrus recipe. I make the filling with lemons,oranges or a combination of both! What really makes this recipe special, though, is the olive oil shortbread crust.

Close-up photo of a plate of delicious lemon curd on a pastry crust.

Shortbread Crust

Ingredients

  • 2 cups flour
  • 1/3 cup sugar
  • ½ teaspoon kosher salt
  • 2/3 cup extra-virgin olive oil

Instructions

  • Heat the oven to 325°F 3 (163°C).
  • Lightly grease an 8-inch square baking dish & line it with enough parchment paper to hang over two sides. Without parchment paper, lifting the bars out of the pan without breaking them will be difficult.
  • Mix flour, sugar, & salt in a medium bowl.
  • Add the olive oil & mix just until a lumpy dough forms.
  • Put the dough in the pan. pat flat with your hand, & prick all over with a fork.
  • Bake for 50-55 minutes, rotating halfway through. You want the crust to be lightly golden brown. Remember that this is going back into the oven, so it shouldn’t get too dark!
  • While that bakes, mix up the filling.

Close-up photo of golden-brown shortbread in a square glass baking dish.

Lemon or Orange Filling

This recipe can be made with lemons or oranges or both. For simplicity’s sake, I am just going to say ‘lemon’ & we’ll all agree you can do whatever you want. Let me know if you try limes!

Ingredients

  • 1 ¾ cups sugar
  • 1 cup freshly squeezed lemon juice
  • 6 large eggs
  • 7 tablespoons flour
  • 2 tablespoons extra-virgin olive oil
  • 1 tablespoon finely grated lemon zest
  • ½ teaspoon kosher salt

Instructions

  • Combine the sugar, lemon juice, eggs, flour, oil, zest, & salt in a large bowl. Whisk until it is smooth.
  • When the crust is puffed & golden brown, pull it out of the oven. Re-whisk the lemon mixture.
  • Pour the mixture onto the hot crust, then return to the oven.
  • Bake for 25-30 minutes, rotating the pan halfway through, until the edges are puffy & the center just barely jiggles when you nudge the pan.
  • Cool on a wire rack to room temperature, then cover & refrigerate until cold.

Finish Them

Gold Bars are very tasty as they are, but there are a variety of toppings you can try! I don’t like my sweets to get too sweet- I usually just sprinkle a tiny pinch of salt on my Gold Bars while they cool on the wire rack. Of course, this is dessert. If you want sugar on top, I won’t stop you. Once the Gold Bars have fully cooled, you can dust the top with a bit of powdered sugar. However, if you really like your sweets sweet, you can make a glaze by whisking ½ cup of powdered sugar & 1-2 tablespoons of lemon juice. Pour over the fully-cooled bars. Allow the glaze a few minutes to set- if the Gold Bars are fully cooled it won’t take too long! Once your topping has been applied, lift from the pan & cut into squares.

Past Recipes

We’ll get back to talking about art next week. Is there an author or topic you want me to cover? Let me know on Mastodon or Ko-Fi!

Get my art on mugs & vinyl stickers in my Shop!

Join us for #KWPrompts, a biweekly art challenge!

Find me on Linktree

  • All pictures posted are my own work.
  • All reviews are my own unpaid & unsolicited opinions.

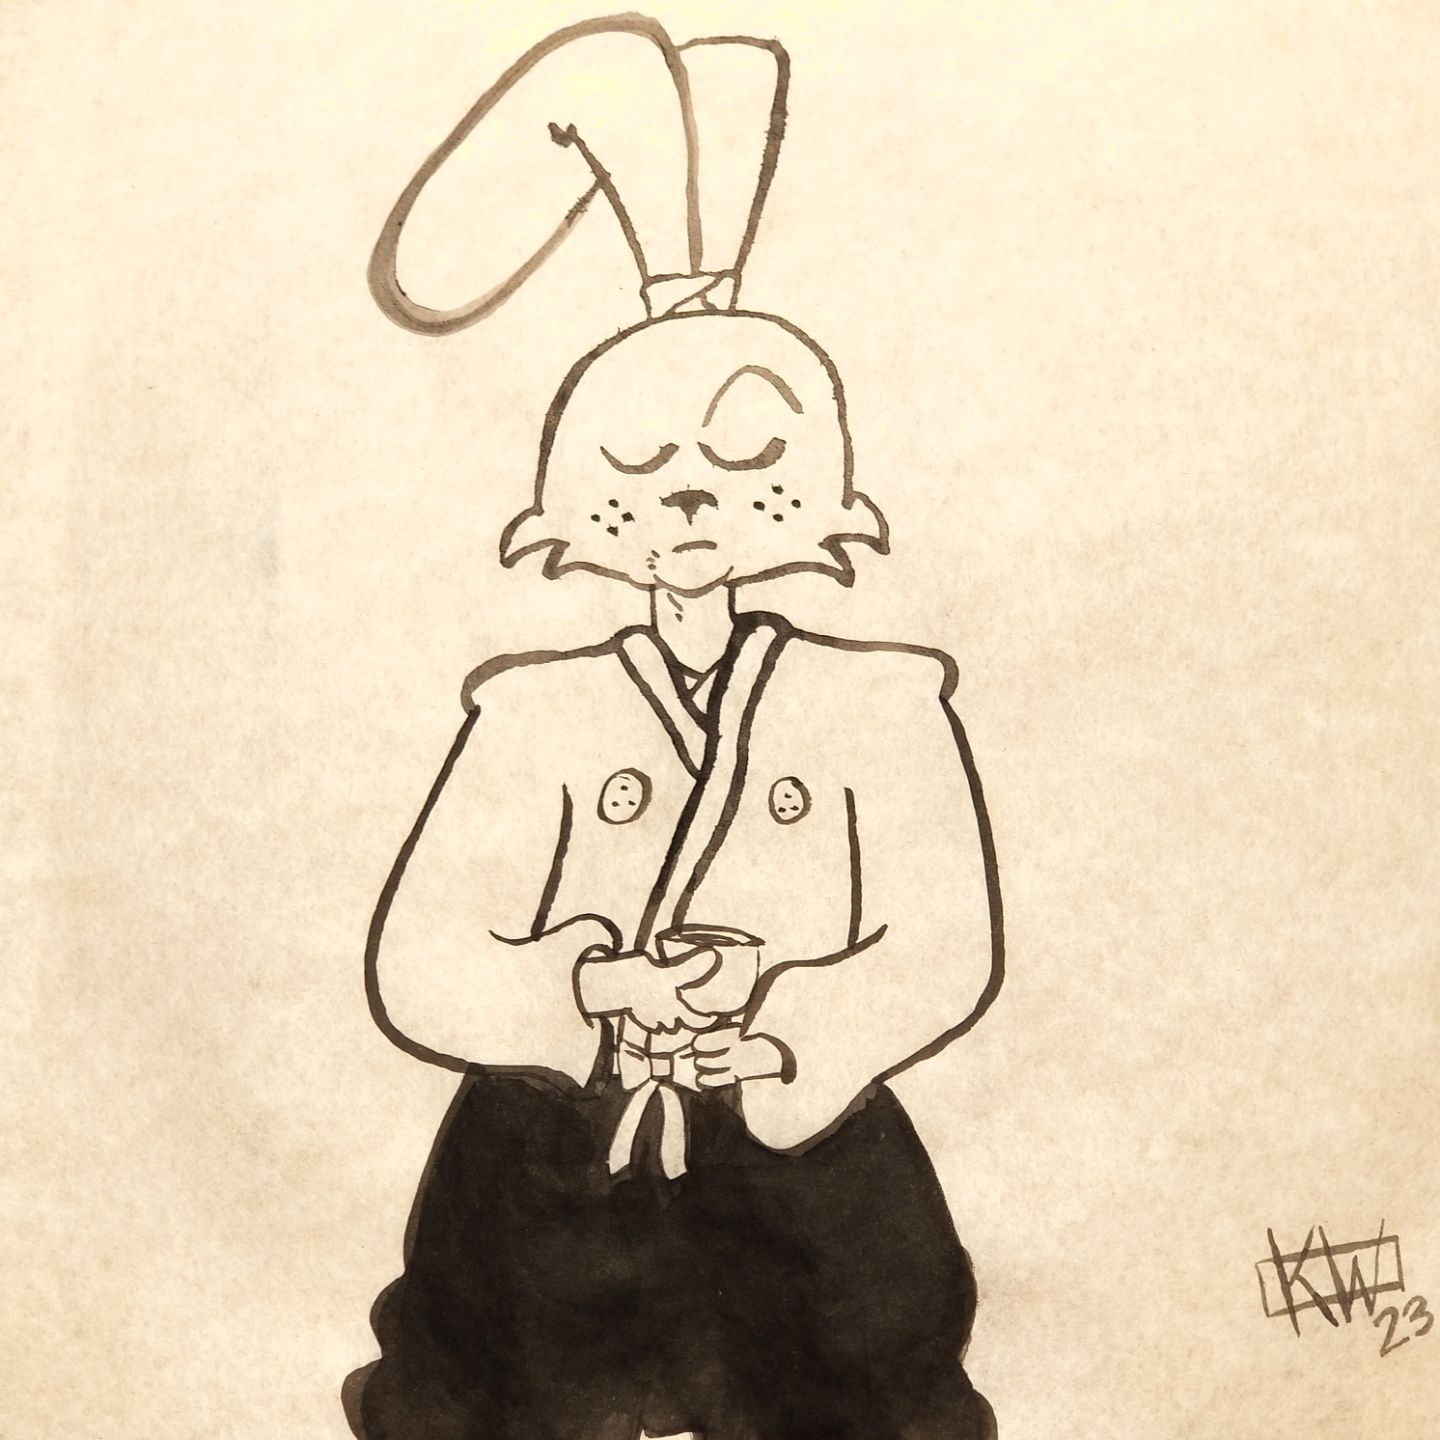
I love to draw & paint with #ink! That is not news to regular readers, since this is the fourth article I’ve written on the subject. Lots of different inks are great for lots of different types of art, but my absolute favorite ink is sumi. Again, this is not news to many people, since this is the third article I’ve written about traditional Japanese ink. To find those earlier articles, click #ink. Now, I get to talk about several types of sumi art that I have not had a chance to try (yet!)

Sumizuri-e

Sumizuri-e means ink printed painting. It is a form of woodblock printing using sumi which dates back at least to the 700s. That means it is one of the earliest forms of Japanese printing. The stamp design is painted, then carved from a block of cherry wood. The stamp block is then inked. A sheet of paper is carefully laid atop the inked stamp & pressed with a tool called a baren to transfer the image. Creating this art was a group effort- an artist designed the stamp, a woodcarver created it, & a printer inked the stamp & made the prints. This art style has remained popular for over a millennium, & it is easy to see why. Sumizuri is a minimalist, monochromatic art style that produces strikingly beautiful pieces. Sometimes a stamp is still being used for prints hundreds of years after being carved, as with this piece that was carved in 1698, but printed around 1915.

Woodblock prints with color use a wide range of techniques. Some are relatively simple, such as painting the individual prints with watercolors or colored ink after the sumi dries. Some methods are more complex & are, essentially, early versions of modern color block printing. The Great Wave off Kanagawa, possibly the most famous piece of Japanese art in existence, is an example of this.

Gyotaku

Now we get into the meat of the subject! I do not apologize for that pun! Gyotaku is a portmanteau of gyo, or fish & taku, or stone impression. It is fish printing! Making actual fish into ink stamps! Now people will have to believe you caught a fish “this big”, because you can literally unroll a scroll & show them an impression of the fish in question! I’m not joking- these prints are hung in tackle shops for that exact reason. This method is used for other forms of marine life as well, but fish prints were the majority of what I found by far. Fish stamps render beautiful amounts of detail. I had expected just a black fish shape when I first read about them, almost a silhouette, but that is not the case! Look at this print, for example. Aren’t the scales gorgeous? In the most basic form of gyotaku, the print is left black & white, with the eyes painted in after the print dries. This is the form most often used to keep records by people who fish. Other forms get more artsy. Some add colored ink directly to the fish, while others print in sumi & then add color after. Many places online claim you can still eat the fish after printing if you use plain sumi. Some fishing services that offer sumi prints will filet your fish while taking care to keep one side intact. They then lay the intact side over a basket or some other type of frame so that the fish holds its proper shape while printing, but the rest of the meat doesn’t touch ink. My sumi ink does not indicate it is food-safe anywhere on the packaging, & let me just remind you that the main ingredient is soot, so let the buyer beware!

Oh No, I Did It Again

Say it with me now; “Karin got distracted geeking out about art & now she needs at least one more week to finish talking about the subject at hand.” Woah, you all managed to say that in perfect unison. It was impressive, & a bit creepy. Well done! Have you tried any of these kinds of sumi art? Will you? Let me know on Mastodon or Ko-Fi!

Get my art on mugs & vinyl stickers in my Shop!

Join us for #KWPrompts, a biweekly art challenge!

Find me on Linktree

  • All pictures posted are my own work.
  • All reviews are my own unpaid & unsolicited opinions.

Every so often on this blog, we take a break & share a #recipe instead of talking about art. I’ve shared my favorite vegan cake recipe & my best plum tea. Wolfe3D shared his pizza recipe in my first collaboration! Would you like to share a recipe in a future blog post? Let me know!

Close-up photo of a delicious brownie.

We’re Making Brownies!

This is one of the oldest recipes in my collection. It is both simple & easy. According to my exhaustive research, there are infinite brownie recipes on the internet. There are prettier brownies, there are fancier brownies- but I can make these when I’m down to my last spoon. To me, recipes like this are invaluable!

Photo of a bowl with the wet ingredients for brownies & a cup with the dry ingredients. A square glass baking dish & rubber spatula wait next to them.

Ingredients

  • ¾ cup butter, melted & cooled enough that it won’t cook the eggs
  • 1 ½ cups sugar
  • 1 ½ teaspoons vanilla extract
  • 2 eggs
  • ¾ cup flour
  • ½ cup cocoa powder
  • Spices to taste (I use cardamom, cinnamon, & a touch of cloves.)
  • ½ teaspoons baking powder
  • ½ teaspoons salt

Photo of brownie batter in a square glass baking dish.

Directions

  • Preheat your oven to 350 degrees F (177 degrees C).

  • Grease an 8x8 pan. (If you use sticks of butter to bake this, you can use the paper wrappers to grease your pan. An 8x8 pan is small enough that there is usually enough butter left on one wrapper to grease the whole pan!)

  • In a large bowl, mix the melted butter, sugar and vanilla thoroughly.

  • Add eggs one at a time, mixing thoroughly.

  • Combine the flour, cocoa, spices, baking powder, & salt in a separate container. Gradually blend this dry mixture into the egg mixture.

  • Spread the batter evenly into the prepared pan.

  • Bake for 40-45 minutes, or until the brownies begin to pull away from the sides of the pan.

  • Let the brownies cool completely in the pan. Do not rush this! If you cut them while they are still warm they will dry out fast & you will lose that wonderful brownie-y texture.

Close-up photo of a delicious brownie.

Quick History Lesson

There are many different stories about who invented brownies. The most popular claim is that brownies were created for an event at the Chicago World’s Fair in 1893. I would have thought such a simple, delicious dish was much older!

The mouth-watering top of a pan of brownies.

We’ll get back to talking about art next week. Is there an author or topic you want me to cover? Let me know on Mastodon or Ko-Fi!

Get my art on mugs & vinyl stickers in my Shop!

Join us for #KWPrompts, a biweekly art challenge!

Find me on Linktree

  • All pictures posted are my own work.
  • All reviews are my own unpaid & unsolicited opinions.

Hello & Hello Again!

This is part of an ongoing series of articles about #ink. If you would like to know more about ink in general, read this. Sumi is my personal favorite ink. If you would like to know more about this traditional Japanese ink, read that. If you would like to know more about many different ways sumi is used in art, read on!

What is Sumi-e?

In Japanese, sumi means black ink & e means painting. It can be confusing to figure out exactly where the line is between “sumi-e” & “art someone made using sumi.” Some people don’t think there is a line at all; they use sumi-e as a collective term for all sumi-based art. Some insist that it is only sumi-e if it is painted using only ink, featuring only a very few traditional subjects (e.g.– mountains, bamboo), AND only painted on rice paper. Many people fall somewhere in the middle. Outside of the rigorous purists, a general description of sumi-e might read as follows: It can be just sumi, but some forms of sumi-e incorporate watercolor paint or colored inks. It is often but not always painted on rice paper.

Sumi ink painting of plum branches with several blossoms & a bud. Sumi on watercolor paper

Ink Wash

Ink wash painting was brought to Japan by Zen Buddist monks. This is the type of sumi-e most people are familiar with: stylized landscapes rendered in greyscale created with diluted black ink. Have you seen Disney’s animated movie Mulan? The opening is an animated example of the ink wash style. (Note: As Mulan takes place in China, it is likely that the opening is not depicting sumi. It is more likely meant to be India ink, which was invented in China.) Some ink wash artists put an emphasis on minimalism, while others do not.

Sometimes the ink wash landscape is paired with writing such as poetry, a riddle, or philosophy. This is called shigajiku. The results can be quite striking! I kept getting distracted while writing this because I wanted to track down translations of practically every one I saw.

Watercolor & Ink painting of a rocky little pocket beach. Sumi & white ink on watercolor paper

Tattoos

Tebori tattoos are inked by hand using sumi. The resulting tattoo is a beautiful greeny- black. Beyond this point tattoos get so complicated so quickly that if you find this topic interesting you should really research it yourself. Have fun!

Oops

I meant to wrap up the sumi series with this article, but I have failed! Can I stop geeking out over pretty paintings & finish talking about sumi? Find out next week; same Karin time, same Karin channel!

Do you like this ink? What did you think? Let me know on Mastodon & Ko-Fi!

Ink painting of many, many cats filling a square sheet of rice paper. The cats are sitting, lounging, sleeping, stretching, waiting... Sumi on rice paper

Get my art on mugs & vinyl stickers in my Shop!

Join us for #KWPrompts, a biweekly art challenge!

Find me on Linktree

  • All pictures posted are my own work.
  • All reviews are my own unpaid & unsolicited opinions.